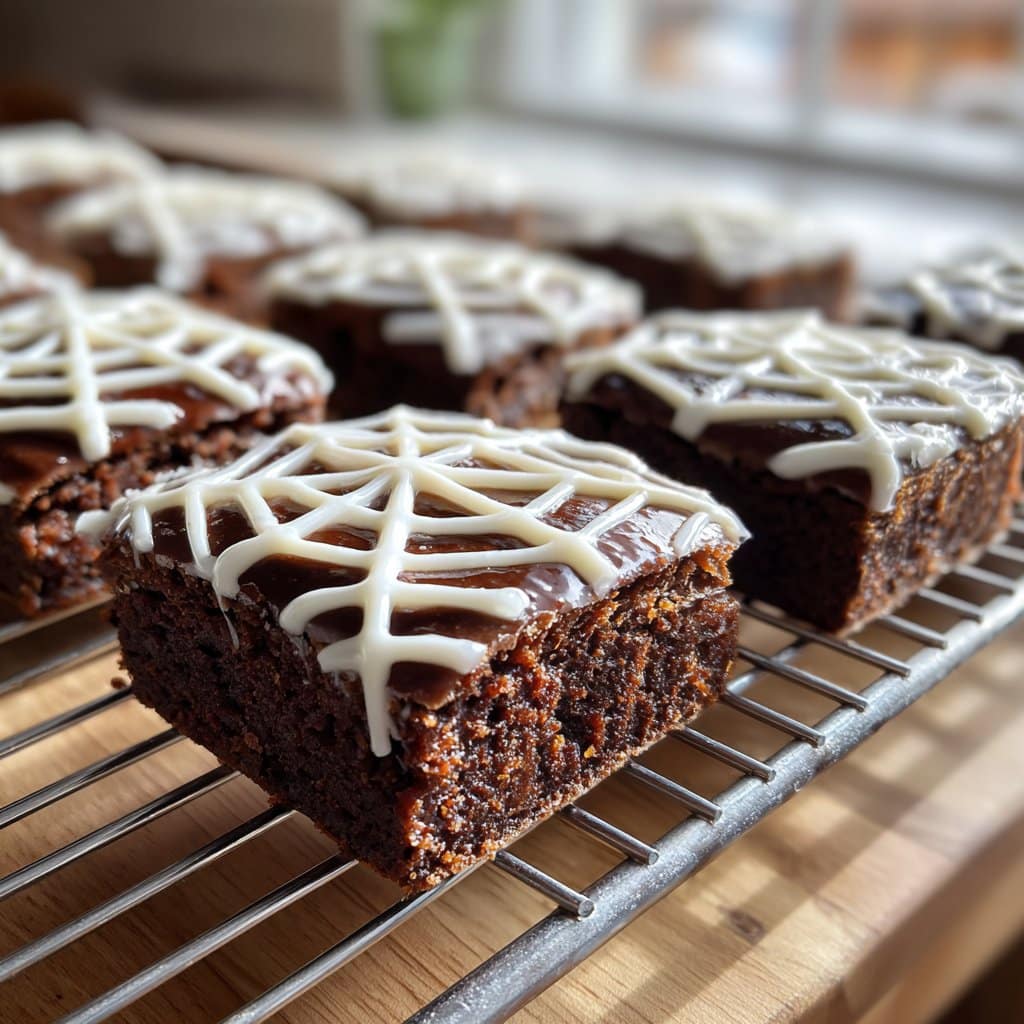
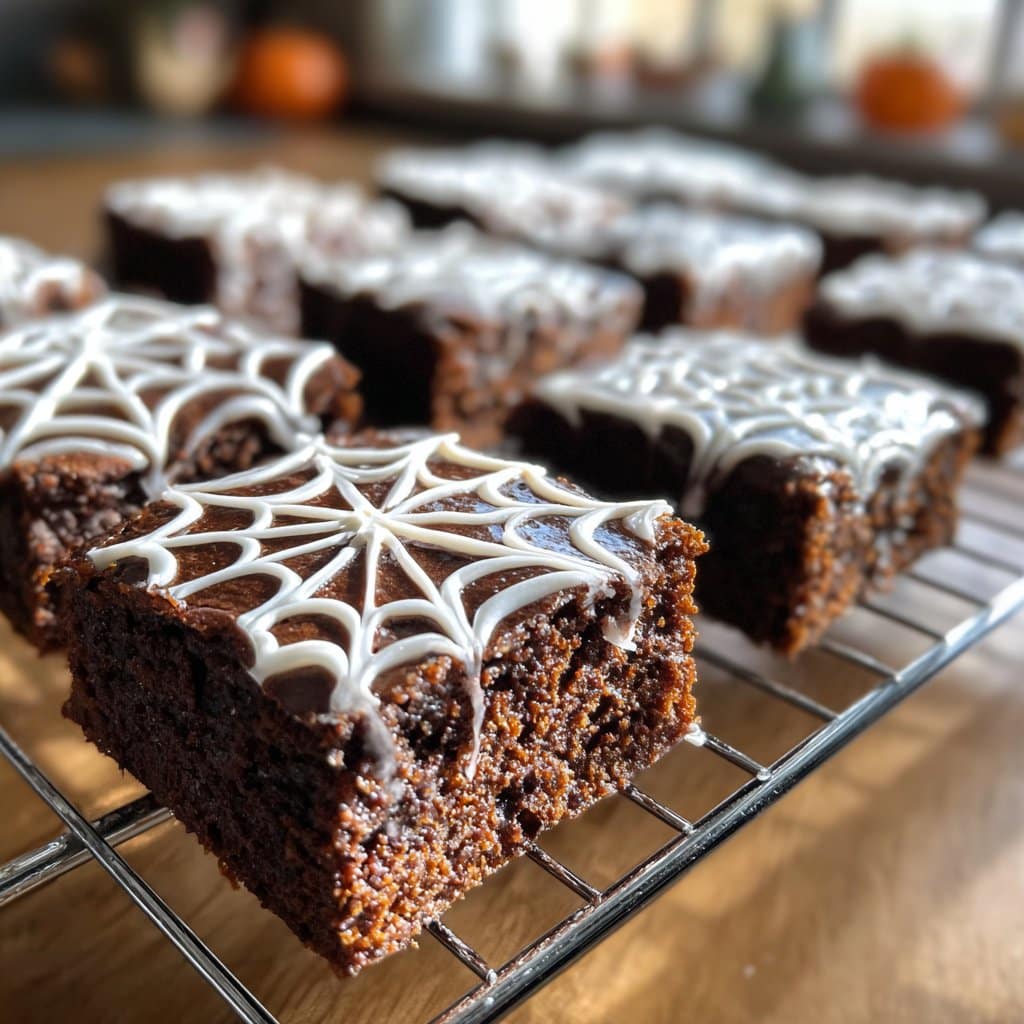
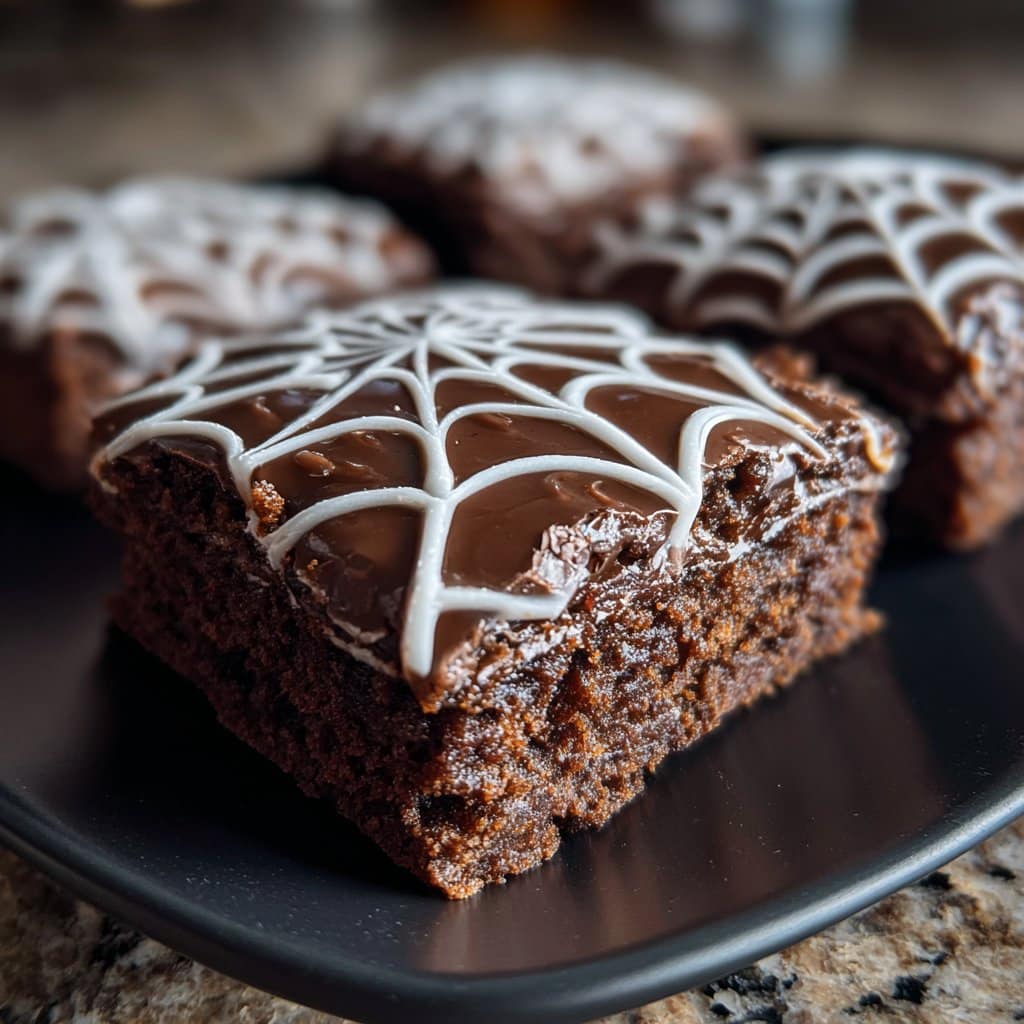
Halloween Spiderweb Brownies – Fudgy & Easy to Decorate
So, About These Spiderweb Brownies… (Yes, They’re as Fun as They Look)
Okay, honest truth: I first tried making Halloween spiderweb brownies because my niece was obsessed with spiders (the plastic kind, not the real ones, thank goodness) and insisted we needed a “spooky but chocolatey” treat for her party. Let’s just say my first decorating attempt looked more like squiggly roads than spiderwebs. But hey, it was delicious! And the kids didn’t care at all. I still laugh thinking about how we argued over whose web was the best (spoiler: it wasn’t mine). That’s half the fun, right?
Why You’ll Possibly Love This
I break out this recipe when I want to impress without actually doing a ton of work. My family goes completely bananas for these because they’re ultra fudgy and… let’s be real, any excuse to buy more chocolate is a win at my place. Also? The decorating part is really forgiving. I’ve definitely had messy webs that still looked great once you plop a (plastic) spider on top. Sometimes I get fancy and use a piping bag, other times a sandwich bag with a snipped corner does the trick—depends how much caffeine I’ve had, honestly.
What You’ll Need (But Don’t Sweat the Small Stuff)
- 3/4 cup (about 170g) unsalted butter (if you only have salted, just skip the extra pinch of salt later)
- 8oz (225g) dark chocolate, chopped (or semi-sweet chips; I’ve even used milk chocolate in a pinch, but the flavor’s different)
- 1 cup (200g) granulated sugar (sometimes I mix white and brown—adds some depth)
- 1/4 cup (50g) brown sugar (optional, but I think it makes it gooier)
- 3 large eggs
- 1 tsp vanilla extract (I usually pour in a splash more than I should—blame muscle memory)
- 3/4 cup (95g) all-purpose flour (Gluten-free blend works too, but the texture changes a bit)
- 1/4 tsp salt (unless you already used salted butter)
- For the web: 1/2 cup white chocolate (or white candy melts; in a pinch, a simple vanilla icing works, though it runs more)
- (Optional) plastic or candy spiders for the full Halloween effect—my local party shop has piles of them this time of year
Let’s Actually Bake These Fudgy Brownies
- Get yourself ready. Oven to 350°F (180°C). Line an 8-inch baking pan with parchment—overhanging the edges makes lifting out the brownies a breeze.
- Melt the magic. Combine butter and chocolate in a microwave-safe bowl. Blast in 30-second bursts, stirring between, till melted and smooth (on second thought, if you’re scared of the microwave, a double boiler is just as good—just takes longer, but at least you won’t risk burning your chocolate as I once did).
- Sugar rush. Whisk in both kinds of sugar, then let cool for 2-3 mins (so you don’t end up with scrambled eggs—yes, that happened to me once). Now add eggs and vanilla. Whisk till glossy and smooth.
- Go dry. Stir in flour and salt, gently, so you don’t overmix. It’ll look thick and maybe a bit lumpy, but don’t fuss.
- Bake time. Toss in your pan and smooth it a little. Pop it in the oven for 25-30 minutes—edges will look set, the middle should have just a bit of jiggle. I check at 25 min because everyone’s oven has a mind of its own.
- Cool completely. Otherwise, the web will melt all over and just… well, not look like a web. I usually can’t wait and sneak a corner anyway.
- Decorate! Melt white chocolate gently (again, not too hot; it burns quick). Dollop into a zip-top bag, snip a tiny hole, and draw spirals—kind of like a target. Then drag a toothpick from the center outwards every inch or so. Instant spiderweb! If your spirals go haywire, chill out. It’ll still look cool once sliced.
Stuff I’ve Figured Out (The Hard Way)
- If the brownies seem underbaked, let them fully cool—honestly, they set up as they sit. I panicked once and put them back in; ended up with weird crispy bits!
- Don’t use baking parchment with deep creases or writing. I did once and, yikes, it imprinted on the brownies. It tasted fine, but looked odd.
- White chocolate can seize easily; microwave in short bursts, stirring more than you think you need to.
Variations I’ve Tried (Plus One That Flopped)
- Swapped in peanut butter chips instead of white chocolate for the webs—tasted good, but very orange, and it didn’t pipe well.
- Mint extract in the batter for a holiday vibe. Oddly, my husband liked it, but I still prefer plain chocolate. (Maybe I’m just boring?)
- Tried swirling orange-tinted cream cheese for a pop of color. Looks cool, bakes a bit gooey, but if you go overboard it barely sets.
Don’t Have a Square Pan? Me Neither, Sometimes.
You can use a round cake pan—just cut your brownies into wedges for little “web slices.” Once, I even tried these in a muffin tin (tip: line the cups or you’ll be prying them out with a fork, sheepishly).
Storage (But These Disappear Fast, Honestly)
They’ll keep in an airtight box for up to 4 days; if you want extra gooeyness, pop them in the microwave for ten seconds. Do they ever last that long? Hah, not in my house, unless I ‘forget’ them on a high shelf. Freezing? Sure, but let them thaw at room temp before serving—white chocolate gets funny in the fridge.
How We Eat Them (Besides Straight From the Pan)
Always cut into big squares, never measured properly. Extra points if served slightly warm with a scoop of vanilla ice cream (my brother always dunks his directly in a mug of coffee—he’s a character). I brought these to a fall picnic once—huge hit, even got a compliment from a notoriously picky aunt. I still tell the story.
Things I’ve Learned the Hard Way (Bonus Wisdom)
- Let that base cool before adding the web. I rushed it one year and my artwork just melted off; looked more like a haunted mud puddle.
- Don’t use too much chocolate for the web—less is honestly more, otherwise you end up with a sticky mess and everyone avoids those slices.
- Cutting brownies with a plastic knife? Strangely, it works! Clean slices, less tearing for whatever reason.
FAQ (Real Questions, Real Answers)
- Can I make these gluten-free? Yup, I’ve done it with Bob’s Red Mill blend (here’s what I use). They’re still fudgy, just a bit softer.
- Any way to cut down the sugar? Honestly? You can drop the brown sugar, or swap for coconut sugar if you’re feeling fancy; but completely sugar-free, I haven’t tried, so… proceed at your own risk.
- How do you keep the webs neat? Practice on parchment first. But even the wonky ones look good at a party with the lights low. Plus this resource has super clever piping tips. (Full disclosure: I still freestyle mine half the time.)
- Do I need a mixer? Nope—just a strong arm and a whisk. Actually, a fork will do in a pinch, though your batter might be a bit lumpy.
Anyway, if you ever want a dessert that looks spooky but tastes like a chocolate hug, give these Halloween spiderweb brownies a whirl. They’re now an October staple at my place—even if the kids are just here for the candy spiders. Don’t say I didn’t warn you if you eat half the pan yourself.
Ingredients
- 1 cup (225g) unsalted butter, melted
- 2 cups (400g) granulated sugar
- 4 large eggs
- 1 teaspoon vanilla extract
- 1 cup (120g) all-purpose flour
- 1 cup (85g) unsweetened cocoa powder
- 1/2 teaspoon salt
- 1 cup (175g) semi-sweet chocolate chips
- 1/2 cup (60g) powdered sugar
- 1 tablespoon milk or water for icing
Instructions
-
1Preheat the oven to 350°F (175°C). Line a 9×13-inch baking pan with parchment paper and lightly grease.
-
2In a large bowl, whisk together melted butter and granulated sugar until well combined. Beat in the eggs one at a time, then mix in vanilla extract.
-
3Sift in the flour, cocoa powder, and salt. Stir until just combined, then fold in the chocolate chips. Do not overmix.
-
4Pour the batter into the prepared pan and spread evenly. Bake for 28-32 minutes, or until a toothpick inserted in the center comes out with a few moist crumbs.
-
5Let the brownies cool completely. Meanwhile, make the spiderweb icing by mixing powdered sugar and milk until smooth. Transfer to a piping bag.
-
6Pipe spiderweb designs over the cooled brownies. Cut into squares and serve.
Approximate Information for One Serving
Nutrition Disclaimers
Number of total servings shown is approximate. Actual number of servings will depend on your preferred portion sizes.
Nutritional values shown are general guidelines and reflect information for 1 serving using the ingredients listed, not including any optional ingredients. Actual macros may vary slightly depending on specific brands and types of ingredients used.
To determine the weight of one serving, prepare the recipe as instructed. Weigh the finished recipe, then divide the weight of the finished recipe (not including the weight of the container the food is in) by the desired number of servings. Result will be the weight of one serving.
Did you make this recipe?
Please consider Pinning it!!