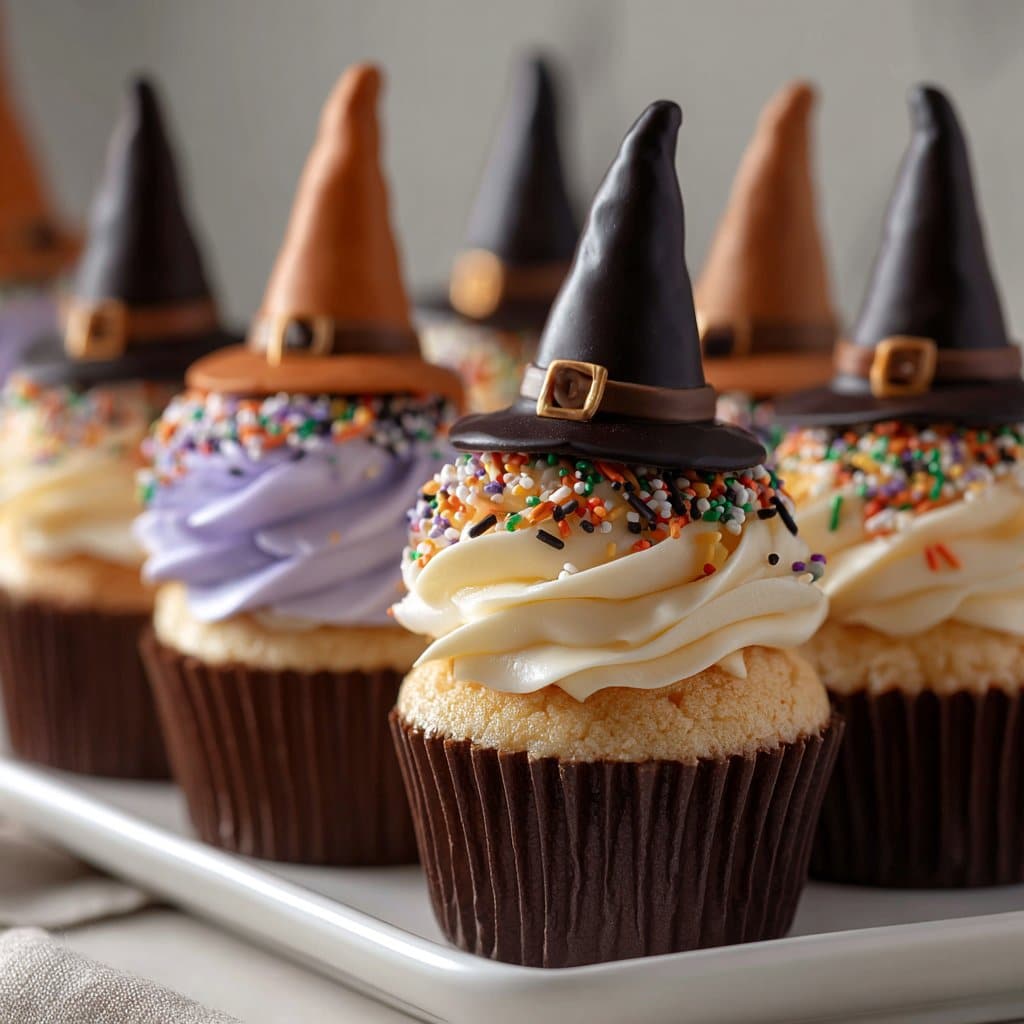
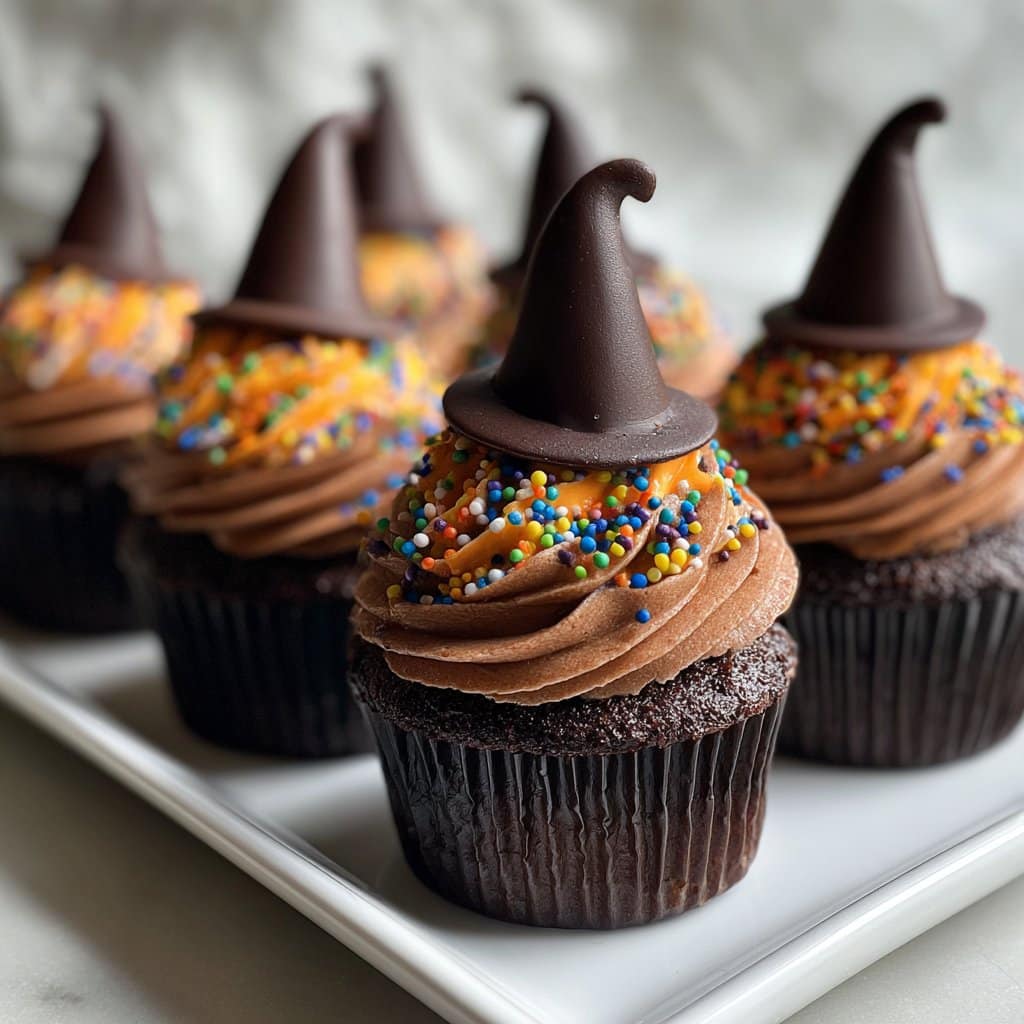
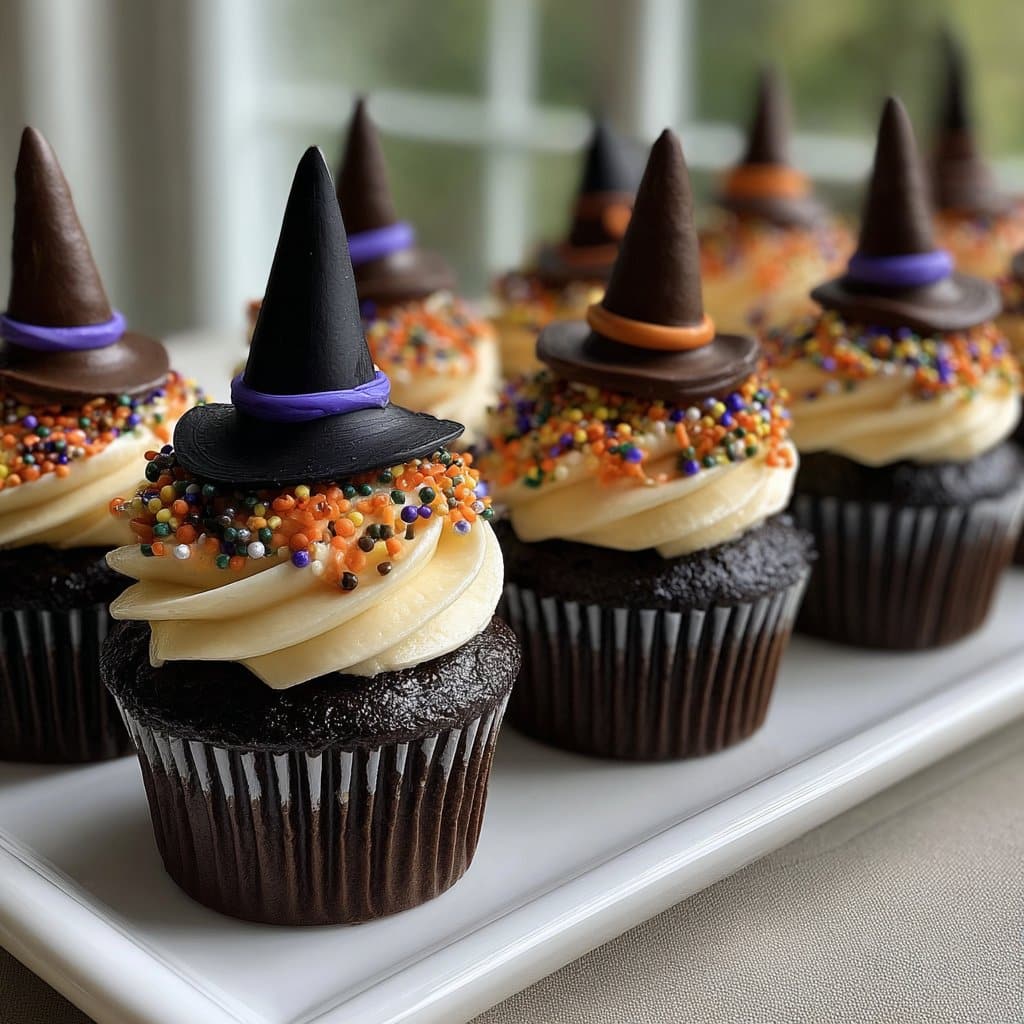
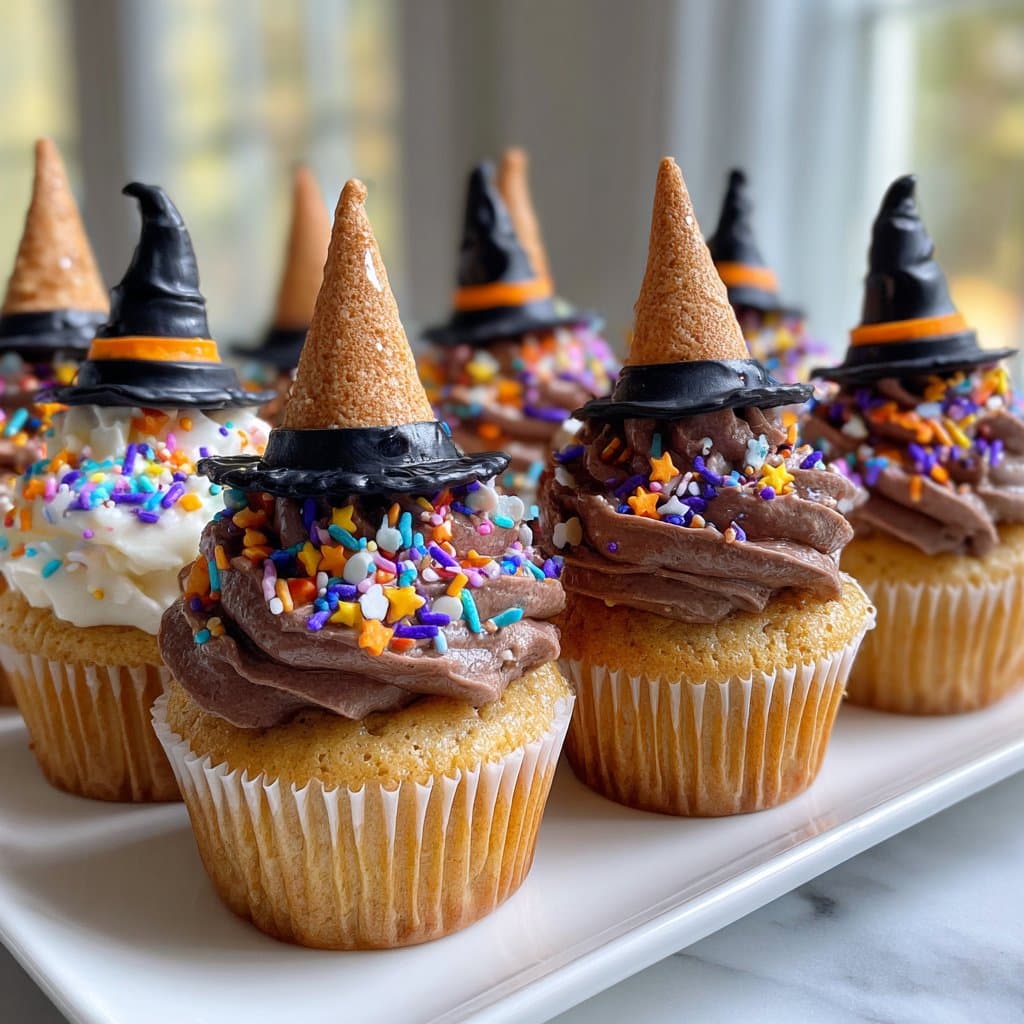
Witch-Hat Cupcakes – A Magical Halloween Treat
So—Witch-Hat Cupcakes? Let Me Tell Ya…
Okay, so, last October I’m elbow-deep in cocoa powder, radio cranked up, and my youngest comes running in with a look like he’s just uncovered buried treasure: “Mum, can we please make those wizardy cupcakes again, the spooky hat ones?” Y’know, the kind you really can’t say no to, even when the kitchen already looks like a scene from a flour-based disaster movie. I’m not saying these Witch-Hat Cupcakes are my claim to fame, but let’s just say every year, my friends go on about them at least twice. If you’re into Halloween bakes that are silly, cute, and not as fiddly as they look, well, keep reading. Just don’t judge my piping skills, alright?
Why You’ll Love Making These (Let’s Be Honest)
I make this every Halloween when I want something that’s a bit more ooh ahh than a regular cupcake but doesn’t require the patience of a saint—my family basically fights over the last one (sometimes it gets ugly). If you’re the type who gets jazzed by edible decorations, or you secretly like turning store-bought ingredients into something Martha Stewart-ish, these are kinda your jam. Got little hands wanting to help? Perfect! But warning: you’ll probably find chocolate fingerprints in new places for weeks. I’ve tried a few versions that flopped (hello, sinking hats!), but this way works almost every time. Almost. Actually, once the chocolate shells melted because I put them near the dishwasher vent… lesson learned.
What Goes Into Witch-Hat Cupcakes: Ingredients (Plus My Shortcuts)
- 200g all-purpose flour (but I’ve absolutely used self-raising, just skip the baking powder)
- 40g cocoa powder—I don’t bother with the premium stuff, but you do you
- 200g caster sugar (brown sugar also works, gives it a little caramel twist)
- 120ml sunflower oil (or honestly, melted butter if that’s all I’ve got—more flavorful, but a tiny bit heavier)
- 2 eggs (or egg replacer, one time I tried flaxseed but it was… weird. Kinda worked.)
- 120ml milk (dairy or oat—my mate swears by almond and, on second thought, it’s pretty good!)
- 1 1/2 tsp baking powder
- Pinch of salt
- 1 tsp vanilla extract (my gran always insisted on the real deal, but I reckon the cheap stuff is fine here)
- Buttercream frosting (I usually make my own, but store-bought totally works—I’m not making it from scratch if my kitchen’s already a mess)
- 12 chocolate ice cream cones (I sometimes use plain and dip them in melted chocolate if chocolate ones are MIA—it does the trick, but can get messy)
- 12 chocolate sandwich cookies, like Oreos (cheapest brand you can find, honestly)
- Coloured candy melts and sprinkles (for decorations—optional, but highly encouraged if you have cupcake-obsessed kids in the house)
How To Make Witch-Hat Cupcakes (No Magic Required)
- Preheat the oven to 180°C (350°F). Grab a muffin tin, line it with paper cupcake cases—don’t fuss too much about them matching, I never do and nobody’s complained.
- Mix the dry stuff: Whisk together your flour, cocoa powder, baking powder, salt, and sugar in a big bowl. (Sometimes I sift, sometimes I don’t. Depends on my mood. Just break up any big lumps.)
- Wet ingredients go next: In another jug, mix the oil, milk, eggs, and vanilla. Beat them together like you mean it.
- Combine both: Pour the wet into the dry, stir till just combined—don’t overmix; seriously, lumpy is fine. This is where I usually sneak a quick taste—not that I endorse eating raw batter (but you know…)
- Bake: Spoon the batter into cases, about two-thirds full. Bake for 17–20 mins; check with a toothpick, but my oven’s a little unreliable so sometimes it’s more like 23. If the tops spring back, you’re golden.
- Cool and Frost: Let cupcakes chill until completely cool. Frosting melts if you rush here—ask me how I know! Slap on some buttercream (as much or as little as you like—I go heavy because life’s short).
- Build your hats: Place a chocolate cookie flat on each cupcake for the brim. Plop a chocolate cone upended on top for the hat. Any gap between the hat and brim? Pipe a little extra frosting (or blob it with a knife, honestly—it’s Halloween, so ‘messy’ is a vibe).
- Decorate! Melt your candy melts, drizzle or pipe around the hat base, sprinkle on candies, drag the kids over and let them go wild. Don’t stress if they look uneven or ‘wonky.’ Witch hats, by definition, look a bit crooked, don’t they?
Some Notes—Stuff I Figured Out (the Hard Way)
- The cones are weirdly fragile. Be gentle! Or don’t—I’ve glued more than one back together with melted chocolate. Nobody noticed.
- If your icing’s too runny, just shove it in the fridge for 10 mins; it’ll sort itself out.
- If you try to make these with gluten-free flour, just watch the bake time—mine came out kinda dry once, but then the frosting saved it. Go heavy on the frosting if you need to.
Variations (Some Good, Some… Less So)
- Once, I made these red velvet—looked fun, but honestly, the chocolate’s just more witchy. If you prefer vanilla, go wild! They’ll still look cool.
- You can add raspberry jam in the middle if you want a surprise ‘blood’ filling. My kids groaned but still ate them (and licked the plate, so there’s that).
- Tried marshmallow fluff for the ‘glue’ on the hats once—big mistake, everything slid off. Stick to buttercream for this step, trust me.
On Tools: What If You Don’t Have X?
You need a muffin tin and paper cases, sure. But if you don’t have a piping bag—hello, sandwich bag with the corner snipped off. I did that for ages. A mixing bowl and spatula, obviously, and a hand whisk (I’ve even used a fork in a pinch). I mean, let’s not get precious.
How To Store Witch-Hat Cupcakes (If Any Survive…)
Box ’em up in a cake carrier or airtight tub; they’ll keep a couple of days at room temp. Or a bit longer in the fridge, but the cones get a bit chewy. Though honestly, in my house, there’s never any left past 24 hours! If you want to make ’em ahead, bake/frost the cupcakes and add the hats on the day, just so the hats don’t wilt.
How To Serve—And a Silly Tradition We Started
I like to pile these up on a big tray with a sprinkle of edible ‘glitter’ and dusting of icing sugar (looks like frost on the hats, if we’re getting fancy). We pass ‘em out after trick-or-treating, when everyone’s cold and slightly sticky. My friend Karen swears by serving them with hot chocolate—she even makes this homemade mix she found on Sally’s Baking Addiction (it’s as lush as it sounds).
What I Learned (Because Rushing Never Ends Well)
- I once tried stacking the hats while the cakes were still warm; everything sagged and looked like a Salvador Dalí painting gone wrong. Let things cool—seriously.
- Don’t skimp on the cookie ‘brim’. The hats tip over if the base is too small. Learned this one the messier way.
- If you’re making a big batch, set up a little decorating station for the toppings. It gets a bit chaotic but makes for good family pandemonium.
Real FAQ: Because Folks Actually Ask
Q: Can I use a cake mix instead?
Absolutely—I’m not here to shame. On days when I can’t face another dirty bowl, a box mix is fine. Just use chocolate for that spooky vibe.
Q: What if my cones crack?
Happens to the best of us. Glue ’em together with melted chocolate, and if they’re still wonky—call them ‘rustic.’ Witch hats aren’t supposed to be perfect, right?
Q: Can I freeze the cupcakes?
I mean… you can freeze the cupcakes before decorating (sans hats), but the finished ones just end up soggy. Best plan: make and eat ‘em quick.
Q: Got any ideas for the leftover bits?
Easy—kids love to nibble on broken cone fragments. Or crush ’em up and sprinkle over ice cream. Actually, there’s a killer ice cream cake recipe on Gemma’s Bigger Bolder Baking where they’d be perfect.
Not that you needed my permission, but—go have fun! And don’t stress if your hats look a bit bonkers; that’s kind of the point, honestly.
Oh! Before I forget, if you want more fun Halloween bakes, you might want to check out BBC Good Food’s spooky cakes roundup. Loads of inspiration, and not all of it as sticky as this. Promise.
Ingredients
- 1 cup all-purpose flour
- 1/2 cup unsweetened cocoa powder
- 1 cup granulated sugar
- 1/2 cup unsalted butter, softened
- 2 large eggs
- 1/2 cup milk
- 1 tsp vanilla extract
- 1 1/2 tsp baking powder
- 1/4 tsp salt
- 1 1/2 cups buttercream frosting (green, purple, or orange colored)
- 12 chocolate sugar cones (for witch hats)
- 12 chocolate sandwich cookies (for hat brims)
- Colored sprinkles or candy stars (for hat decoration)
Instructions
-
1Preheat oven to 350°F (175°C). Line a 12-cup muffin tin with cupcake liners.
-
2In a medium bowl, whisk together flour, cocoa powder, baking powder, and salt.
-
3In a large bowl, cream together butter and sugar until light and fluffy. Beat in eggs one at a time, then stir in vanilla.
-
4Alternately add the dry ingredients and milk to the wet mixture, beginning and ending with dry ingredients. Mix until just combined.
-
5Divide batter evenly among cupcake liners. Bake for 16-18 minutes or until a toothpick inserted comes out clean. Cool completely.
-
6Frost cooled cupcakes with colored buttercream. Place a chocolate sandwich cookie upside down on each cupcake, top with a chocolate cone to resemble a witch hat, and decorate with sprinkles or candy stars.
Approximate Information for One Serving
Nutrition Disclaimers
Number of total servings shown is approximate. Actual number of servings will depend on your preferred portion sizes.
Nutritional values shown are general guidelines and reflect information for 1 serving using the ingredients listed, not including any optional ingredients. Actual macros may vary slightly depending on specific brands and types of ingredients used.
To determine the weight of one serving, prepare the recipe as instructed. Weigh the finished recipe, then divide the weight of the finished recipe (not including the weight of the container the food is in) by the desired number of servings. Result will be the weight of one serving.
Did you make this recipe?
Please consider Pinning it!!