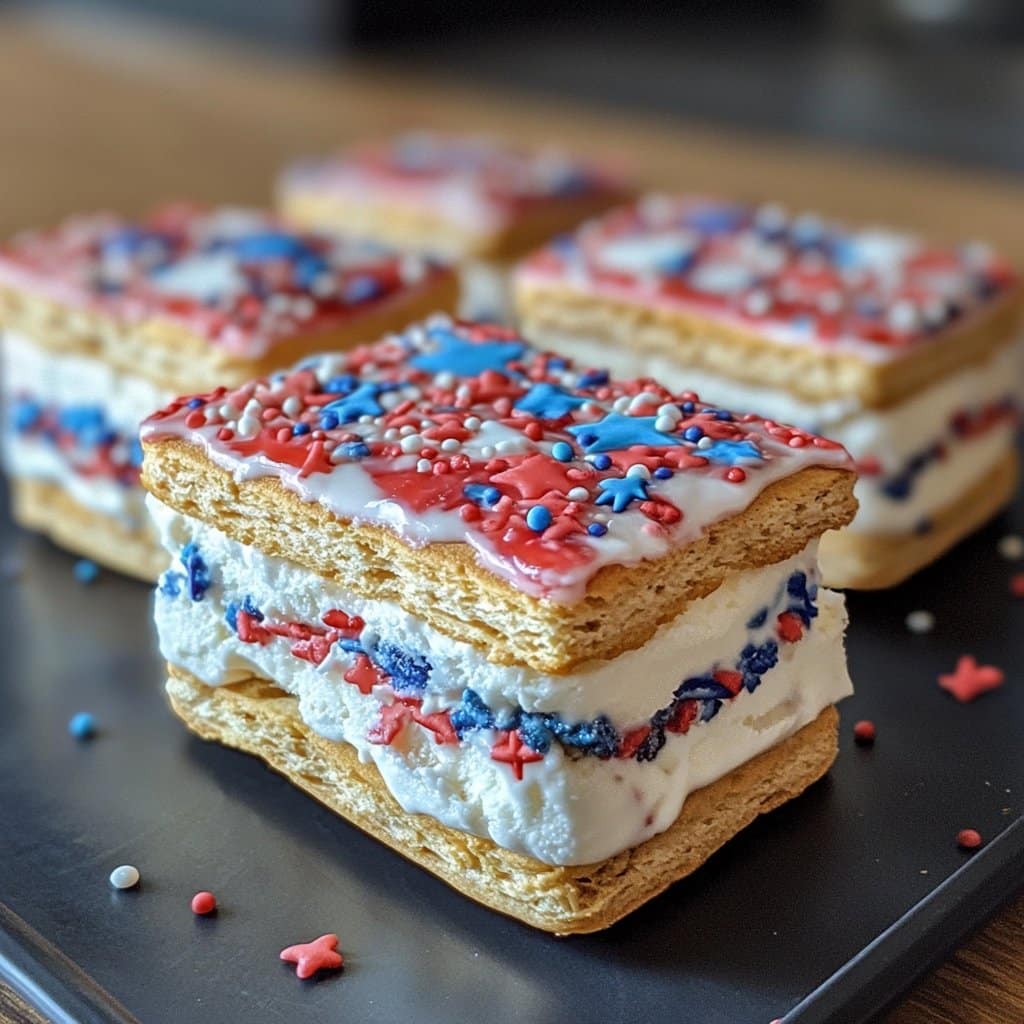
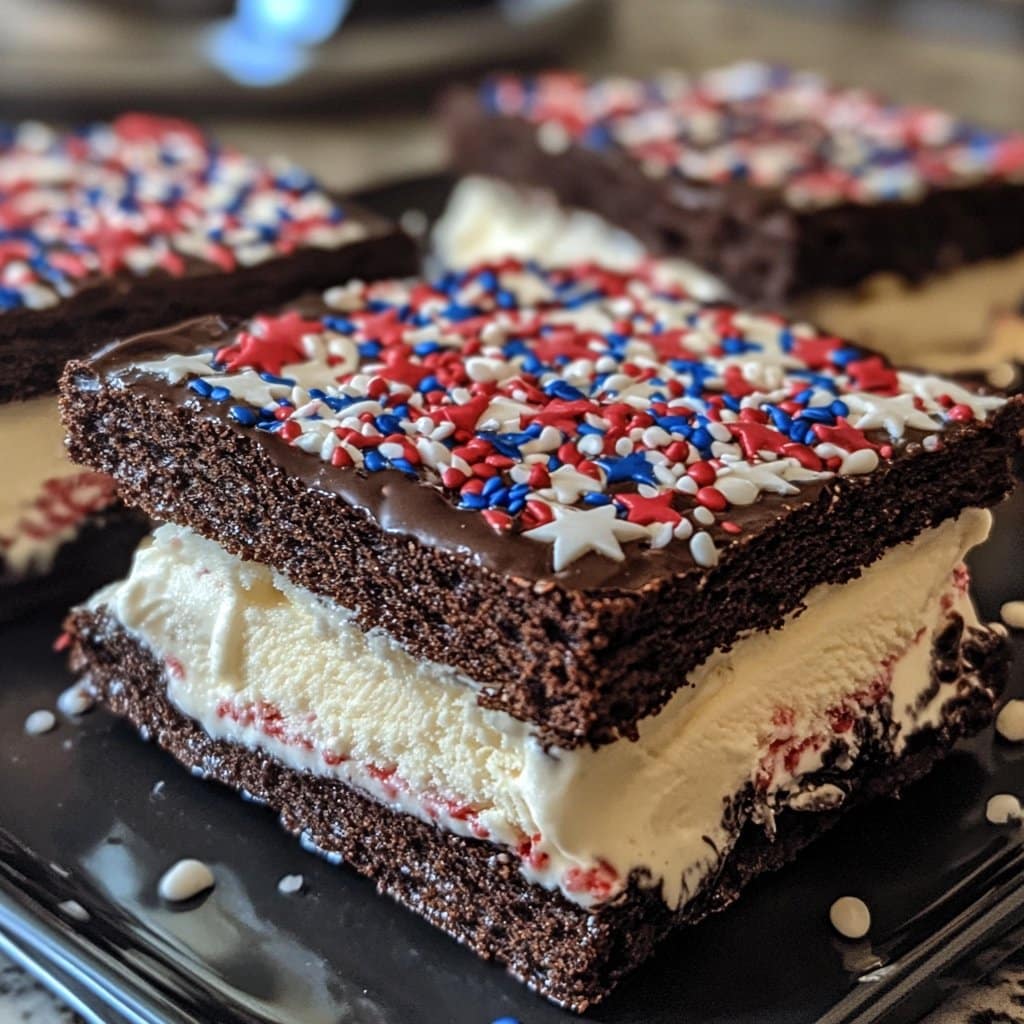
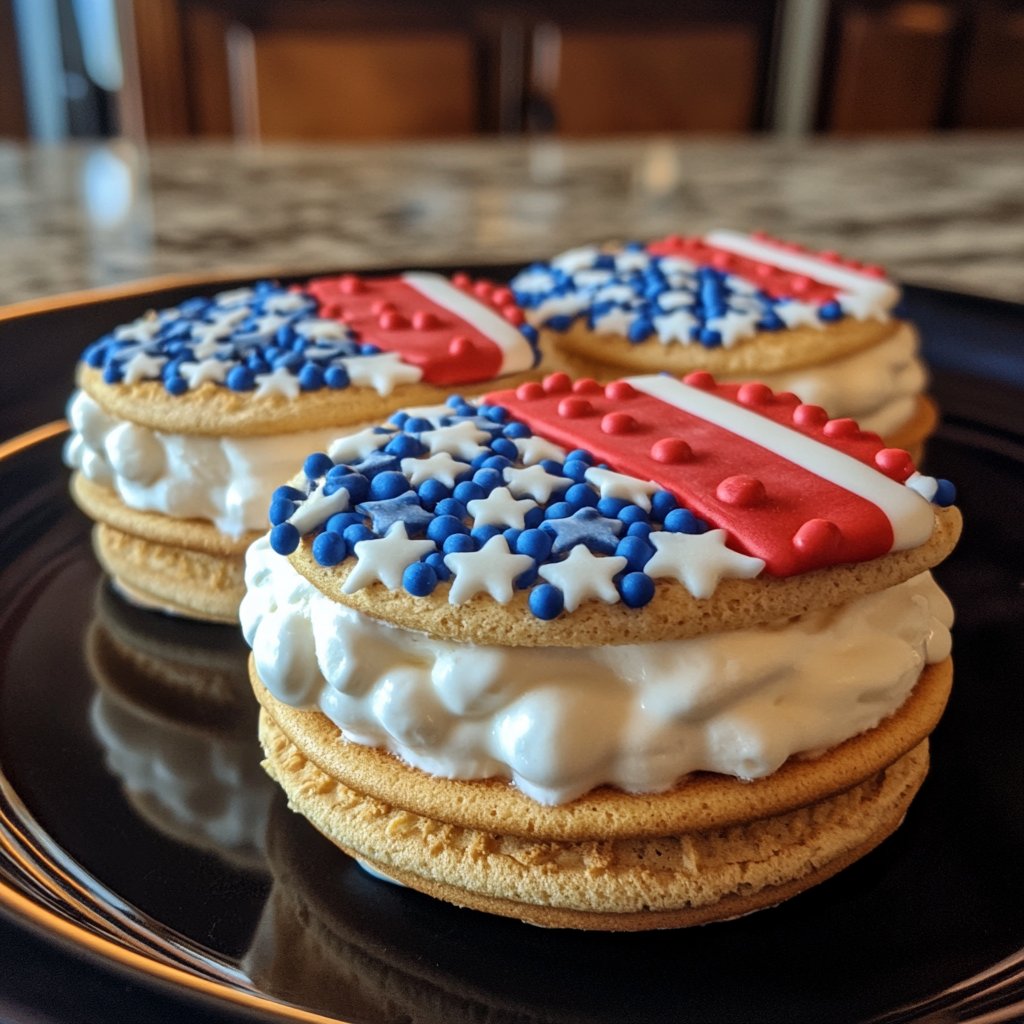
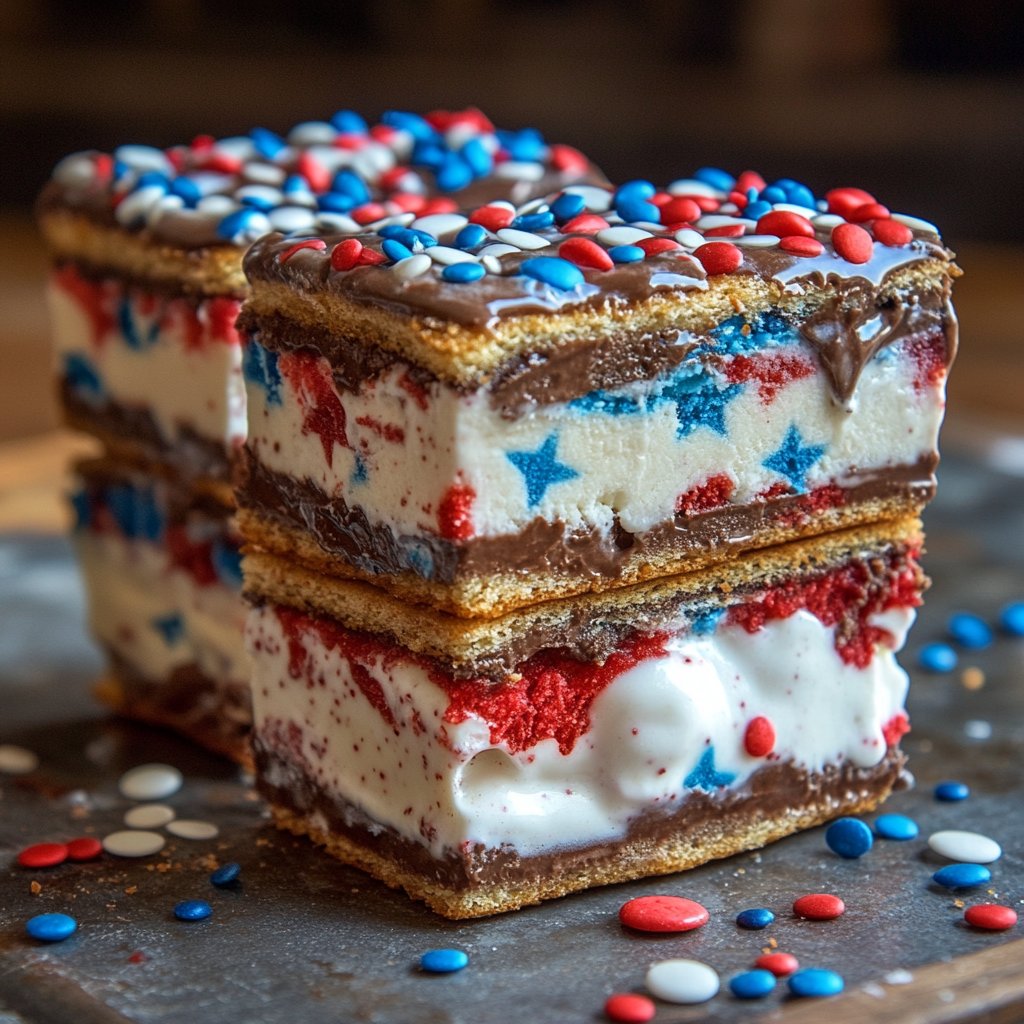
Patriotic Ice Cream Sandwiches
How These Patriotic Ice Cream Sandwiches Became My Summer Staple
Alright, so let’s get straight to it – these patriotic ice cream sandwiches have sort of become my accidental tradition every Fourth of July (and, let’s be honest, Memorial Day too, and sometimes just random Tuesdays when I’m craving something cold and a bit over-the-top colorful). The first time I made them, I was actually trying to impress my in-laws with my “culinary creativity,” but my real plan was just to bribe their approval with sprinkles and cookie sandwiches. It worked. My father-in-law still asks for the “red, white, and blue ones” every year, even though he claims to be “watching his sugar.” Go figure.
Why You’ll Probably Make These Again (I Always Do)
I make these when the summer heat hits and nobody wants to mess with the oven for more than five minutes. My family goes bananas for these because, well, who doesn’t love cookies and ice cream mashed together, and covered in sprinkles? (If you’re not into sprinkles, I’m not sure we can be friends, but you could leave them off—no hard feelings.)
And honestly, the first time I tried these, I accidentally let the ice cream get a bit too melty. Huge mess. But everyone devoured them anyway, so I guess that’s proof you can’t really mess this up. Unless you forget to buy the sprinkles. I did that one year and had to use crushed up cereal instead. Not my finest hour, but hey, it worked.
What You’ll Need (and What I Swap Sometimes)
- 1 package of store-bought sugar cookies (or bake your own if you’re feeling ambitious – my grandma swore by Pillsbury, but honestly, any will do; I sometimes grab the bakery section ones when I’m half asleep)
- 1 pint vanilla ice cream (Or frozen yogurt if the guilt gets to you; I’ve even used strawberry, but that turned it a bit pink…)
- Red, white, and blue sprinkles (I once used tiny M&Ms, which was fun, but a bit chaotic. Pop Rocks? Don’t do it. Just trust me.)
- Optional add-ons: Sliced strawberries, blueberries, or even a drizzle of chocolate sauce if you want to get fancy. But honestly, it’s all about the sprinkles.
Here’s How I Throw Them Together
- Let your ice cream sit out for like 5-8 minutes, just until it’s scoopable but not soup. This part is tricky—if you wander off to check your phone, you’ll come back to a puddle. (Ask me how I know…)
- Lay half your cookies out on a baking sheet or honestly, just a big plate if you can’t be bothered.
- Scoop a generous blob of ice cream onto each cookie. I use a regular spoon, but if you’ve got one of those fancy scoops, go wild.
- Top with another cookie and press down gently. Don’t worry if ice cream squidges out the sides. Some folks try to make them perfect circles but I kind of like the lopsided ones.
- Roll the sides in a plate of sprinkles (or whatever topping you managed to scrounge up). This is where I usually sneak a taste. You know, for quality control.
- Pop them back in the freezer for at least 30 minutes so they firm up. I mean, you could eat them right away, but they’re messy as all get out. Actually, I find it works better if you freeze them on a sheet lined with parchment. But I’ve totally just stacked them on a plate with some wax paper too.
Some Notes I’ve Picked Up Along the Way
- If you use homemade cookies, let them cool completely or you’ll have a dripping disaster (ask me how I learned that one…)
- Softer cookies make for easier eating, but if you love a good crunch, go for the crispy ones. They just get a little tougher to bite once they’re frozen solid.
- You can mix up the ice cream flavor. Mint chip turned out surprisingly well—though my husband said it “didn’t feel very patriotic.” He’s not wrong.
Variations I’ve Tried (and a Few Regrets)
- Chocolate chip cookies instead of sugar cookies – a big YES from my kids.
- Berry ice cream with lemon cookies – honestly, this was better in my head than in real life. Kind of a flavor overload.
- Swapping out sprinkles for freeze-dried berries – looks cool, tastes a little too healthy for a holiday.
What You’ll Need (But Don’t Panic If You Don’t Have Everything)
- Baking sheet or large plate (I once used a pizza box lid in a pinch. Worked fine.)
- Parchment or wax paper for less sticking
- Spoon or ice cream scoop – or just a big tablespoon, honestly, who’s judging?
Keeping Them Fresh – Or Trying To
Store your finished sandwiches in a container in the freezer, layered with parchment if you’re feeling fancy. They’ll keep for up to a week, but honestly, in my house they never last more than a day! (I tried hiding them behind the frozen peas…didn’t work.)
How I Love to Serve These
I like plopping a couple on a tray and carrying them out to the backyard with some lemonade. Sometimes we’ll add little flags (the toothpick ones, not actual flags, though that’d be a sight). If it’s just me and my sister, we eat them straight out of the freezer over the sink. Don’t judge.
Things I Learned The Hard Way (So You Don’t Have To)
- Don’t rush the freezing step. I once tried to serve these after just ten minutes in the freezer. Oops – ice cream everywhere. Now I leave them in for at least half an hour.
- If you let the cookies get too hard in the freezer, let them sit out for 3-5 minutes before eating. Otherwise, it’s like biting into a hockey puck (not that I’ve tried that…)
- Sprinkles tend to migrate everywhere. I still find the odd blue sprinkle months later. Consider it a festive souvenir.
Real Questions People Have Actually Asked Me (And My Real Answers!)
“Can I use homemade ice cream?”
You bet! Just let it firm up a bit before assembling. Homemade ice cream’s a bit softer, so freeze the sandwiches longer before eating. I love this homemade vanilla recipe if you want to go all out.
“What if I don’t have patriotic sprinkles?”
No worries. Use rainbow ones, or like I did one year, smash up some red hard candies and use those. Or heck, just skip the sprinkles and call them ‘mysteriously festive’ ice cream sandwiches.
“Can I make these ahead?”
Absolutely! They keep well for a few days (if you can hide them). Actually, I think they taste better the next day when the cookies and ice cream get a bit cozy together.
“Do I have to use sugar cookies?”
Nope! Chocolate, oatmeal, even those ginger ones from Trader Joe’s are grand. But maybe avoid overly crumbly kinds unless you want a lap full of crumbs.
For more cool treat ideas, I often check King Arthur’s cookie recipes or this fun patriotic dessert roundup at Delish.
Alright, I suppose that’s enough from me—writing about these has made me want to sneak into the kitchen and grab one. If you try them, let me know how it goes (and if you find a way to keep the sprinkles from getting everywhere, you’re officially a magician in my book!).
Ingredients
- 2 cups all-purpose flour
- 1/2 teaspoon baking powder
- 1/4 teaspoon salt
- 1/2 cup unsalted butter, softened
- 3/4 cup granulated sugar
- 1 large egg
- 1 teaspoon vanilla extract
- 1.5 quarts vanilla ice cream, slightly softened
- 1 cup red, white, and blue sprinkles
Instructions
-
1Preheat the oven to 350°F (175°C) and line a baking sheet with parchment paper.
-
2In a medium bowl, whisk together the flour, baking powder, and salt.
-
3In a large bowl, cream the butter and sugar until light and fluffy. Beat in the egg and vanilla extract.
-
4Gradually add the dry ingredients to the wet ingredients, mixing until combined. Scoop dough onto the prepared baking sheet and flatten slightly.
-
5Bake for 10-12 minutes or until the edges are lightly golden. Cool completely.
-
6Scoop vanilla ice cream onto the flat side of one cookie, top with another cookie, and gently press to form a sandwich. Roll the edges in red, white, and blue sprinkles. Repeat with remaining cookies and ice cream. Freeze until firm before serving.
Approximate Information for One Serving
Nutrition Disclaimers
Number of total servings shown is approximate. Actual number of servings will depend on your preferred portion sizes.
Nutritional values shown are general guidelines and reflect information for 1 serving using the ingredients listed, not including any optional ingredients. Actual macros may vary slightly depending on specific brands and types of ingredients used.
To determine the weight of one serving, prepare the recipe as instructed. Weigh the finished recipe, then divide the weight of the finished recipe (not including the weight of the container the food is in) by the desired number of servings. Result will be the weight of one serving.
Did you make this recipe?
Please consider Pinning it!!