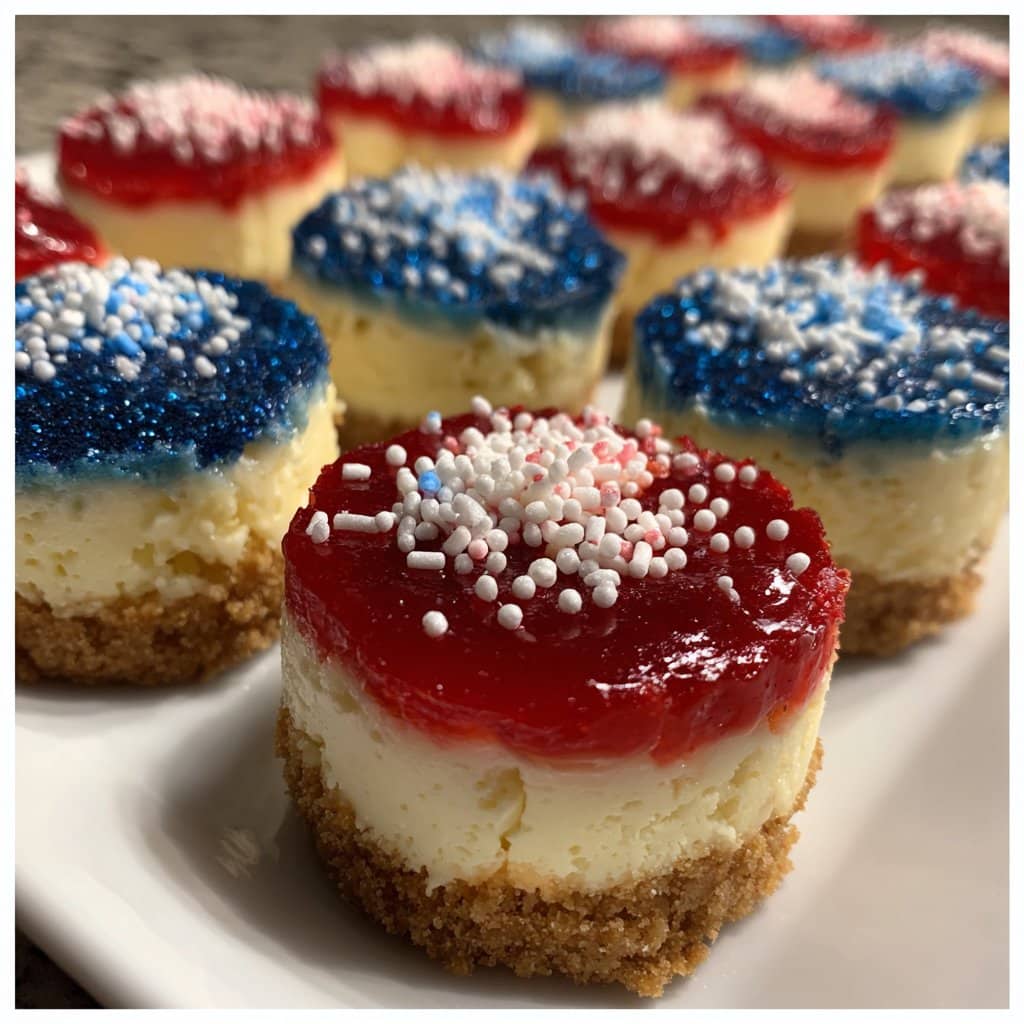
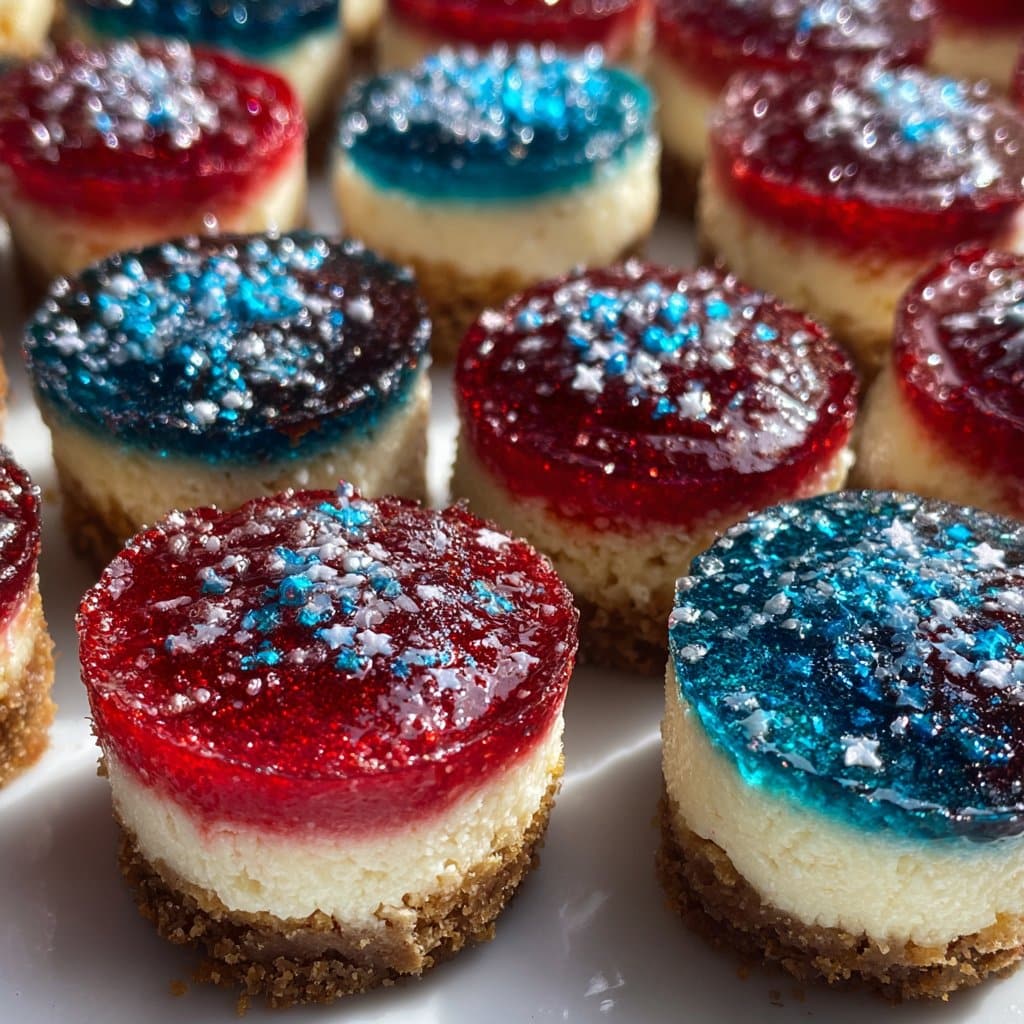
Independence Day Cheesecake Bites
Let’s Talk About These Cheesecake Bites (And a Random Side Story)
Every July 4th, my kitchen turns into a bit of a battlefield — but, you know, in the best possible way. The first time I made these Independence Day Cheesecake Bites, my nephew mistook the blue sprinkles for confetti and decided to toss them across the living room (I’m still finding the odd blue dot). Honestly, I make these every year because they’re just plain fun to put together, and people hoover them up like they’ve not eaten in days. U.S. flag dessert? Kind of. But mostly, it’s an excuse to eat something creamy and sweet while fireworks shake the windows. Oh, and if you ever get distracted and swap out the vanilla for almond extract, I mean, that’s just a new tradition in the making, right?
Why You’ll Love This (Or At Least Not Regret Making It)
I make this when I want something that looks like I tried harder than I actually did. My family goes crazy for these because they’re bite-sized (aka you can eat five and pretend it’s one serving). Maybe it’s the nostalgia of summer or just the fact that they disappear faster than my patience at a family cookout. I used to get annoyed at trying to make perfect swirls on top — they always looked a bit like a toddler went at them with finger paints. Now I just embrace the chaos. Plus, if you mess up the layering, it still tastes awesome. Oh, and they’re a real crowd-pleaser (except for that one aunt who says, ‘I don’t eat dairy’ every single year — love you, Aunt Pam).
What You’ll Need (And What I Sometimes Swap)
- 1 pack (about 200g) graham crackers (sometimes I just use digestive biscuits if that’s what’s in the cupboard)
- 1/4 cup melted butter — salted or unsalted, honestly no one can tell except my grandmother, who insists on unsalted
- 8 oz (225g) cream cheese, softened (brand? Whatever’s on sale; Philly is classic but store brand is fine)
- 1/3 cup granulated sugar (sometimes I mix in a tablespoon of brown sugar if I’m feeling wild)
- 1 teaspoon vanilla extract (or almond, like that one accidental time — surprisingly tasty)
- 1 large egg
- Red and blue food coloring (I ran out once and just used raspberry jam for red — tasted great, bit messy)
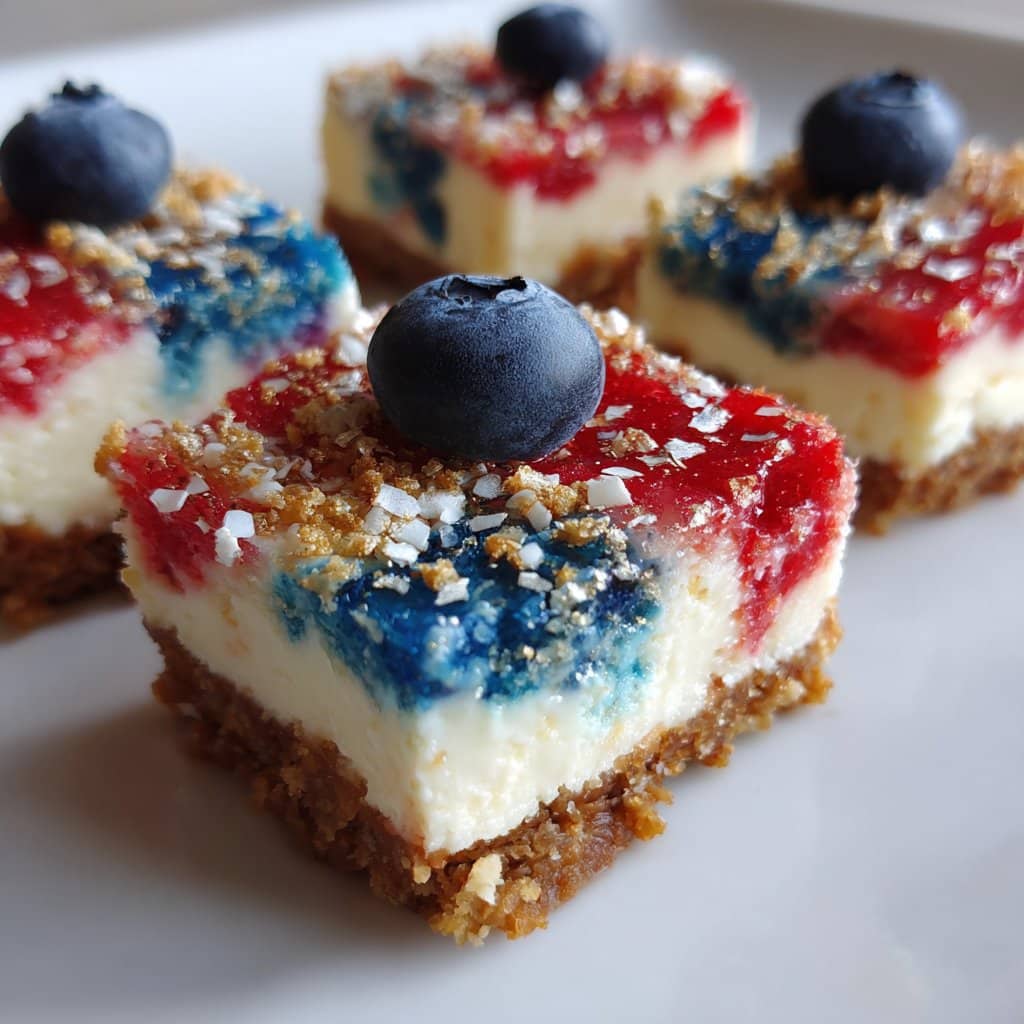
- Fresh berries for topping (blueberries, strawberries, raspberries — whatever looks decent at the store)
- Sprinkles or whipped cream, optional but fun
Let’s Get Messy: Directions
- Crush the graham crackers into crumbs. I usually stick them in a zip-top bag and whack them with a rolling pin — therapeutic, honestly. Mix with melted butter and press into the bottom of mini muffin tins (lined or greased, your call). This is where I sneak a taste, not gonna lie.
- In a bowl, beat the cream cheese, sugar, and vanilla until smooth. Add the egg and keep mixing until it looks glossy — don’t stress if there are a few lumps, mine always has some and no one’s noticed yet.
- Divide the batter into three bowls. Tint one bowl red, one blue, leave one plain (patriotic, right?). I just use a couple drops of gel coloring, but don’t overthink it.
- Spoon a bit of each color on top of the crusts. Some years I try to be all swirly with a toothpick, other times I just plop them in and call it abstract art. Both taste the same.
- Bake at 325°F (160°C) for about 15-18 minutes. They’ll puff a little, then settle down. If they crack, it’s fine; cover it with berries. Let them cool completely before you try to take them out — trust me, impatient hands make a mess here.
- Top with fresh berries, maybe a squirt of whipped cream if you’re feeling extra. Or just eat them plain in the pantry so your kids don’t see.
Notes From My Kitchen (Or, What I Learned the Hard Way)
- If you forget to let the cream cheese soften, just microwave it for 10 seconds (not a second more, or you get a weird edge thing going on).
- Don’t obsess over perfect colors. One year mine turned out more purple and nobody cared.
- I sometimes make the crust with leftover cookies. Shortbread is pretty good too.
Variations I’ve Tried — Some Worked, One Didn’t
- I tried making these with a chocolate crust once; honestly, they tasted good but didn’t look as festive. Up to you.
- Mini Oreo bases? Surprisingly amazing, though my kids just ate the crust and left the cheesecake.
- I once attempted a gelatin layer for a fancy look — it slid off and looked like a science experiment. Wouldn’t recommend that, haha.
What If You Don’t Have All the Equipment?
Mini muffin tins are ideal, but if you’ve just got a regular tray, go ahead and use that — just cut into squares when done. No electric mixer? Good old elbow grease works (I’ve done it with a fork after my hand mixer died mid-recipe). A food processor for the crumbs is nice but smashing them in a bag is more fun, in my opinion.
How Long Do They Last? (Not That They Ever Do)
Technically, you can store these in the fridge for up to 3 days in an airtight container — but honestly, in my house, they never last more than a day! If you want to make them ahead, I think they actually taste better the next day since the flavors kind of meld together.
How I Like to Serve ‘Em (Because Of Course I Have Opinions)
I love piling these on a big platter, all messy and colorful, and shoving a few American flags in for good measure. Sometimes we do a blindfolded taste test — it’s silly, but hey, it’s a tradition now. My brother insists on more whipped cream than cheesecake; you do you.
Things I Learned the Hard Way (Pro Tips, Sort Of)
- Don’t try to rush the cooling step. I once tried to pop them out warm and they basically turned into pudding bites — still tasty, but not finger food.
- Actually, I find it works better if you set a timer. I always think I’ll remember, but I never do.
- If your food coloring is old and crusty, just skip it or use jam. (Also, why do these bottles last forever?)
FAQ (Because People Really Do Ask Me These Things)
- Can you freeze these? I’ve tried — they’re okay, but the texture gets weird. Might be fine if you just want a cold snack.
- Is there a gluten-free version? Sure, just use GF cookies for the base. My neighbor swears by this brand: Tate’s.
- Do you have to use food coloring? Nope! Berry swirls or jam work great. See Sally’s Baking Addiction for some inspiration.
- Can I double the recipe? Absolutely. You’ll just need a bigger tray. Or make two batches and hide one (highly recommend).
- Why do mine crack on top? Happens to me, too. Just cover with berries. Or, if you figure out how not to, let me know!
And there you have it. A hands-on (sometimes messy), festive treat for your Independence Day — or honestly, any day you want to sneak something sweet. Happy baking, y’all! (And if you find blue sprinkles in your couch cushions next week, my bad.)
Ingredients
- 1 cup graham cracker crumbs
- 3 tablespoons unsalted butter, melted
- 8 oz cream cheese, softened
- 1/3 cup granulated sugar
- 1 teaspoon vanilla extract
- 1/2 cup heavy cream
- 1/2 cup fresh strawberries, diced
- 1/2 cup fresh blueberries
Instructions
-
1Line a mini muffin tin with paper liners. In a small bowl, combine graham cracker crumbs and melted butter. Mix until the crumbs are evenly coated.
-
2Spoon about 1 tablespoon of the crumb mixture into each liner and press firmly to form the crust. Chill in the refrigerator while preparing the filling.
-
3In a medium bowl, beat the cream cheese, sugar, and vanilla extract until smooth and creamy.
-
4In a separate bowl, whip the heavy cream until stiff peaks form. Gently fold the whipped cream into the cream cheese mixture until well combined.
-
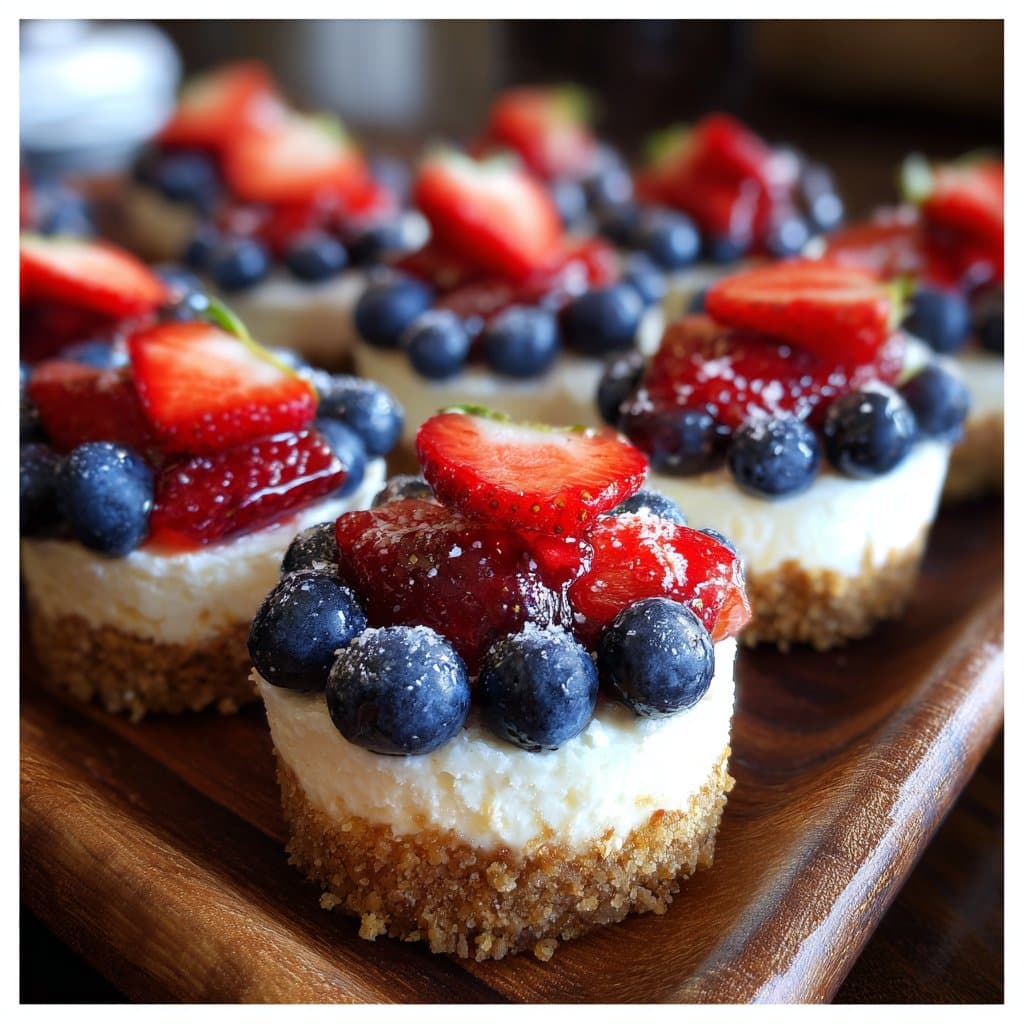
5Spoon or pipe the cheesecake filling onto the prepared crusts. Top each bite with diced strawberries and blueberries to create a festive red, white, and blue look.
-
6Refrigerate the cheesecake bites for at least 2 hours before serving to allow them to set.
Approximate Information for One Serving
Nutrition Disclaimers
Number of total servings shown is approximate. Actual number of servings will depend on your preferred portion sizes.
Nutritional values shown are general guidelines and reflect information for 1 serving using the ingredients listed, not including any optional ingredients. Actual macros may vary slightly depending on specific brands and types of ingredients used.
To determine the weight of one serving, prepare the recipe as instructed. Weigh the finished recipe, then divide the weight of the finished recipe (not including the weight of the container the food is in) by the desired number of servings. Result will be the weight of one serving.
Did you make this recipe?
Please consider Pinning it!!