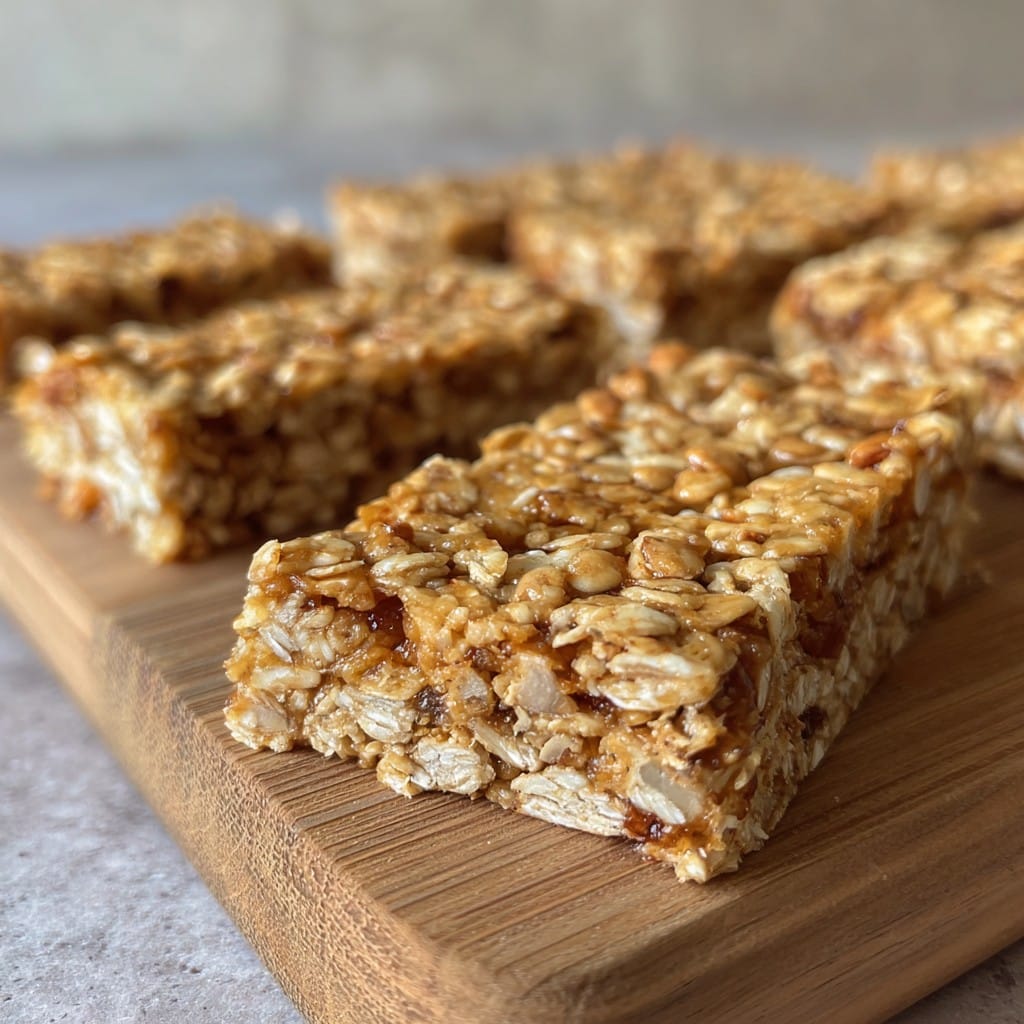
Healthy Chewy Granola Bar Recipe With Oats
Well, This One’s a Keeper: How I Stumbled Into Granola Bar Obsession
Okay, I’ll confess right up front: the first time I tried making homemade granola bars, I accidentally confused baking powder for oats. (Pro-tip: Don’t do that. The results will haunt you.) But once I actually figured it out, these healthy chewy oat bars sort of, well, took up permanent residence in our kitchen. I make ’em at night when the kids can’t sleep, and honestly, I think my partner loves them more than my famous banana bread – not that I’ll ever admit that out loud.
Oh, and once, I tried to bring them on a train ride, but half of them vanished before we left the driveway. Something about a snack that’s not a sugar brick and won’t dry your mouth out like the Sahara just wins everybody over.
Why You’ll Love This (Or, Why I Can’t Stop Making Them)
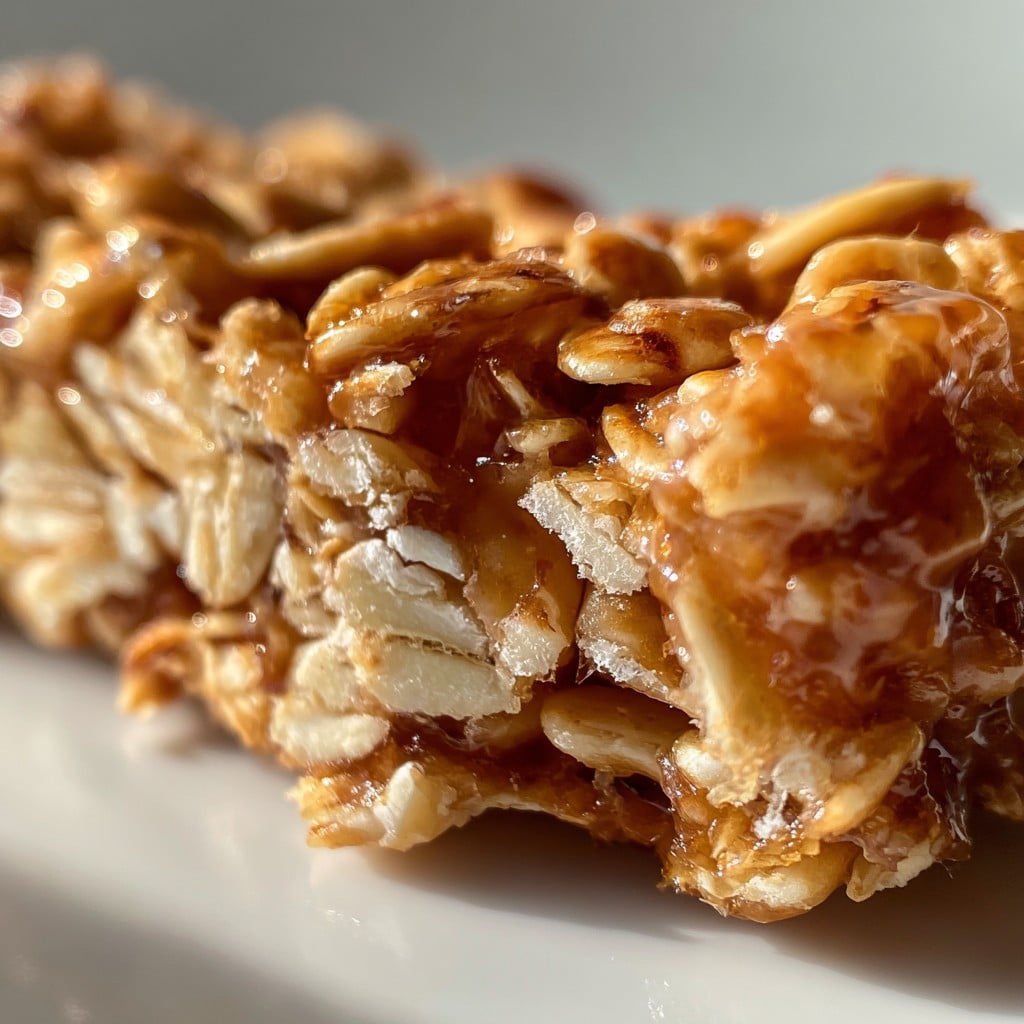
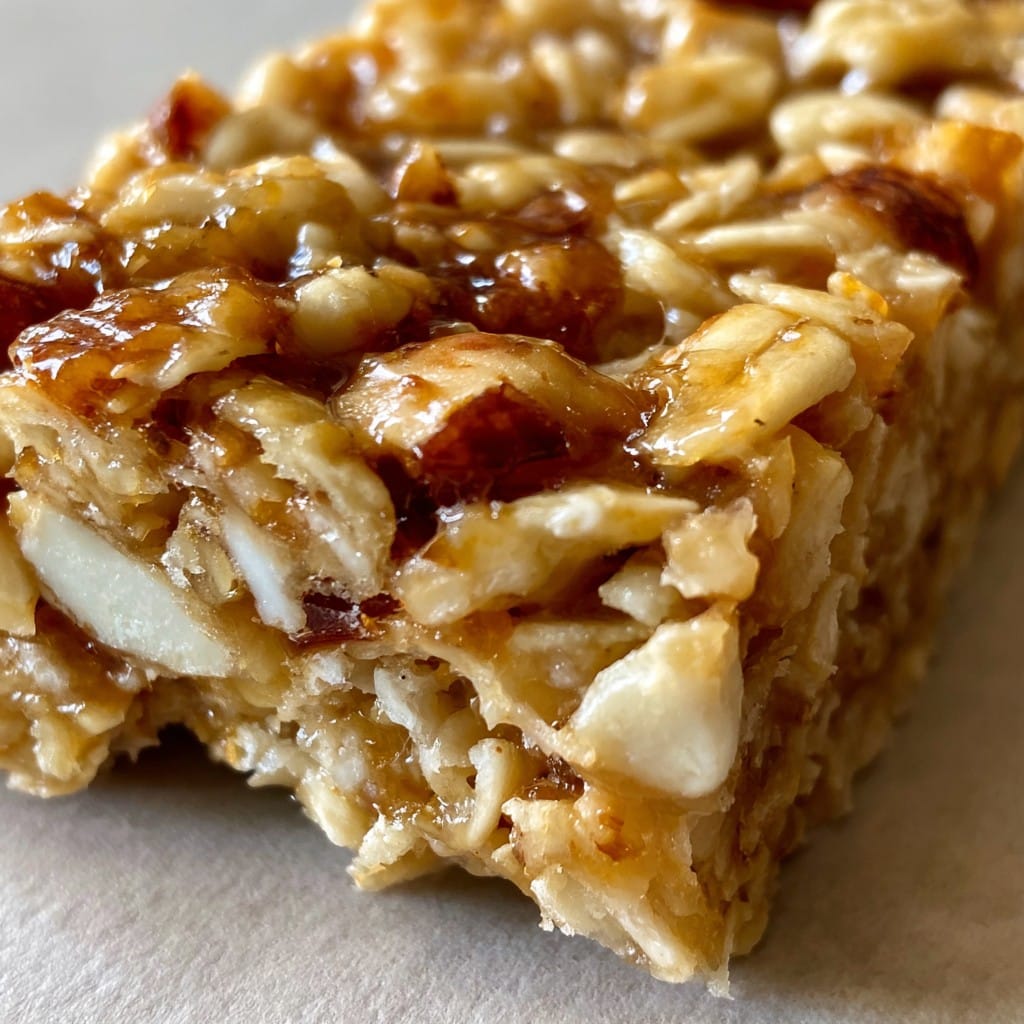
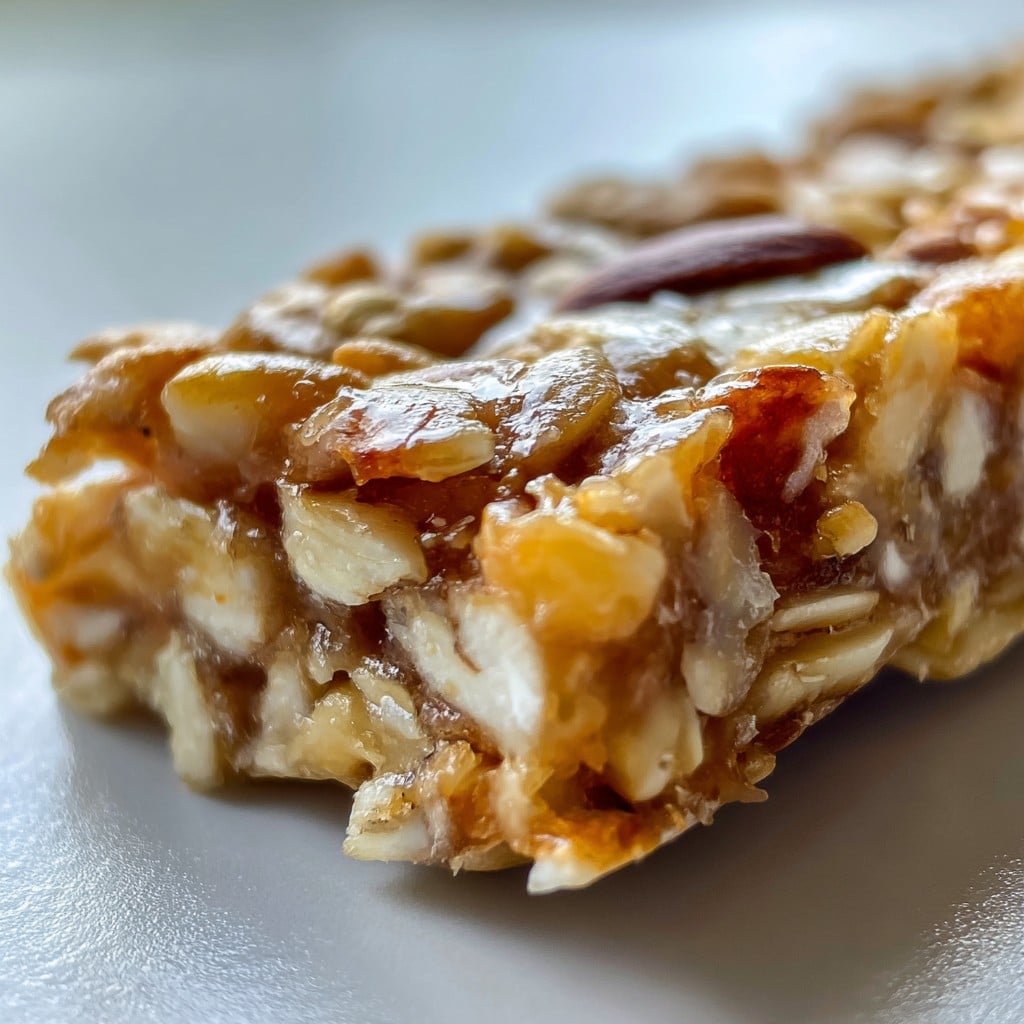
I bake these when my weekday brain is running on fumes because they’re fuss-free. My family goes wild for them (especially if I hide a square or two with chocolate chips inside). Honestly, sometimes the bars get a little…er, rustic looking when I’m in a rush, but they always taste amazing. If you’ve ever wrangled with crumbly granola that just falls apart, you’ll really appreciate how these bars hang together (a minor miracle, if you ask me).
What You’ll Need to Get Started (Substitutions Welcome)
- 2 cups rolled oats (My gran says, “Use the thick-cut ones!” but quick oats work if that’s all you’ve got lying around.)
- 1/3 cup runny honey or maple syrup (Sometimes I use a mix, sometimes just whatever I grab first.)
- 1/4 cup nut butter (I usually go peanut, but almond or even tahini has snuck in before. Sunflower butter is a solid sub if nuts are a no-go.)
- 1/4 cup chopped nuts (almonds, pecans, cashews – literally any combo. Or you can use seeds, if you want.)
- 1/3 cup dried fruit (chopped apricots, sour cherries, or raisins; my youngest likes cranberries, for some reason)
- 1/4 cup mini chocolate chips (optional, but highly recommended for morale)
- Pinch of salt (sea salt flakes are fancy, but table salt’s fine)
- 1/2 tsp cinnamon (I sometimes skip this if the mood strikes – or use pumpkin pie spice for a change.)
- 2 Tbsp melted coconut oil or unsalted butter (olive oil in a pinch, but the flavor gets assertive)
- 1 tsp vanilla extract (sometimes I forget it, never had a complaint lol)
How to Actually Make These (With Room for Error)
- Preheat your oven to 325°F/160°C. Line an 8-inch square pan with parchment – leave the sides overhanging for easy removal. (Honestly, if you use foil, just grease it well… it’ll work.)
- In a big bowl, toss together oats, nuts, dried fruit, chocolate chips (if using), cinnamon, and salt. This is where I usually sneak a taste – and sometimes regret not mincing the fruit smaller.
- In a small saucepan, warm the honey (or maple), nut butter, and coconut oil gently, just so they blend together. Stir in vanilla as you take it off the heat. Don’t let it boil; it’s just to melt and mingle.
- Pour the gooey mix over your dry stuff and stir until it’s all sticky and there’s no floury dust lurking at the bottom. If it seems way too dry, add another squeeze of honey or a shot of warm water. (It always feels like too much at first, but trust me.)
- Scrape it all into your lined pan; squish it down with the back of a spatula or a clean hand. Really press – I used to skip this and got crumbly bars. Push it into the corners!
- Bake 18 to 20 minutes, but if you like chewier bars, pull them out around 18. The edges might look a bit golden; the middle will still seem soft. (Don’t worry; it sets up as it cools.)
- Let it cool in the tin for at least 30 minutes (I know, the worst part), then lift out and slice into bars or squares. Or triangles if you want to be fancy.
A Few Hard-Won Notes (Learn from My Many Mishaps)
- If you slice before it’s really cool, be ready for a delicious, sticky disaster. Still edible, but you might need a spoon.
- The bars freeze well, but wrap ’em up – once I got lazy with a Ziploc and they tasted like freezer. Not good.
- Actually, I think these taste better the next day. Something about the flavors settling, maybe?
Tinkering With Variations (Some Winners, One Flop)
- I swapped all the dried fruit for shredded coconut once and it was a hit.
- Threw in mashed ripe banana instead of some honey… it got too soft, but still yummy. Maybe cut back on the liquid next time.
- Tried protein powder as a sub for some oats. On second thought, the texture was weird – probably won’t bother doing that again (unless someone tips me off).
So, Equipment? Don’t Stress Too Much
All you really need is an 8-inch baking dish, but I’ve used a loaf pan before—just press it thinner. No parchment? I sometimes butter the pan and deal with stuck bits; it’s worth it for less washing up.
Storage: How Long Will These Last (Ha!)
Technically, up to a week in an airtight tub. But honestly, in my house it never lasts more than a day! If you do have leftovers, wrap them well and freeze—just let them thaw at room temp before snacking.
How To Serve (Personal Favorites Ahead)
Breakfast on the run, obviously, but I also like to dunk a bar in Greek yogurt (don’t knock it till you’ve tried it). My cousin crumbles it over ice cream; I’m not judging. Oh, and after hiking, that’s when they really hit the spot. Also, they look adorable stacked on a plate for picnics.
Pro Tips I Learned The Hard Way
- I once tried using cold nut butter straight form the fridge and it wouldn’t mix. Always warm it a bit so it blends easily.
- Don’t rush the cooling (I know, I keep saying it)—your bars need time to stick together, or it’s just fancy granola.
Granola Bar FAQs: Seriously, Folks Ask Me These!
- Can I make this nut-free? Totally. Just use sunflower seed butter (like SunButter) and extra seeds instead of nuts.
- Gluten-free? Yep, as long as your oats are certified GF (I usually buy Bob’s Red Mill when I can). Double-check those labels since not all oats are safe.
- What’s the best way to press the mix down? A regular spatula works, but sometimes I use the bottom of a mug wrapped in cling film—seems random, but it squishes everything level!
- Can I double the recipe? I’ve done it in a 9 by 13 pan, but they end up a bit thinner. Still tasty, just cut into more bars.
- They’re super sticky—did I do something wrong? Nope, probably just snacked too soon (we’ve all been there). Or maybe a heavy hand with honey. Just set them in the fridge to firm up! And next time, you could swap in a bit more oats if you like them firmer.
Oh, one last thing—if you want some more homemade breakfast ideas, check out Smitten Kitchen (love her stuff) or Minimalist Baker; both have killer recipes for folks in a hurry. Happy snacking – and let me know if you tweak it and find something magical. Or, you know, if you manage to get the bars to last more than 24 hours. That seems like a feat worth celebrating.
Ingredients
- 2 cups old-fashioned rolled oats
- 1/2 cup raw honey or maple syrup
- 1/3 cup natural peanut butter
- 1/3 cup chopped raw almonds
- 1/2 cup dried cranberries or raisins
- 1/4 cup unsweetened shredded coconut
- 1/2 teaspoon ground cinnamon
- 1 teaspoon pure vanilla extract
- 1/4 teaspoon sea salt
Instructions
-
1Preheat the oven to 350°F (175°C). Line an 8×8 inch baking pan with parchment paper.
-
2In a large bowl, combine rolled oats, almonds, dried cranberries, shredded coconut, cinnamon, and sea salt. Mix well.
-
3In a small saucepan over low heat, stir together honey and peanut butter until smooth and warm. Remove from heat and stir in vanilla extract.
-
4Pour the wet mixture over the dry ingredients. Stir until everything is well combined and oats are evenly coated.
-
5Transfer the mixture to the prepared baking pan. Press firmly into an even layer using a spatula or clean hands.
-
6Bake for 18-20 minutes until golden around the edges. Allow to cool completely in the pan before lifting out and slicing into bars.
Approximate Information for One Serving
Nutrition Disclaimers
Number of total servings shown is approximate. Actual number of servings will depend on your preferred portion sizes.
Nutritional values shown are general guidelines and reflect information for 1 serving using the ingredients listed, not including any optional ingredients. Actual macros may vary slightly depending on specific brands and types of ingredients used.
To determine the weight of one serving, prepare the recipe as instructed. Weigh the finished recipe, then divide the weight of the finished recipe (not including the weight of the container the food is in) by the desired number of servings. Result will be the weight of one serving.
Did you make this recipe?
Please consider Pinning it!!