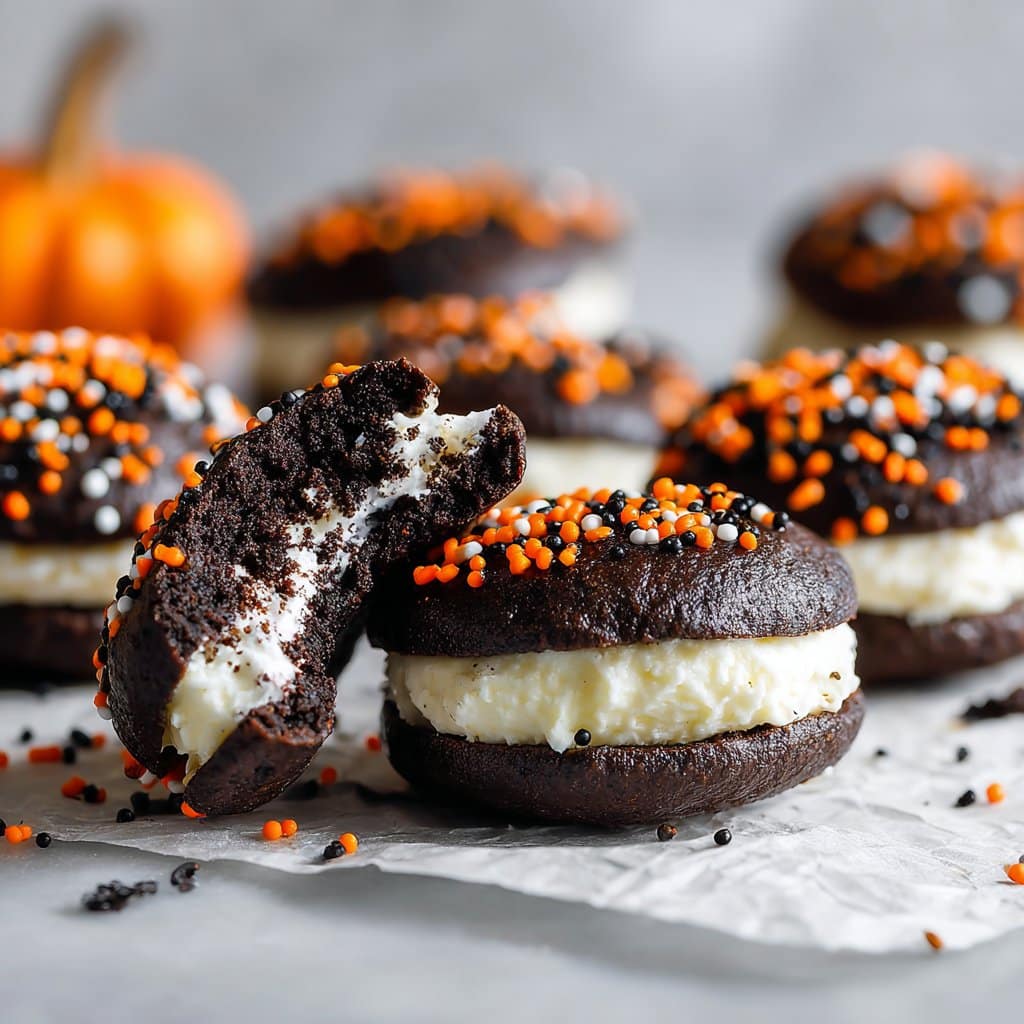
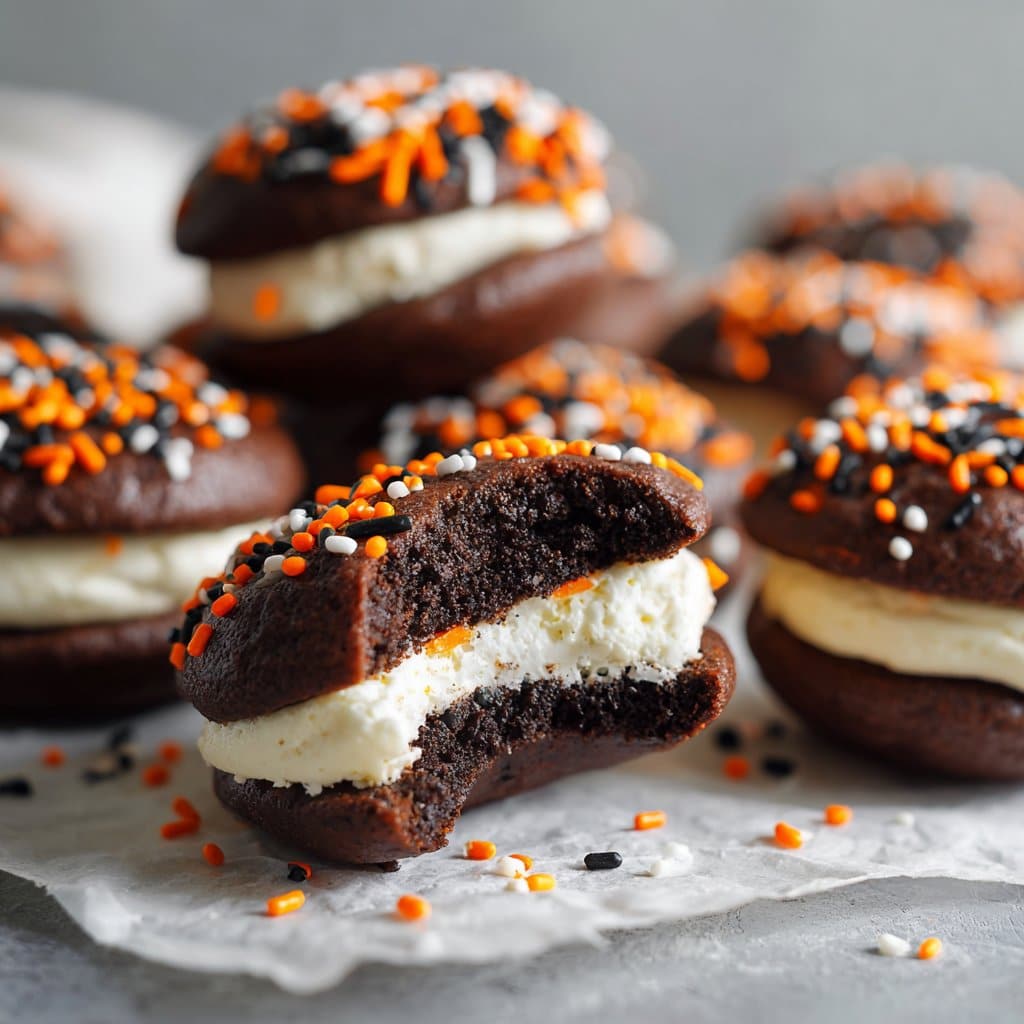
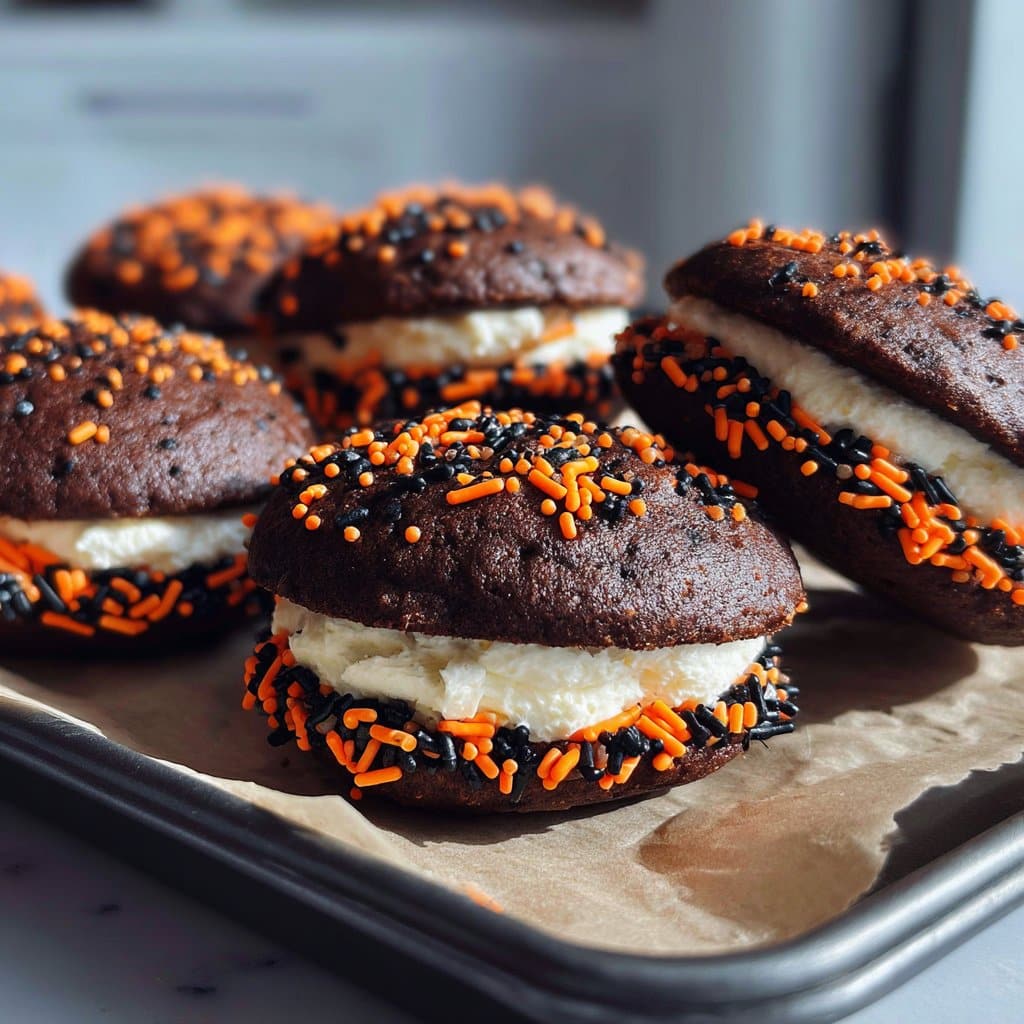
Halloween Whoopie Pies – Spooky, Fun & Easy to Make
Baking Halloween Whoopie Pies with a Real-Life Twist
Alright, so let me tell you—if Halloween rolls around and I don’t make these whoopie pies? My kids start giving me the side-eye like I’ve failed as a parent. The first time I pulled these spooky pies together was probably six years ago. The kitchen looked like a ringwraith had gone wild in my pantry (orange and black food coloring everywhere, don’t ask about the cupboards). But somehow, every year, I still get way too into it, blasting “Monster Mash” and giggling while piping little spiderwebs. Side note: if you ever want to see a grown man in a Dracula cape panic when a piping bag bursts, my husband’s your guy. Ha!
Why You’ll Actually Love Making These
I make these when the weather starts to do that blustery autumn thing (you know, when your windows rattle just so), and I absolutely need to bribe my family into helping decorate for Halloween. My sister-in-law’s obsessed; she swears the chocolatey-cakey bits remind her of her college cafeteria but in a good way. I think it’s really the face decorating—none come out perfectly (mine often look more like squished bats), but that’s half the fun. For real, it took me ages to realize: the messier the food coloring, the more the kids love it. It’s not a neat and tidy treat—embrace that. And if you mess up the frosting colors? No one cares.
What You’ll Need (and What You Can Swap)
- 2 cups all-purpose flour (I tried gluten-free flour once—eh, they got a bit crumbly, but still good for gluten-free folks)
- 3/4 cup unsweetened cocoa powder (my grandma used to say you gotta splurge for Dutch-process, but honestly, Hershey’s works fine)
- 1 teaspoon baking soda
- 1/2 teaspoon salt (I sometimes skip this and can’t taste the difference, but go on, be proper if you like)
- 1 cup light brown sugar, packed
- 1/2 cup unsalted butter, softened (you can use margarine in a pinch… though I never love the flavor as much)
- 1 large egg
- 1 teaspoon vanilla extract
- 1 cup buttermilk (or regular milk with a splash of vinegar—my emergency cheat!)
- Filling: 4 ounces cream cheese, softened
- 1/4 cup unsalted butter, softened
- 2 to 2 1/2 cups powdered sugar (just add till it looks fluffy to you)
- Orange gel food coloring (regular liquid color makes things runny—trust me, did that once)
- Chocolate chips or candy eyes for faces (I’ve also used mini M&Ms—very cute and honestly a little more fun than the candy eyes)
- Optional: black food coloring or decorating gel for extra spooky faces
How I Throw This Together (and Where I Go Rogue)
- First off, oven at 350°F (175°C). Line two baking trays with parchment—if you don’t have parchment, a well-buttered tray works. A little. They do stick, though, so beware.
- Whisk your flour, cocoa, baking soda, salt. It’s not rocket science. Sometimes I forget to whisk and just mash them around with a spoon. Haven’t failed me so far.
- In a biggish bowl, beat brown sugar and butter till it goes light—like the color of those caramel sweets my nan used to keep in her coat pocket. Add egg and vanilla. Beat again (this is where I usually sneak a fingerful, for science).
- Now add half the dry stuff, then half the buttermilk, then repeat (start and finish with flour so it doesn’t curdle—I don’t really know why, just something my cousin in Canada told me once). Don’t overmix; just stop once it’s all a lovely, thick brown batter. Sticky is normal.
- Drop heaping tablespoons of batter onto your trays—they spread a bit, so don’t let them socialise too much. About a dozen per sheet, unless you make them huge (which is fun, too).
- Bake for 10–12 minutes—should look puffed and set but still soft (a finger poke leaves a dent that springs back). Let ’em cool right there, or shove the tray on the windowsill; your call.
- Meanwhile, for the filling: cream cheese, butter, and powdered sugar in a bowl. Beat till smooth. Add a few drops of orange coloring (start small, it gets intense fast).
- Pair up similar-sized cakes (they never match, but who cares?) and spread (or pipe, if you’re fancy) a good blob of filling onto one, then sandwich together. Little whoopie pies!
- Now for faces: use candy eyes or chocolate chips, get creative with black gel if you have it, or even draw on silly mustaches with extra icing. This is usually where someone sneaks off with three pies before I’ve finished.
Recipe Notes That I Learned the Hard Way
- If your cakes look lumpy, it’s fine—they’ll taste great. Mine are rarely even, unless I get the ice cream scoop out (that trick actually works wonders, who knew?).
- The filling’s best if you beat it longer than seems normal; makes it foamier, somehow.
- You can use lemon juice instead of vinegar for souring milk—has a less sharp aftertaste, in my opinion.
Weird Variations I’ve Tried (And One That Flopped)
- Swapped the cocoa for pumpkin puree once—texture got weird, tasted OK but way squishier than planned. Would not recommend unless you’re desperate for a pumpkin thing.
- Added a teaspoon of cinnamon and nutmeg last autumn—little bit of Halloween magic, highly recommend if you like spice.
- Used marshmallow fluff instead of the filling—too sweet for me, but the neighborhood kids loved ’em.
Equipment: Use What You’ve Got
- Mixing bowls (boring, but any big one works—used a salad bowl last time when my main one was in the dishwasher)
- Electric mixer (stand, hand-held, even a whisk will do if your arms are feeling strong that day)
- Baking trays + parchment (or butter, in a pinch, but they will stick a bit)
- Piping bag optional—for filling or decorating, but you can use a zip-top bag with a corner cut off, which works a treat
How to Store These (If You Can)
Supposedly, you can keep these in an airtight tin for 2–3 days, maybe in the fridge if it’s a warm autumn. But realistically, in my house, they’re just… gone after about 18 hours (someone always nicks them for breakfast or with a cuppa at midnight). If you do have leftovers, separate layers with parchment to avoid sticking.
How We Serve ‘Em Around Here
If I’m honest, these rarely make it to the party itself, but if they do, I set them out on a platter with some mini pumpkins and a scatter of gummy worms or jelly eyeballs. My uncle swears they taste best with a mug of hot chocolate. Or, serve with homemade hot cocoa (shoutout to Sally’s Baking Addiction, best recipe for chilly nights). Halloween movie marathon recommended.
Pro Tips Learned by, Well, Messing Up
- Once, I tried to microwave the butter because I’d forgotten to leave it out, ended up half-melted—resulted in flat pies. Now I just cube the cold butter and beat it longer, works better.
- If you rush the cooling, the filling melts right out (soggy disaster; don’t be me). Walk away, make a cup of tea, then fill.
- Start decorating in small batches—you get neater faces before a sugar crash sets in.
Your Questions (That Have Actually Been Asked)
Can I use cake mix if I’m in a rush?
Totally. I’ve subbed chocolate cake mix (just follow the box for cupcakes) when I was in a hurry, and honestly, the filling’s the secret anyway.
Are these freezer-friendly?
Yep—but freeze without the filling, or the cream cheese gets weird. I wrap the cakes in clingfilm and toss ’em in the freezer, then thaw and fill when needed.
How do you get the bright orange filling?
The gel coloring is way more vibrant, and you only need a teeny bit. Try Wilton’s gel ones on Amazon—they don’t pay me to say this, but I think they’re worth it.
What if I don’t have cream cheese?
I’ve used whipped buttercream once, but… it’s not the same (tastes more like fancy Oreos). Go for it if you’re in a pinch, though.
Do I really have to let the cakes cool?
I mean, you can ignore this step, but expect sliding, melting messes. I won’t judge. Actually, my youngest prefers them melty—it’s chaos, but isn’t that kind of the Halloween spirit?
Hope that helps, and seriously, don’t be afraid to make them look messy. It’s Halloween, after all—not a Paris pastry contest. (Unless you want to invite me to one, in which case, I’ll bring my best piping bag!)
Ingredients
- 2 cups all-purpose flour
- 1/2 cup unsweetened cocoa powder
- 1 teaspoon baking soda
- 1/2 teaspoon salt
- 1 cup granulated sugar
- 1/2 cup unsalted butter, softened
- 1 large egg
- 1 cup buttermilk
- 1 teaspoon vanilla extract
- 1/2 cup unsalted butter, softened (for filling)
- 1 1/2 cups powdered sugar
- 1 cup marshmallow creme
- 1/2 teaspoon orange extract or zest
- Orange food coloring
- Halloween sprinkles (optional, for decorating)
Instructions
-
1Preheat oven to 350°F (175°C) and line two baking sheets with parchment paper.
-
2In a medium bowl, whisk together flour, cocoa powder, baking soda, and salt.
-
3In a large bowl, beat sugar and 1/2 cup butter until creamy. Add the egg and vanilla extract, then mix in the buttermilk alternately with the dry ingredients until smooth.
-
4Drop tablespoonfuls of batter onto prepared baking sheets, spacing 2 inches apart. Bake for 10-12 minutes or until set. Let cool completely.
-
5For the filling, beat together 1/2 cup butter, powdered sugar, marshmallow creme, orange extract, and food coloring until fluffy.
-
6Spread filling on flat side of half the cakes, top with remaining cakes, and roll edges in Halloween sprinkles. Serve and enjoy!
Approximate Information for One Serving
Nutrition Disclaimers
Number of total servings shown is approximate. Actual number of servings will depend on your preferred portion sizes.
Nutritional values shown are general guidelines and reflect information for 1 serving using the ingredients listed, not including any optional ingredients. Actual macros may vary slightly depending on specific brands and types of ingredients used.
To determine the weight of one serving, prepare the recipe as instructed. Weigh the finished recipe, then divide the weight of the finished recipe (not including the weight of the container the food is in) by the desired number of servings. Result will be the weight of one serving.
Did you make this recipe?
Please consider Pinning it!!