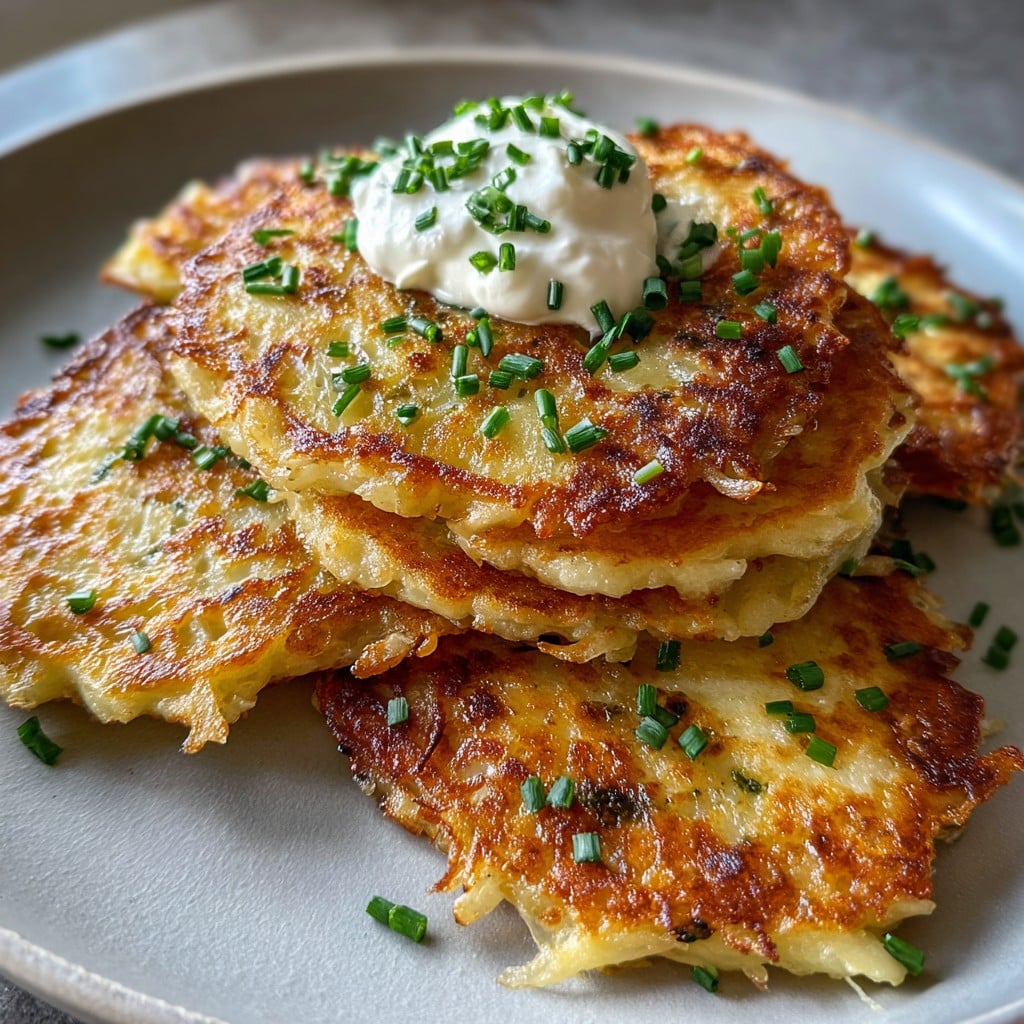
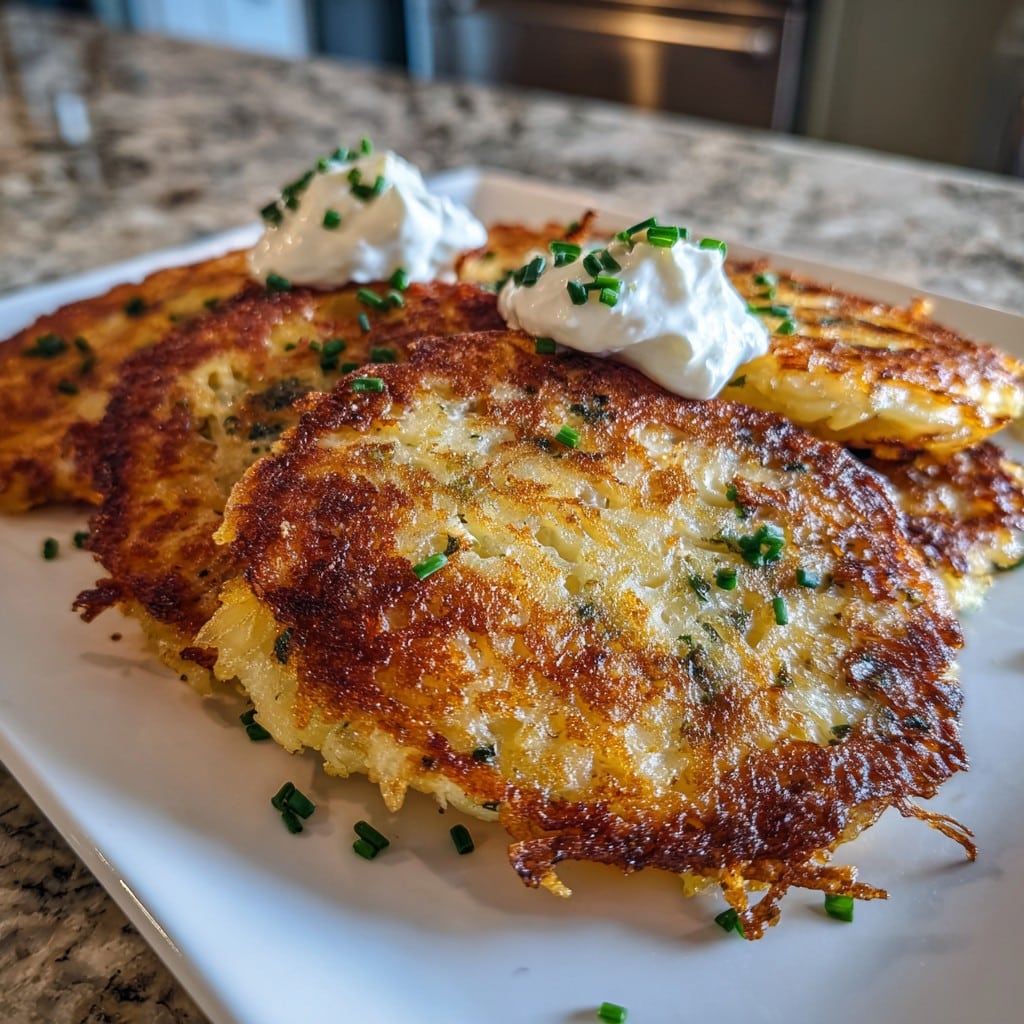
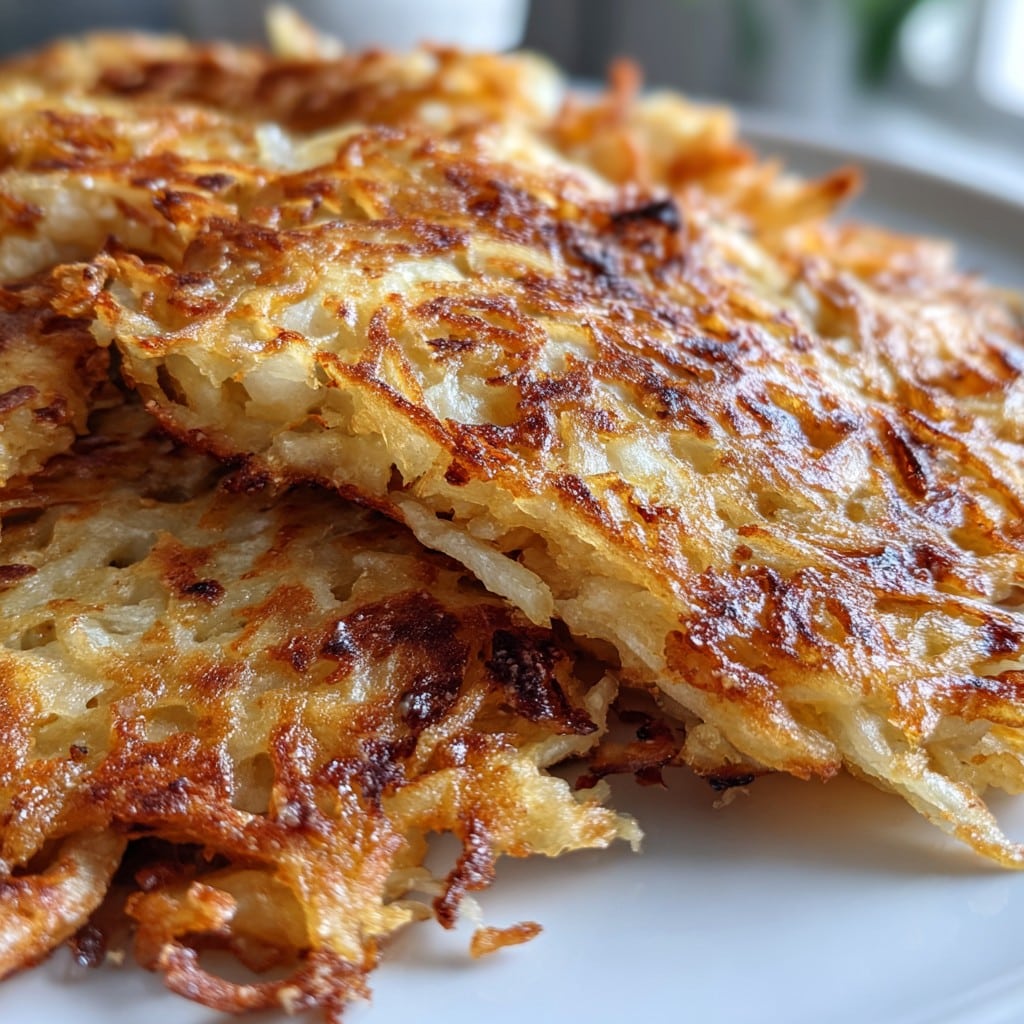
Crispy Cheese Potato Pancakes with Onion – A Family Favorite
So Here’s the Deal with These Cheese Potato Pancakes…
You know those recipes that just stick with you? For me, it’s these crispy cheese potato pancakes with onion. The first time I made them was a total accident—I’d run out of bread for dinner, and the only things left in my kitchen were potatoes, a sad little bit of cheddar, and an onion hanging out in the back of the fridge. (Honestly, the onion was probably protesting.) Anyway, I mashed it all together, fried up little pancakes, and BAM—my kids started calling them ‘best ever’. Can’t beat that kind of feedback. Also, fun fact: I always end up eating the first one straight from the pan, just so no one else gets to it. Perks of being the cook, right?
Why I Keep Making These
I pull out this recipe when I’ve got leftover mash hanging around or when everyone’s pretending they’re too fancy for plain potatoes (as if). My family goes wild for them, especially on a chilly night. It’s also my no-fail solution for picky eaters—there’s cheese tucked in, so who’s going to turn that down? To be honest, sometimes they stick to the pan and that used to drive me bonkers, but a nonstick pan pretty much saves the day. If I’m feeling lazy, I’ll even skip grating the onion — just whack it in the food processor and call it done. By the way, don’t be afraid to get your hands a little messy—it’s pretty much mandatory around here.
Here’s What You Need (+ a Few Substitutes)
- About 3 cups (roughly 700g) potatoes, peeled and grated (sometimes I cheat and use leftover mash; works fine!)
- 1 small onion, grated (shallots work if you prefer, though my granny would say that’s too posh)
- 1 to 1 1/2 cups shredded cheese (cheddar is my go-to, but honestly, whatever’s left in your cheese drawer will work—I’ve even tossed in feta and it was ace)
- 2 eggs (I once used just one—pancakes were a bit crumbly but still tasty)
- 1/3 cup plain flour (have used rice flour in a pinch, whoops, turned out crispier actually!)
- Salt and black pepper (I eyeball this—just don’t go mad with the salt if your cheese is salty)
- Oil for frying (sunflower or canola, though I’ve used butter on a wild day)
How I Usually Make Them
- Squeeze out the potatoes: Start by grating your spuds. Pop the grated potato into a clean kitchen towel and wring the living daylights out of it. (Seriously, if you skip this, your pancakes will sulk and never crisp up.)
- Mix it up: Toss your dry spuds in a big bowl. Add the grated onion (yes, it will make your eyes water—call it seasoning), cheese, eggs, and flour. Salt and pepper in there too. If it’s looking too dry, maybe splash in another half egg or a spoonful of milk. If it’s looking runny, a pinch more flour.
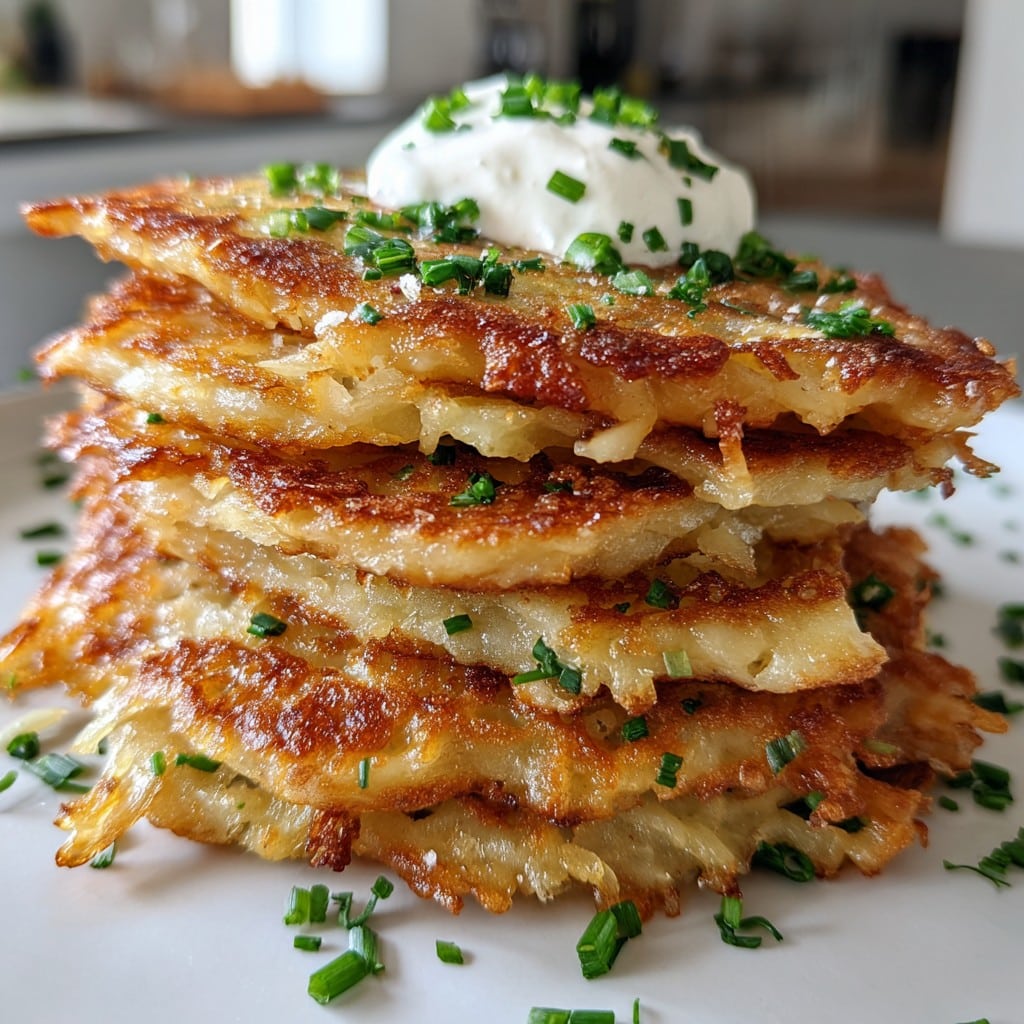
- Form pancakes: Scoop out handfuls and smash ‘em into little pancakes—maybe 8 or so, depending how big you like your portions. This is where I usually sneak a bite of the batter (don’t tell anyone; it’s not strictly advisable but old habits die hard).
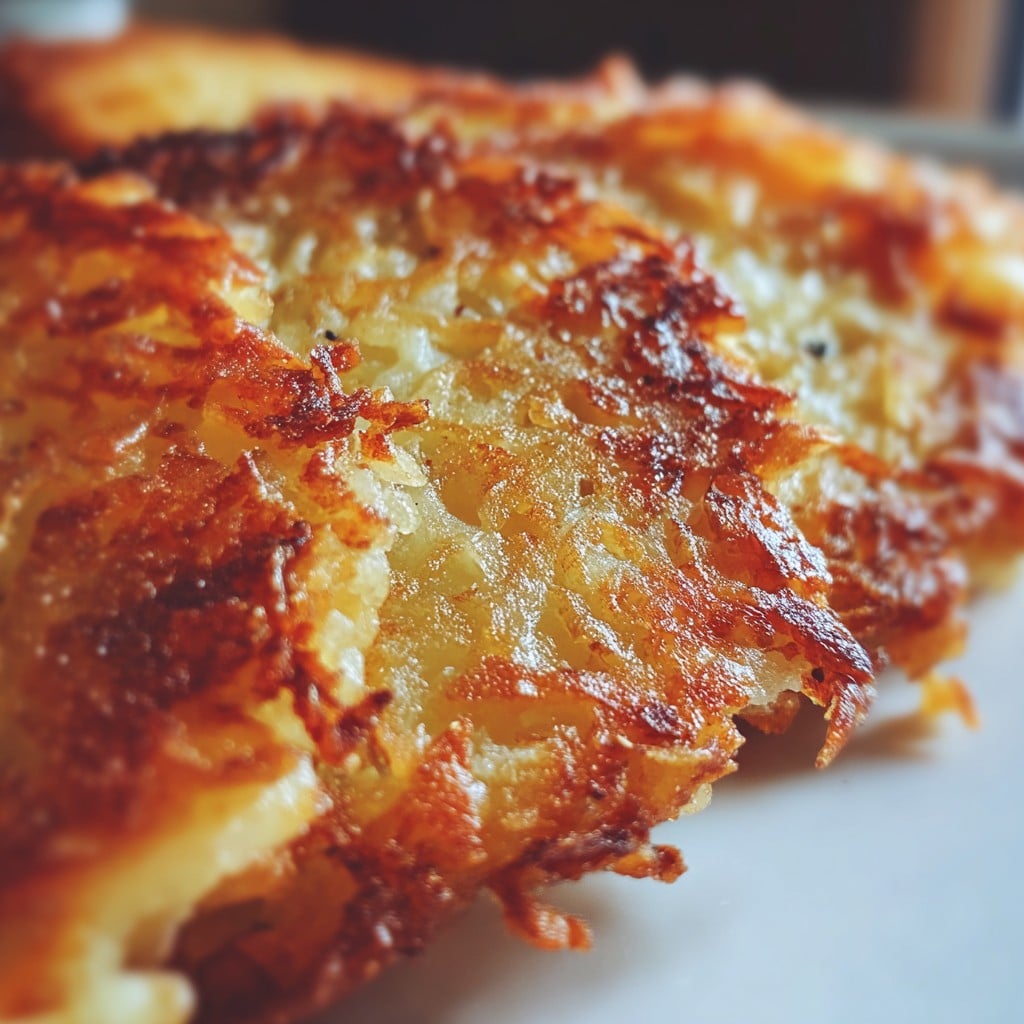
- Pan time: Heat your oil over medium-high. When it sizzles if you drop in a breadcrumb, it’s ready. Pop in the pancakes, don’t crowd them; give ‘em space. Fry 3-4 minutes a side, until they’re golden and crispy. The first batch never looks perfect. Don’t worry if it looks weird at this stage—it finally comes together, I promise.
- Drain and serve: Let them chill on a paper towel or a wire rack. Frankly, I can barely wait until they’re cool enough to eat.
Stuff I’ve Learned (& a Random Tangent)
- They crisp up way better if you really squeeze out all the water from the potatoes. I’ve gotten lazy and paid the price—soggy pancakes do not impress anyone.
- The batter can be made a bit ahead, but not too early— it’ll get too watery as it sits. Don’t overthink this.
- You might notice I left out garlic. I used to add it, but the kids said it was “too fancy.” Guess I’m not raising vampires after all.
Things I’ve Tried (Spoiler: Not All Winners)
- Swapping cheddar for mozzarella— Tasted great, but was way less crispy. Maybe only if you love stretchy pancake vibes.
- Adding cooked bacon— Absolutely fab, though it made them disappear twice as fast.
- Sweet potatoes instead of regular— Meh. They fell apart. Maybe you’ll have better luck, but I’ve pretty much given up that experiment.
Handy Tools (But You Can Improvise)
- Box grater: Works best, but you can use a food processor if washing up doesn’t scare you.
- Large mixing bowl—any biggish one, doesn’t have to be fancy.
- Nonstick frying pan: If you don’t have one, just use what you’ve got; add a splash more oil and watch the heat closely.
- Spatula or fish slice—or just a big fork like my uncle does.
How to Store These (But Honestly, Good Luck)
Pop leftovers (if you have such a thing) into an airtight container. Fridge for up to 2 days—I think these actually taste better the next day, cold, maybe I’m odd. Can freeze them, sure, but they’re a bit less crispy. Though in my house, they barely ever make it past dinner. Probably a sign I should double the batch. If you’re keen, this potato freezing guide walks you through the right way to do it.
How We Serve It Up (Personal Faves)
- With a dollop of sour cream or plain yogurt—that’s the gold standard here.
- Sometimes apple sauce (don’t knock it) for a brunchy vibe.
- If it’s dinner, I just add a fried egg on top. My partner claims that makes it a meal (who am I to argue?)
What I Wish I’d Known First Time (Pro Tips)
- Don’t skip drying the potatoes, even if you’re in a rush. Trust me, soggy pancakes are no one’s friend. I once tried microwaving them to dry them quicker—nope!
- Let the oil heat up properly. If you’re impatient and slap them in cold oil, you’ll regret it. I did. They slurped the oil right up and turned out greasy. Lesson learned (the hard way, of course).
Got Questions? Here’s What Friends Usually Ask
- Can I make these gluten free? Yup—use rice flour or even chickpea flour. Actually, I find it works better if I mix flours for crunch. On second thought, almond flour was kind of weird, so I wouldn’t try that again.
- What other cheese can I use? Whatever’s lying around, honestly. Cheddar, gruyere, even a mix. I tried blue cheese once (don’t, unless you really like tangy pancakes).
- Can I bake these instead of frying? Technically yes—425°F for 20 minutes, flip halfway—but they’re never quite as crispy. Tough call. The air fryer works decently though—here’s a reliable air fryer potato pancake method I like.
- Help! My pancakes keep falling apart! Usually means too much liquid, not enough binder. Add another spoonful of flour or an egg. Or just eat the messy bits; I do!
- Can I prep them ahead? You can mix the batter up a couple hours earlier, but don’t assemble the patties until you’re ready to fry—otherwise, things get sloppy. But honestly, a little mess never hurt anyone.
I guess that’s all for my crispy cheese potato pancakes with onion. If you give them a whirl, let me know how it goes—or what odd cheese you end up using. Life’s too short for boring potatoes anyway.
Ingredients
- 4 medium russet potatoes, peeled and grated
- 1 cup shredded cheddar cheese
- 1 small yellow onion, finely chopped
- 2 large eggs
- 1/3 cup all-purpose flour
- 1/2 teaspoon salt
- 1/4 teaspoon black pepper
- 1/2 teaspoon garlic powder
- Vegetable oil, for frying
Instructions
-
1Place the grated potatoes in a clean towel and squeeze out as much excess moisture as possible.
-
2In a large bowl, combine the grated potatoes, shredded cheddar cheese, chopped onion, eggs, flour, salt, pepper, and garlic powder. Mix until well combined.
-
3Heat a thin layer of vegetable oil in a large skillet over medium heat.
-
4Scoop about 1/4 cup of the mixture per pancake into the skillet, flattening gently with a spatula. Fry for 3-4 minutes per side, or until golden brown and crispy.
-
5Transfer cooked pancakes to a paper towel-lined plate to drain. Repeat with the remaining mixture.
-
6Serve the crispy cheese potato pancakes warm, garnished with sour cream or fresh herbs if desired.
Approximate Information for One Serving
Nutrition Disclaimers
Number of total servings shown is approximate. Actual number of servings will depend on your preferred portion sizes.
Nutritional values shown are general guidelines and reflect information for 1 serving using the ingredients listed, not including any optional ingredients. Actual macros may vary slightly depending on specific brands and types of ingredients used.
To determine the weight of one serving, prepare the recipe as instructed. Weigh the finished recipe, then divide the weight of the finished recipe (not including the weight of the container the food is in) by the desired number of servings. Result will be the weight of one serving.
Did you make this recipe?
Please consider Pinning it!!