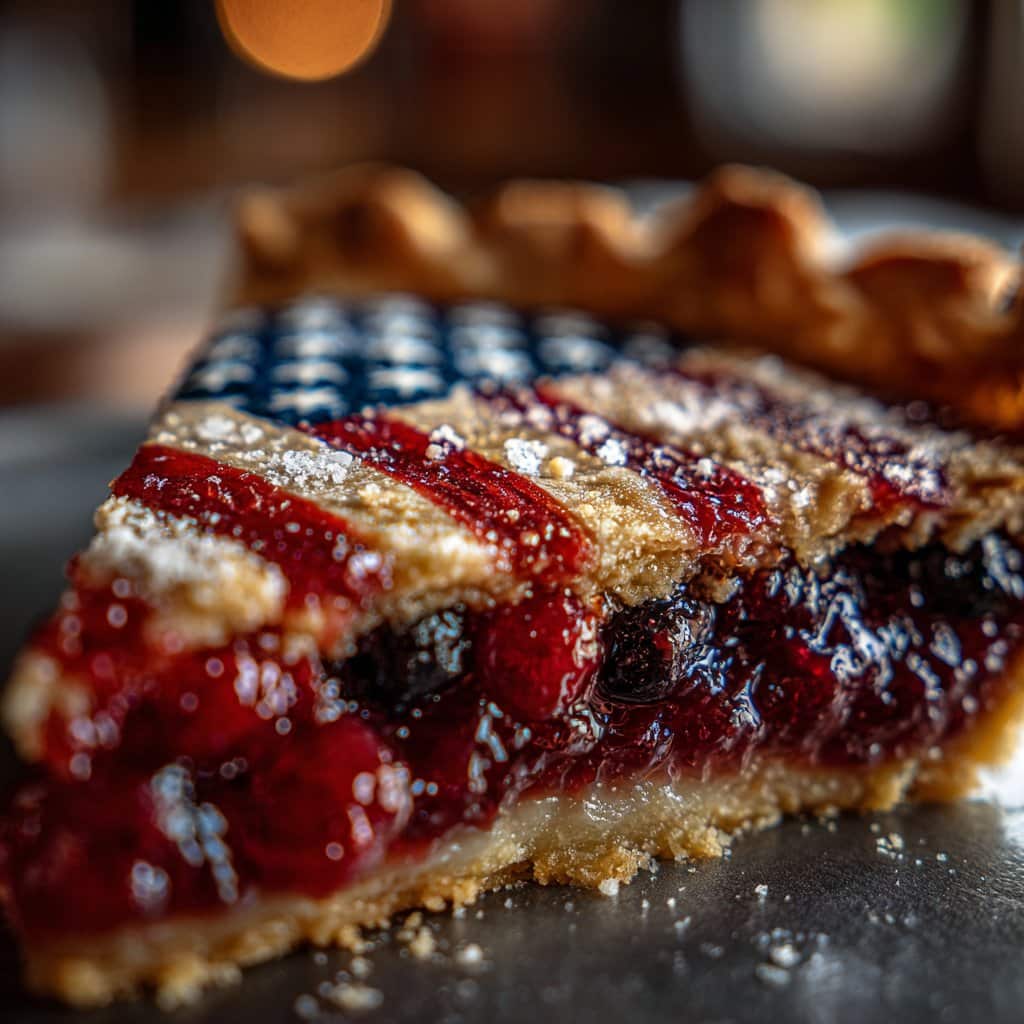
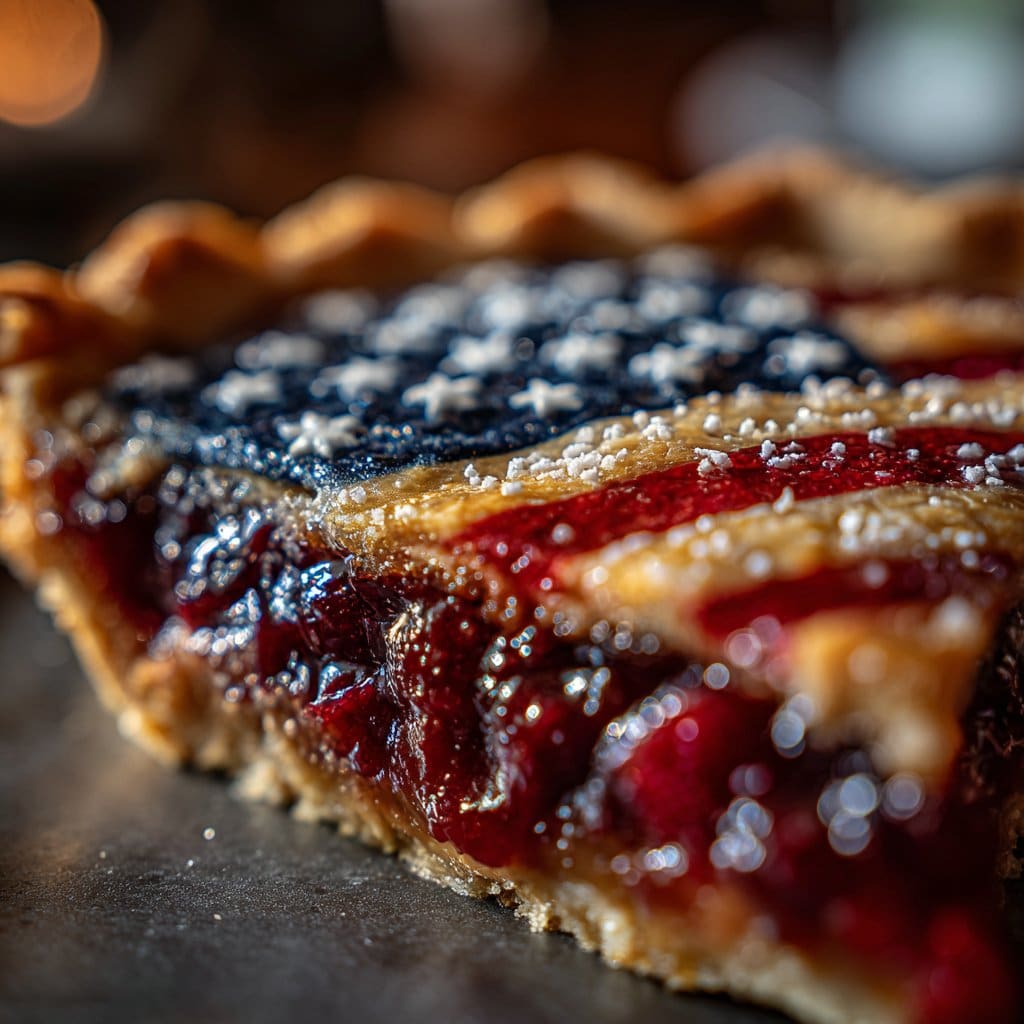
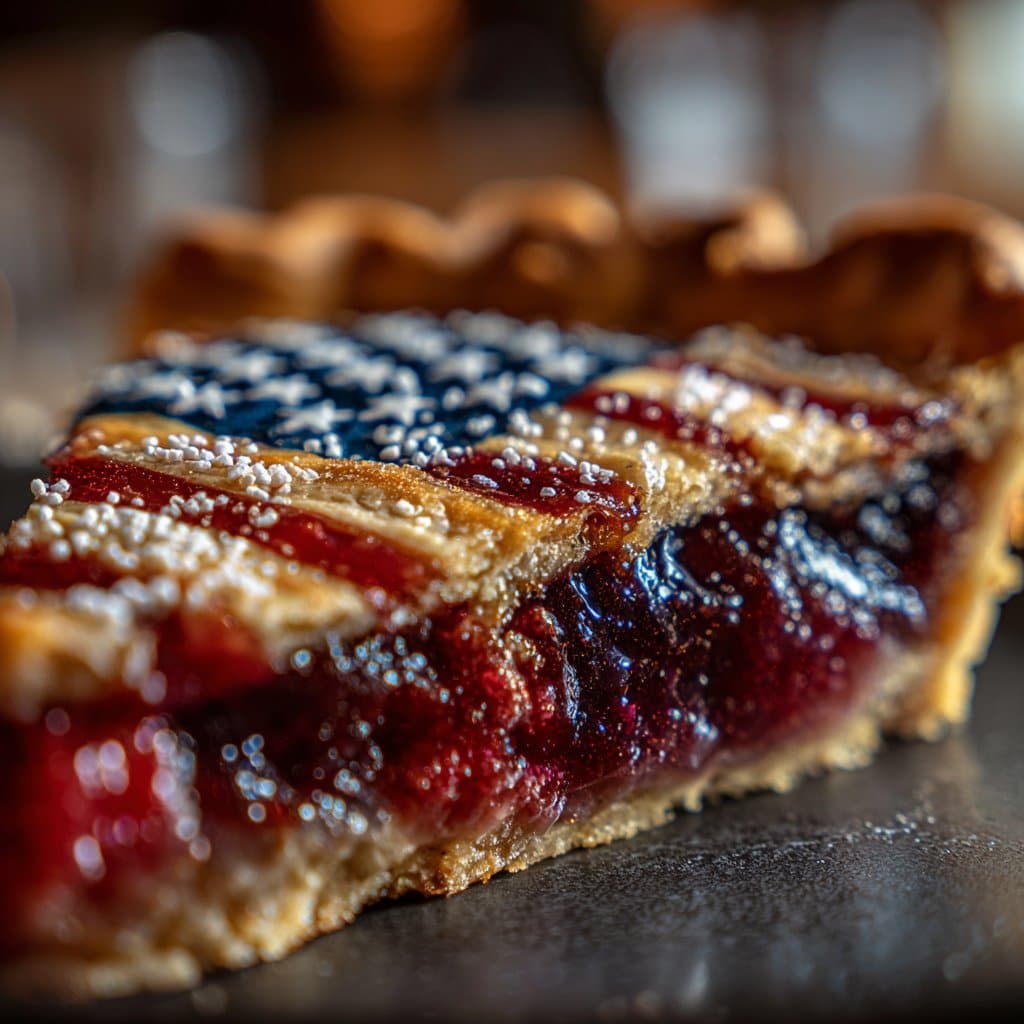
American Dream Berry Pie
Let’s Talk About This Pie (and That One Time I Nearly Burned It)
Alright, so, you know how some recipes just become a part of your family’s DNA? That’s what this American Dream Berry Pie is for us. I can practically smell summer whenever I make it. There was this Fourth of July a few years back, and I was trying to bake with my niece—she kept sneaking berries and we ended up with stained little hands everywhere and, honestly, a pie that was 80% crust and 20% berries. Still tasted glorious, but let’s just say my measuring was a bit… optimistic that year. Anyway, if you’ve never had the sort of pie that makes people hover around the kitchen asking, “Is it done yet?”—you’re in for a treat.
Why You’ll Love This Berry Pie, Promise
I make this when I can’t decide between all the berries at the market—raspberries, blueberries, strawberries, just throw ‘em all in! My husband actually requests it for his birthday (and he’s not even really a dessert guy). Oh, and my neighbor Pat said, “That’s the best pie I’ve had that didn’t come from a fancy bakery,” which I’m taking as a major win. I used to struggle with soggy bottoms (don’t we all?) but this method kind of solves that. Plus, it’s forgiving—if your berries are a bit tart or you forget the extra sugar, it still mostly works out.
Gather These Ingredients (Or Close Enough…)
- 2 cups mixed berries (fresh or frozen, I like blueberries, raspberries, blackberries—once I used those frozen berry mixes, works fine)
- 1 pre-made pie crust (look, I love making crust, but sometimes you just need to cheat—my grandma loved Pillsbury, but store brand’s okay too)
- 3/4 cup granulated sugar (if you like it tarter, drop to 1/2 cup, or even swap in some honey if you’re feeling wild)
- 2 tbsp cornstarch (or flour in a pinch, but cornstarch gives it that glossy magic)
- 1 tbsp lemon juice (honestly, bottled is fine unless Martha Stewart is coming over)
- 1 tsp vanilla extract
- Pinch of salt (I sometimes add a little cinnamon too, especially in fall, but it’s optional)
- 1 egg + a splash of milk (for the egg wash; or just use milk if you forgot to buy eggs—done it!)
- Coarse sugar for sprinkling (if you remember, otherwise skip)
How I Put This Pie Together (With a Few Detours)
- Preheat your oven to 400°F (or 200°C). Not 375, though I’ve done that by accident; it just takes longer.
- Roll out your pie crust into a 9-inch pie plate. If it rips, patch it like an old pair of jeans, no big deal.
- In a big bowl, tumble in your berries. Sprinkle the sugar, cornstarch, salt, and cinnamon if you’re using it. Add that splash of lemon juice and vanilla. Toss it all together. (This is where I start nibbling the fruit—quality control!)
- Pour the berry mix into your crust. It’ll look like way too much—don’t worry, it always settles down when it cooks.
- If you’ve got dough left, go fancy with a lattice top or just slap the other crust on. Seal and crimp the edges with your fingers or a fork. Or, do what I did once and patchwork it together like a quilt—looked odd, tasted great.
- Whisk the egg and milk (or just milk), brush over the top. Sprinkle that coarse sugar if you fancy a bit of crunch.
- Pop it in the oven. Bake for 40-45 minutes—or until the juices bubble up and the crust is golden brown. If the edges start getting too brown, loosely cover ‘em with foil. (This is where I used to get nervous, but trust me, it nearly always works out.)
- Let it cool for at least an hour. I know, it smells amazing, but if you cut it too soon the filling just kind of oozes everywhere. Tastes good, looks messy.
Notes From My Pie Experiments
- Actually, I find it works better if you use a mix of sweet and tart berries. All strawberries ended up a bit bland for me.
- If you’re using frozen berries, don’t bother thawing them—just add an extra spoonful of cornstarch.
- One time I forgot the egg wash. Crust was paler but perfectly edible. Don’t sweat it.
Variations I’ve Tried (Some Keepers, Some Oopsies)
- I tried adding a handful of chopped rhubarb once—super tart but good with extra sugar.
- Subbed half the berries for peaches in July. Actually, pretty dreamy.
- Blueberries only? It tasted fine, but I missed the tart kick. Maybe that’s just me.
- Once tried a graham cracker crust instead of regular. Didn’t hold together—wouldn’t repeat.
What If I Don’t Have All the Equipment?
You need a 9-inch pie pan, but honestly, I once used a casserole dish and just called it “rustic.” No pastry brush? Use your fingers or a bit of paper towel for the egg wash. Rolling pin is handy, but a wine bottle works in a pinch (not that I’ve ever had to do that… okay, maybe twice).
How to Store It (But Will There Be Leftovers?)
Cover leftovers (ha!) with foil or plastic wrap. Keeps in the fridge for 2-3 days, but honestly, in my house it never makes it past breakfast the next day. If you want to freeze it, do it before baking for best results—I keep meaning to do this for emergencies, but, well, pie emergencies are rare here.
Serving This Up: My Preferred Way
We like it slightly warm with a big scoop of vanilla ice cream or a cloud of whipped cream. Sometimes, my uncle insists on cheddar cheese with his slice which, honestly, is a bit odd but I tried it once—wasn’t bad.
Lessons Learned the Hard Way (Pro Tips, Kinda)
- I once tried cutting the cooling time in half because everyone was impatient—filling ran everywhere and it looked like a berry crime scene.
- Don’t skimp on the cornstarch. I thought I could get away with less, but nope—soggy pie mess.
- If your crust edges are browning too fast, shield them with foil. But don’t forget to take it off the last 5 minutes or they’ll stay pale as the moon.
FAQ: You’ve Asked, I’ve Answered
- Can I use only one kind of berry? Sure can—blueberries work, but it’s best with a mix, I think. Gives it more zip.
- What if I don’t have cornstarch? Flour works in a pinch, but it’s not as glossy. Arrowroot if you’re fancy.
- How do I know it’s done? You’ll see juices bubbling up and the crust will look golden. Sometimes I poke it with a knife just to check (carefully!).
- Can I make it ahead? Absolutely! I actually think it tastes better the next day, if you can wait that long.
- Where do you get your pie crust? Mostly store-bought, but hey, this one from King Arthur Baking is legit if you want homemade.
- What should I do if my filling is runny? Happens to the best of us. Next time, add a bit more thickener and let it cool all the way before slicing. (Or just eat it with a spoon. Who’s judging?)
- Where do you get your berries? Farmers market in summer, but otherwise the frozen ones from Aldi or Trader Joe’s are good too. There’s a neat guide on Serious Eats if you’re curious.
Random tangent: If you’re making this for the first time, take a picture before you dig in—the colors are unreal. My phone’s full of pie photos; someday I’ll organize them, but for now, they make me hungry.
Happy baking! If you tweak the recipe, I’d love to hear how it goes. Unless you put raisins in—then you’re on your own!
Ingredients
- 2 cups fresh strawberries, hulled and sliced
- 1 1/2 cups fresh blueberries
- 1 1/2 cups fresh raspberries
- 3/4 cup granulated sugar
- 1/4 cup cornstarch
- 1 tablespoon lemon juice
- 1/4 teaspoon salt
- 2 tablespoons unsalted butter, cut into small pieces
- 1 package (14 oz) refrigerated pie crusts (2 crusts)
- 1 egg, beaten (for egg wash)
- 1 tablespoon coarse sugar (optional, for topping)
Instructions
-
1Preheat the oven to 400°F (200°C). Roll out one pie crust and fit it into a 9-inch pie dish.
-
2In a large bowl, combine strawberries, blueberries, raspberries, granulated sugar, cornstarch, lemon juice, and salt. Gently toss to coat the berries evenly.
-
3Pour the berry mixture into the prepared pie crust. Dot the filling with small pieces of butter.
-
4Roll out the second pie crust and place it over the filling. Trim and crimp the edges to seal. Cut a few slits in the top crust to vent. Brush with beaten egg and sprinkle with coarse sugar if desired.
-
5Bake for 50-55 minutes, or until the crust is golden brown and the filling is bubbling. If the edges brown too quickly, cover them with foil.
-
6Let the pie cool for at least 2 hours before slicing to allow the filling to set. Serve at room temperature or slightly warm.
Approximate Information for One Serving
Nutrition Disclaimers
Number of total servings shown is approximate. Actual number of servings will depend on your preferred portion sizes.
Nutritional values shown are general guidelines and reflect information for 1 serving using the ingredients listed, not including any optional ingredients. Actual macros may vary slightly depending on specific brands and types of ingredients used.
To determine the weight of one serving, prepare the recipe as instructed. Weigh the finished recipe, then divide the weight of the finished recipe (not including the weight of the container the food is in) by the desired number of servings. Result will be the weight of one serving.
Did you make this recipe?
Please consider Pinning it!!