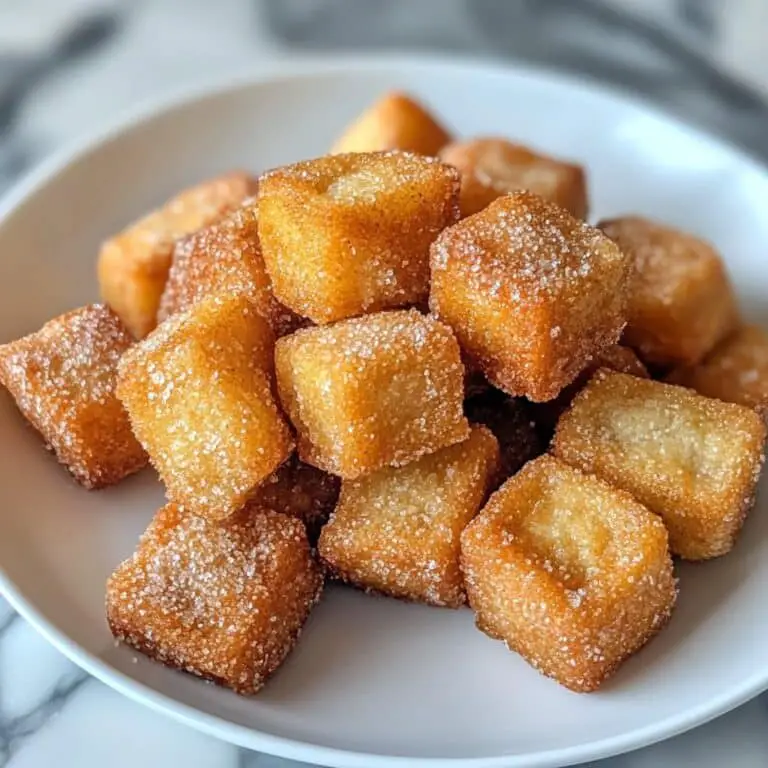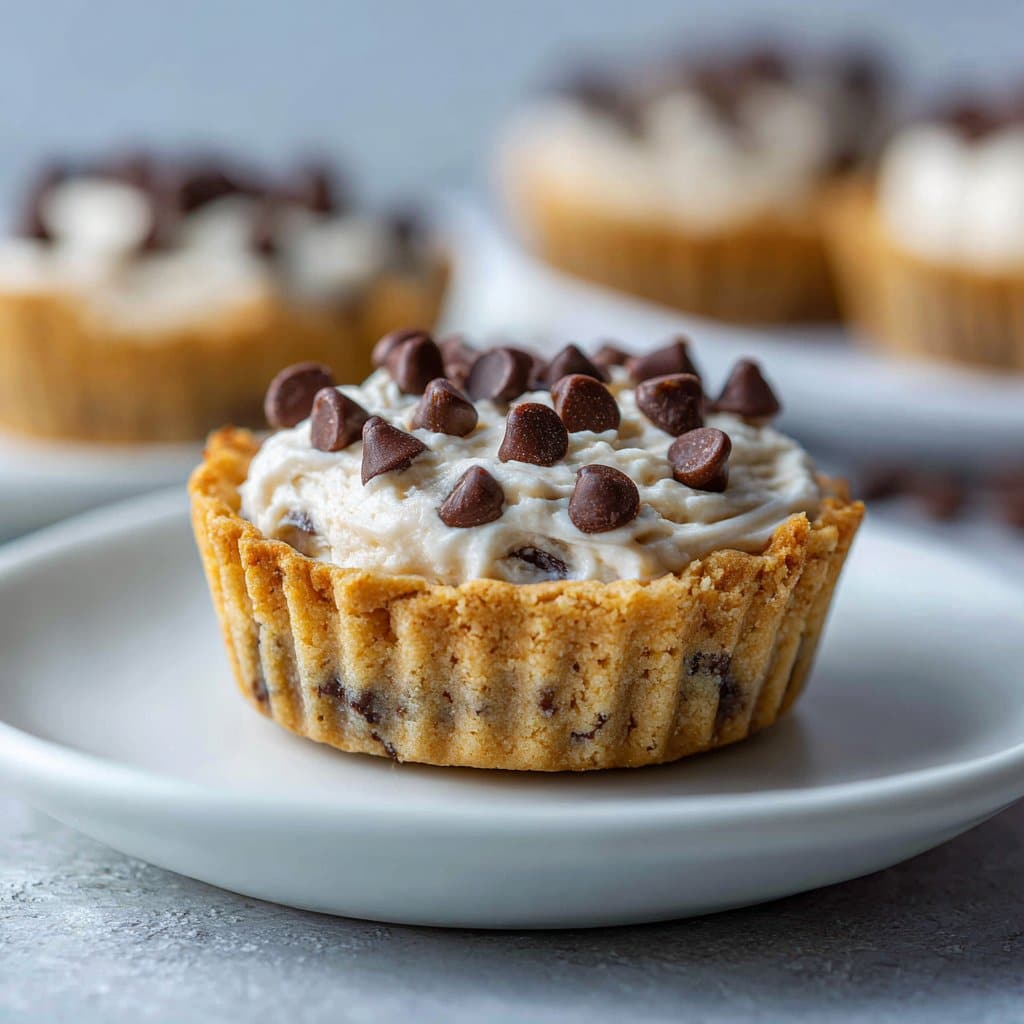
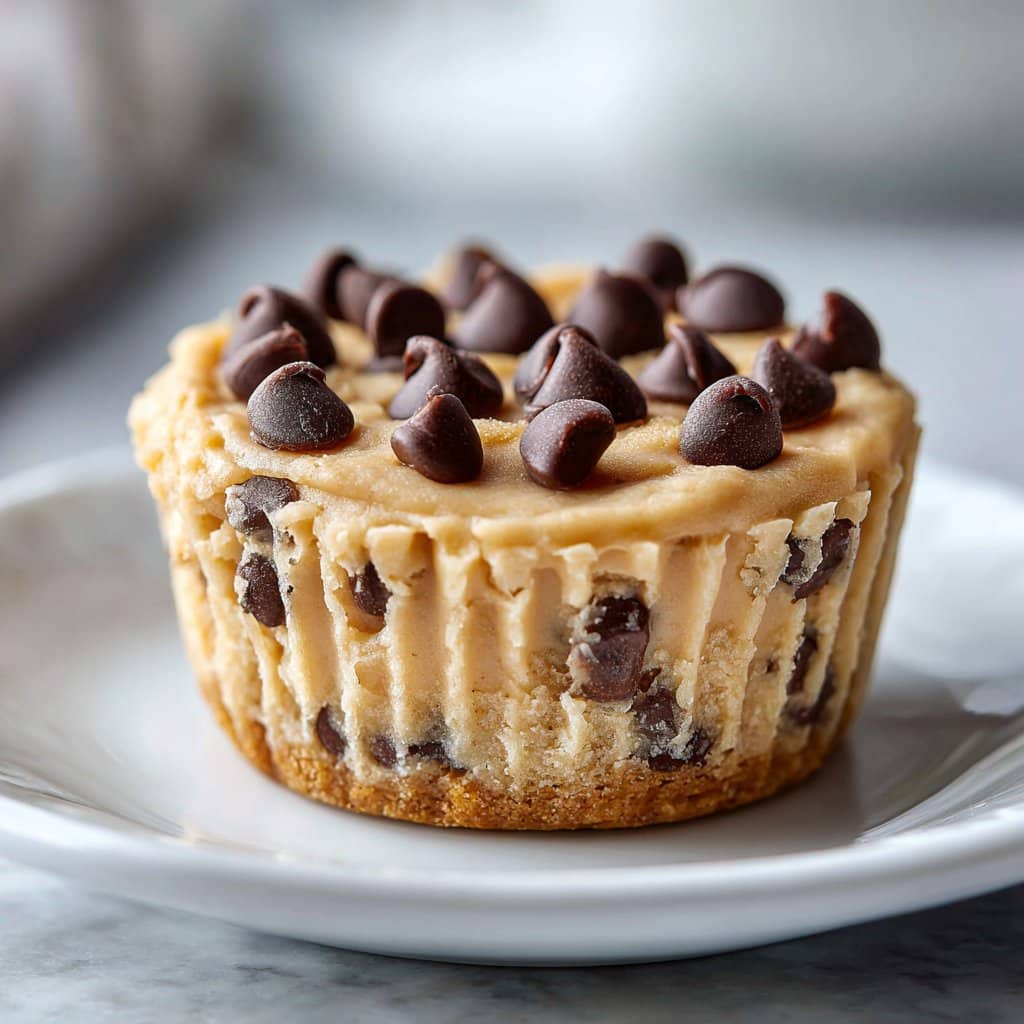
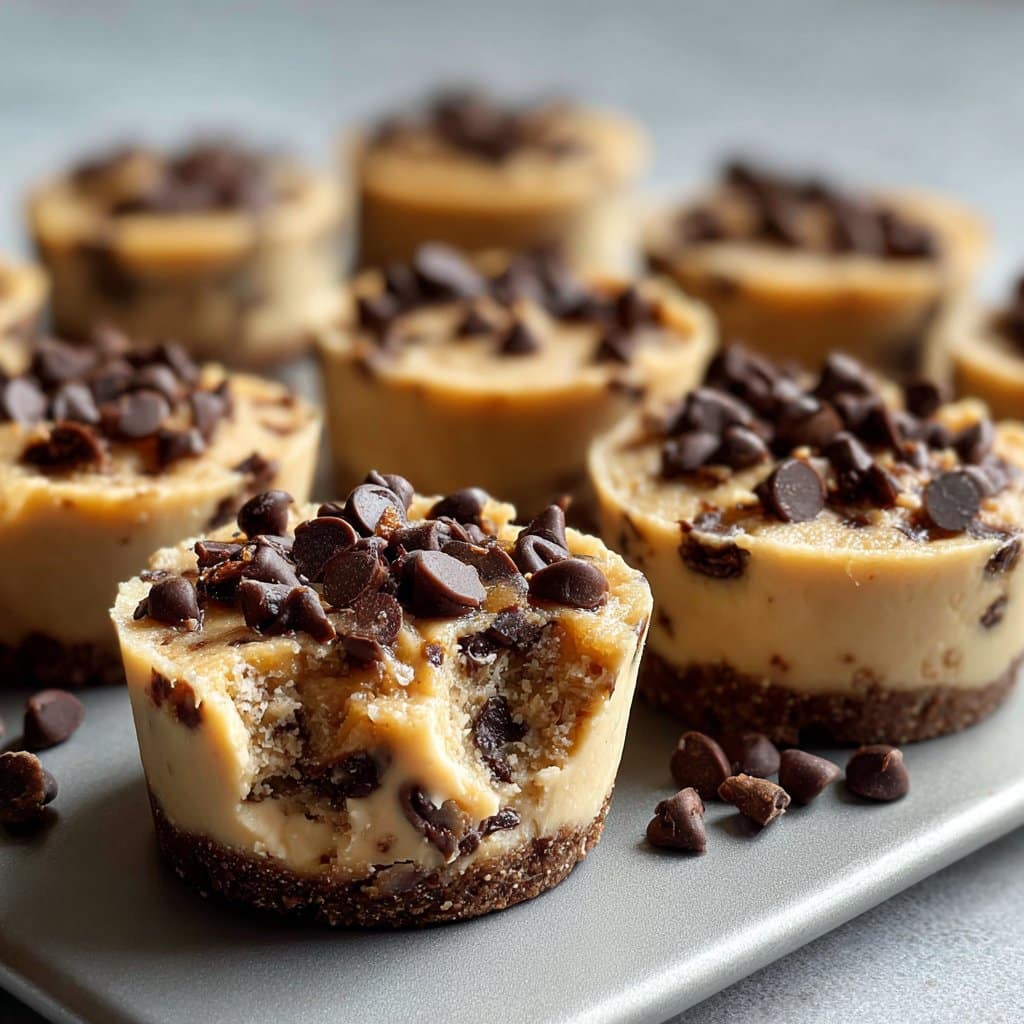
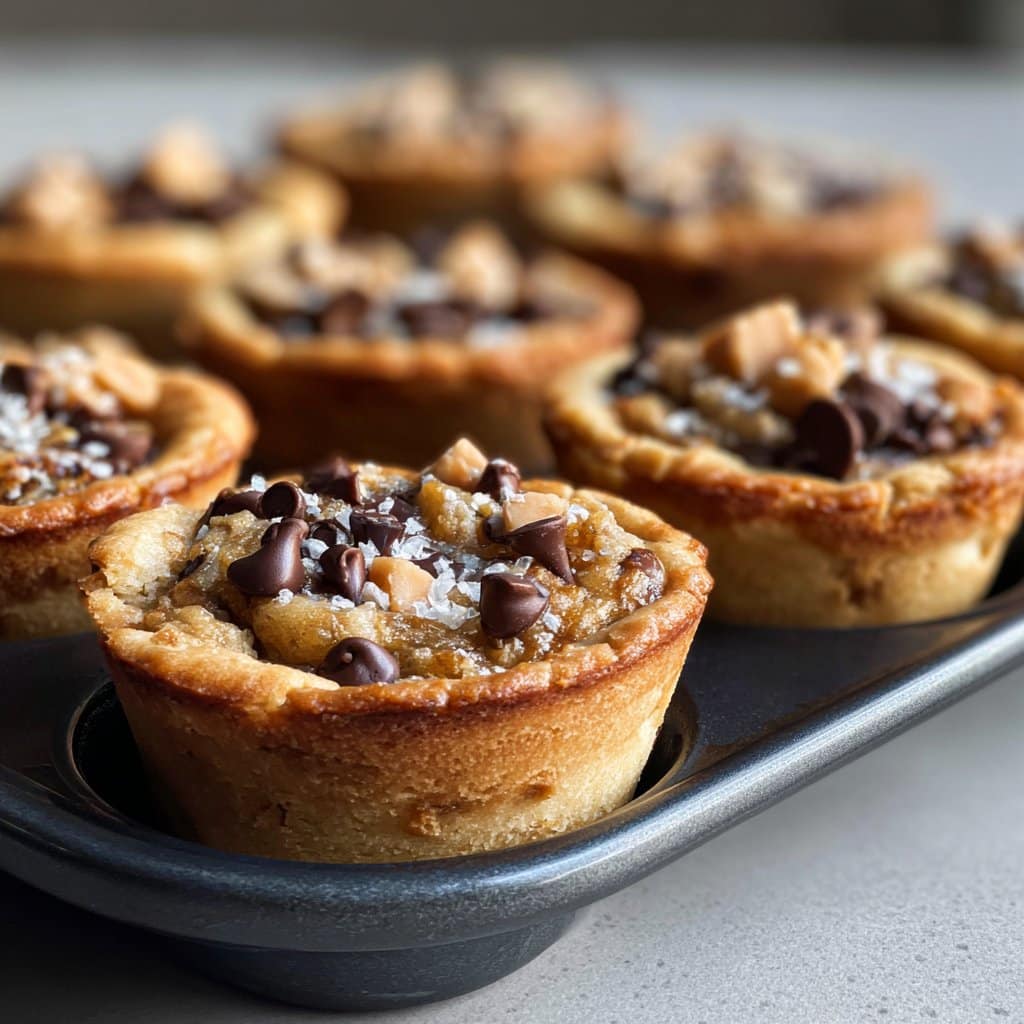
Cookie Dough Cups – Gooey, Chocolatey & Perfectly Portioned
Let Me Tell You About These Cookie Dough Cups
So, if you ever find yourself craving something chocolatey, gooey, and (sort of) portion-controlled, you’ve wandered to the right place, mate. Cookie Dough Cups have saved my skin more than once—like that time I promised my son’s mates dessert for movie night and promptly forgot. Threw these together with a bit of panic-fueled speed, but nobody noticed (or maybe the sugar high distracted them). Anyway, I’ve been making these since my uni days and I still think there’s a kind of magic in eating cookie dough you’re meant to eat, you know?
Actually, funny story: one time I dropped the whole tray on the way to the table. To this day I find chocolate chips under the fridge… So, let’s just say, it’s a crowd-pleaser as long as you keep a steady hand.
Why You’ll Love Making (And Eating!) These
- I make these when it’s one of those afternoons—kids bouncing off the walls, I’m low on patience, and everyone’s got a sweet tooth (including me).
- My family goes a bit wild for them; last time I tried to hide a few in the back of the fridge, my partner found them within an hour (so much for secret stashes).
- Oh, and if you’re like me and the patience for chilling cookie dough is, let’s say, “limited,” this recipe is quite forgiving. (I once baked cookies to distract myself while these chilled, but ended up eating half the dough. Oops.)
- The everything-in-one-cup thing is a lifesaver for portioning, though honestly, I sometimes end up eating two anyway. No judgement here.
The Stuff You’ll Need (& Some Personal Substitutions)
- 1/2 cup (115g) unsalted butter, softened (I’ve tried using coconut oil instead—gives a little tropical tang, but totally optional)
- 1/2 cup light brown sugar (though grandma swore by dark muscovado; use what you’ve got—no one’s judging)
- 1/4 cup granulated sugar (or you can just add extra brown sugar if you’re out)
- 2 tbsp milk (plant-based milk like almond or oat also does the job, especially when the fridge is mysteriously empty)
- 1 tsp pure vanilla extract (okay, I’ll confess to using the fake stuff once in a jam—still tasted great!)
- 1 cup plain flour (I know there’s a thing about heat-treating flour for safety; I do it in the microwave for about 1 min, but honestly, sometimes I forget and live on the edge)
- pinch of salt (go bigger if you like a salty-sweet punch, which I do)
- 3/4 cup chocolate chips (I tend to do half milk, half dark—sometimes I toss in a chopped-up bar because, why not?)
- 200g chocolate (for melting—milk or dark, up to you)
How You’ll Actually Make Cookie Dough Cups
- Melt about two-thirds of your chocolate (~135g) in the microwave or over a pan of just-simmering water. (I’m always impatient and try to do 30-second blasts in the microwave, even though I know I’ll end up stirring a lot.)
- Line a mini muffin tray with little paper cases (I once ran out and just used a big tray, cut the cups in half to serve; kind of rustic, still tasted fab).
- Pour a blob of melted chocolate into each cup, swirl it up the sides with a teaspoon (this is where things can get messy; I always end up with chocolate on my elbow somehow). Pop the tray in the fridge or freezer for about 10 minutes to set. Go make a cuppa, or have a dance break—I won’t judge.
- Meanwhile, beat together the butter and sugars until pale and kind of fluffy. You could do this with a hand mixer, or just good old elbow grease (I usually get halfway and regret my gym skip day).
- Now, add the milk and vanilla. Stir in the heat-treated flour and salt—at this stage, it might look weird, like dry and lumpy. Don’t panic, just keep stirring—it comes together, promise. I sneak a taste here, always.
- Fold in the choc chips, trying not to eat them all as you go (not always successful in my house).
- Spoon the dough into your prepared chocolate cups; gently press down, but don’t be a perfectionist. It’s homemade.
- Melt the rest of the chocolate (the 65g or so you set aside). Drizzle or blob it over the top of each cup to “seal” everything together. Sometimes, I get fancy and sprinkle sea salt or extra choc chips on here, depending on mood.
- Pop everything back in the fridge for at least 30 minutes, so the chocolate can set. Actually, I think these taste better the next day, but we never last that long.
Collected Notes From My Cookie Dough Experiments
- I used to add peanut butter; it was a bit much. Probably skip that unless you really love peanut butter.
- Sometimes the melted chocolate tries to escape its cup shape—don’t stress, no one expects perfection from dessert. Or, just blame it on the kids.
- If you’re not into milk chocolate, dark works a treat. I think it makes them taste like something you’d buy at a pricey café.
If You Like Tweaking: 3 Variations I’ve Actually Tried
- Nutty Version: Swap out half the chocolate chips for crushed pecans or walnuts. Adds crunch; my partner said “it’s like a little surprise inside.”
- Biscoff Swirl: I once swirled a spoonful of Biscoff into the dough (ages ago, when I got obsessed). Pretty tasty, but a bit sweet for me. Maybe for the truly sugar-committed.
- Mint Choc: Used mint extract instead of vanilla one time. Not for everyone. My friend Jane said it “tastes like toothpaste and regret.” Fair warning.
The Equipment You (Might) Need
- Mini muffin tray or regular muffin tray (I’ve used silicone ice cube trays in a pinch; worked surprisingly well, though a bit fiddly)
- Mixing bowl(s)—usually just the one, though somehow I always end up washing three
- Electric beater or strong forearms and a wooden spoon
- Microwave for melting, or just a heatproof bowl over a saucepan (hobs work, or even a camp stove—I tried this once on a holiday, and wow, what an adventure)
- Spoons, spatula, maybe a teaspoon for swirling chocolate
How To Store Cookie Dough Cups (If You Somehow Have Leftovers)
Seal in a container in the fridge, lasts 3-4 days. If you want them to keep longer, the freezer’s your mate—I chuck them in a bag, making sure no kid recognises the packaging, otherwise they’ll be gone before I’ve properly closed the freezer door. Honestly, they rarely make it past day one, so this is mostly theoretical for my lot.
Serving Up With Style (Or Not)
We just peel back the papers and dive in with a cuppa tea. My mum likes hers with a scoop of vanilla ice cream (bit posh, but very good), and the kids once suggested crumbling them over yoghurt… which was weird but oddly nice? I reckon if you tried to serve these at a picnic, you’d be absolutely mobbed (in a good way).
Things I Learned From Past Cookie Dough Cup Mishaps (AKA Pro Tips)
- Let the chocolate set properly—don’t rush it. I once tried to unmould too early and ended up with a gooey, lovely disaster (still delicious, just a mess).
- Heat-treating the flour is mostly for peace of mind, but—I’ll admit—it’s a good habit if feeding little ones.
- Don’t go too heavy-handed on the vanilla. Once, my hand slipped and they tasted like, I don’t know, a perfume ad. Good quality vanilla goes a long way.
Real Life Questions I’ve Actually Been Asked (And My Answers)
Q: Can I make these vegan?
Sure thing. Swap butter for plant-based margarine, use dairy-free milk and choc chips—works a treat, actually (did this for a vegan mate, went down a storm).
Q: Is it safe to eat raw cookie dough flour?
Well, you should probably heat-treat it; pop it in the microwave for a minute or in a low oven. I, eh, sometimes forget and haven’t keeled over yet, but for safety, best do it!
Q: Can I double or halve the recipe?
Absolutely—just make sure you’ve got enough space in your fridge. I once doubled up and had to balance trays on leftover takeout containers. Bit chaotic, but it worked out.
Q: The chocolate coating won’t stick to the sides, help?
Ahh, this one bugs me too sometimes. Make sure the chocolate’s not too hot when swirling or try doing a second coat if you’ve got patience. Or just accept that imperfect is the new perfect.
Q: Any good resources for chocolate tempering?
If you’re feeling fancy, Serious Eats has a solid guide—I’ve used it, admittedly with mixed results. For more general baking troubleshooting, Sally’s Baking Addiction is my go-to; she answers most things I’ve mucked up in the kitchen.
So that’s the long and occasionally winding tale of my Cookie Dough Cups. Give ’em a go next time you’re bored, in need of a sugar boost, or just fancy showing up the bakery down the street.
Ingredients
- 1 cup all-purpose flour (heat-treated, see note)
- 1/2 cup unsalted butter, softened
- 1/2 cup light brown sugar, packed
- 1/4 cup granulated sugar
- 2 tbsp milk
- 1 tsp vanilla extract
- 1/2 cup mini chocolate chips
- 2 cups semi-sweet chocolate chips (for coating)
- Pinch of salt
Instructions
-
1Prepare the flour by heat-treating: microwave the flour in a bowl for 1 minute, stirring every 15 seconds, or bake at 350°F (175°C) for 5 minutes. Allow to cool.
-
2In a mixing bowl, beat together softened butter, brown sugar, and granulated sugar until creamy.
-
3Add the milk, vanilla extract, and salt. Mix until well combined. Gradually add cooled, heat-treated flour and mix until the dough forms.
-
4Stir in the mini chocolate chips. Set the cookie dough aside. Line a mini muffin pan with paper liners.
-
5Melt the semi-sweet chocolate chips in a microwave-safe bowl in 30-second intervals, stirring until smooth. Spoon a teaspoon of melted chocolate into each liner and use the back of the spoon to coat the bottom and sides. Freeze for 5 minutes.
-
6Fill each chocolate cup with about 1 tablespoon of cookie dough, then cover with more melted chocolate to seal. Chill until set—about 10 minutes—then enjoy!
Approximate Information for One Serving
Nutrition Disclaimers
Number of total servings shown is approximate. Actual number of servings will depend on your preferred portion sizes.
Nutritional values shown are general guidelines and reflect information for 1 serving using the ingredients listed, not including any optional ingredients. Actual macros may vary slightly depending on specific brands and types of ingredients used.
To determine the weight of one serving, prepare the recipe as instructed. Weigh the finished recipe, then divide the weight of the finished recipe (not including the weight of the container the food is in) by the desired number of servings. Result will be the weight of one serving.
Did you make this recipe?
Please consider Pinning it!!