Easy Apple Crisp with Oat Topping – A Fall Classic
So, About That Apple Crisp I Can’t Stop Making
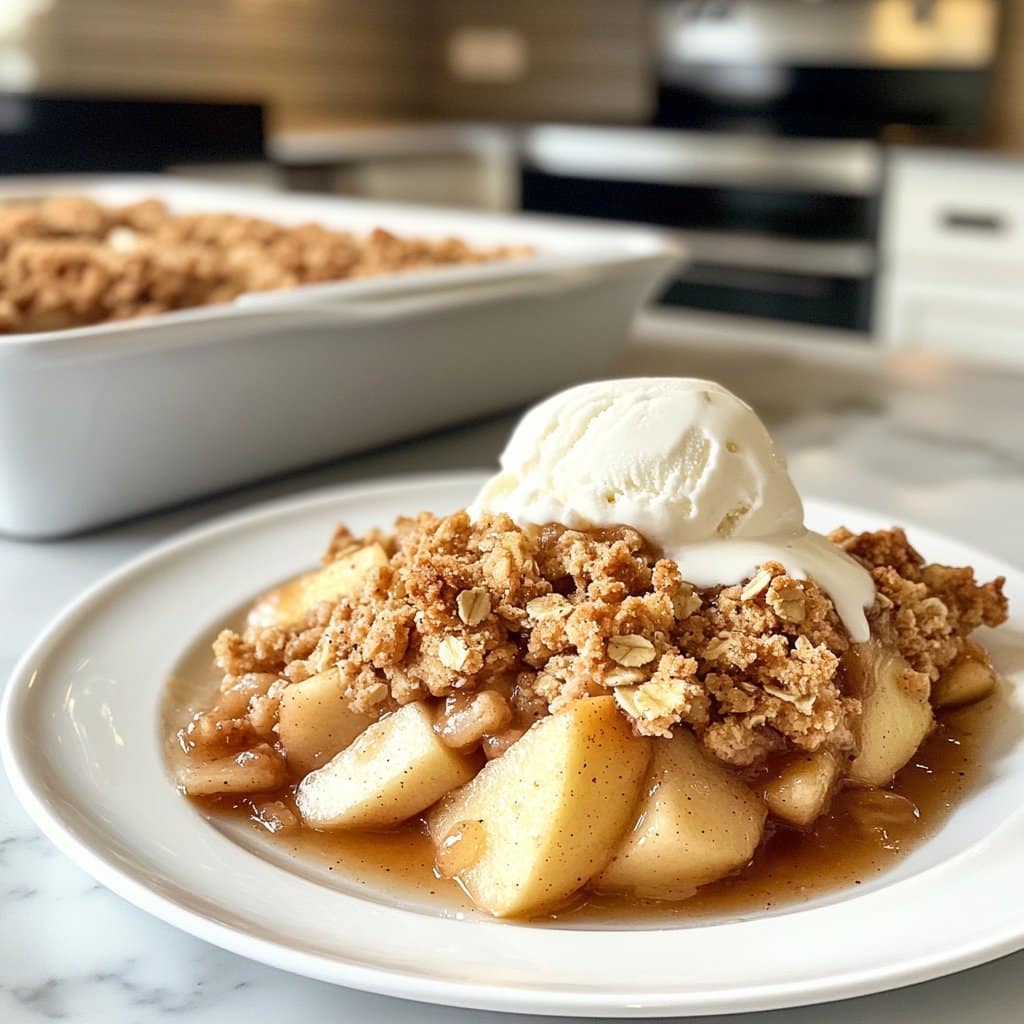
Alright, let me just say: this easy apple crisp with oat topping is basically my secret weapon whenever I want the house to smell like I’ve been slaving away for hours (spoiler: I haven’t). I remember the first time I made this for my little crew on a windy October afternoon—it was a total gamble, and I was worried the topping would end up, well, weirdly soggy. Good news: it didn’t, and now it’s on repeat every fall. Oh, and if you’re wondering, yes, it’s even better the next day (if it lasts that long… which in my house, it almost never does!). Honestly, I sometimes make it just to have an excuse to eat the leftovers for breakfast. Anyway, let’s dive in before I start rambling about my neighbor’s apple tree, which, by the way, is weirdly productive for an urban backyard.
Why I Keep Making This (Other Than, You Know, It’s Delicious)
I make this when the weather turns chilly and I look for any excuse to turn on the oven. My family goes crazy for this because the apples get all soft and sweet underneath a crunchy, cinnamon-y topping. (My partner claims he doesn’t like dessert much, but somehow there’s never any left. You do the math!) And honestly, it’s so much less fussy than pie—no pastry rolling, no worrying that your crust looks like a hot mess. The only real frustration I’ve had is peeling apples when I’m tired, but hey, sometimes I just leave the skin on. It’s rustic, right?
Gather Up Your Ingredients (Substitutions Aplenty)
- 6 big apples (Granny Smith is classic, but I often use whatever’s on sale—sometimes even a mix, which is fun)
- 1/2 cup white sugar (I’ve swapped in brown sugar before; makes it a bit more caramelly)
- 1 teaspoon cinnamon (Sometimes I get wild and add a pinch of nutmeg or allspice; you do you)
- Juice of half a lemon (Or, in a pinch, just a splash of bottled lemon juice—no one will know)
- 3/4 cup rolled oats (I once tried quick oats; it worked, but the topping’s a bit more crumbly)
- 1/2 cup all-purpose flour (Whole wheat if you’re feeling virtuous—honestly, both work fine)
- 1/2 cup brown sugar (Light or dark, or even coconut sugar if you’re into that)
- 1/2 cup cold butter, cubed (I’ve used vegan margarine when cooking for dairy-free friends; it’s pretty forgiving)
- Pinch of salt (I sometimes forget this and it’s… fine, but better with)
Let’s Make It! (Don’t Overthink It)
- Preheat your oven to 180°C (that’s 350°F for my American pals). Grease a medium baking dish—mine’s about 8×8, but I’ve used a random casserole before and nobody complained.
- Peel, core, and slice your apples, unless you’re feeling lazy or like a bit of chew. Toss them with white sugar, cinnamon, and lemon juice right in the baking dish. Sometimes I sneak a slice or two at this point—quality control, you know?
- Now, for the topping: Mix oats, flour, brown sugar, and salt in a bowl. Drop in the cold butter. If you’ve got a pastry cutter, go wild; otherwise, I just use my fingers to rub everything together until it’s kind of lumpy and crumbly. Don’t worry if it clumps—you want those buttery bits.
- Scatter (or sort of dump) the topping over the apples. You don’t have to be precious about it. Sometimes there’s a weird, bare patch—just pat more on top.
- Bake 40–45 minutes, or until the top is golden brown and you can see those apples bubbling around the edges. If the top looks a bit pale at 35 minutes, give it a bit longer. But keep an eye out—once I forgot and, well, let’s just say it was extra crispy.
- Let it cool for at least 15 minutes before scooping it out. It’ll smell so good you’ll want to faceplant in the dish, but trust me, molten apple filling is no joke.
Notes That Only Come from Trial (and Error…)
- Actually, I find it works better if you use a mix of apple types; tart and sweet together is where it’s at.
- Sometimes, if your apples are super sweet, you can cut the sugar by a third. Or just use more cinnamon; I probably use too much because I love it.
- I once tried doubling the topping. It sort of worked, but it was more like an oat bar than a crisp. Not a bad thing—just, you know, not the same.
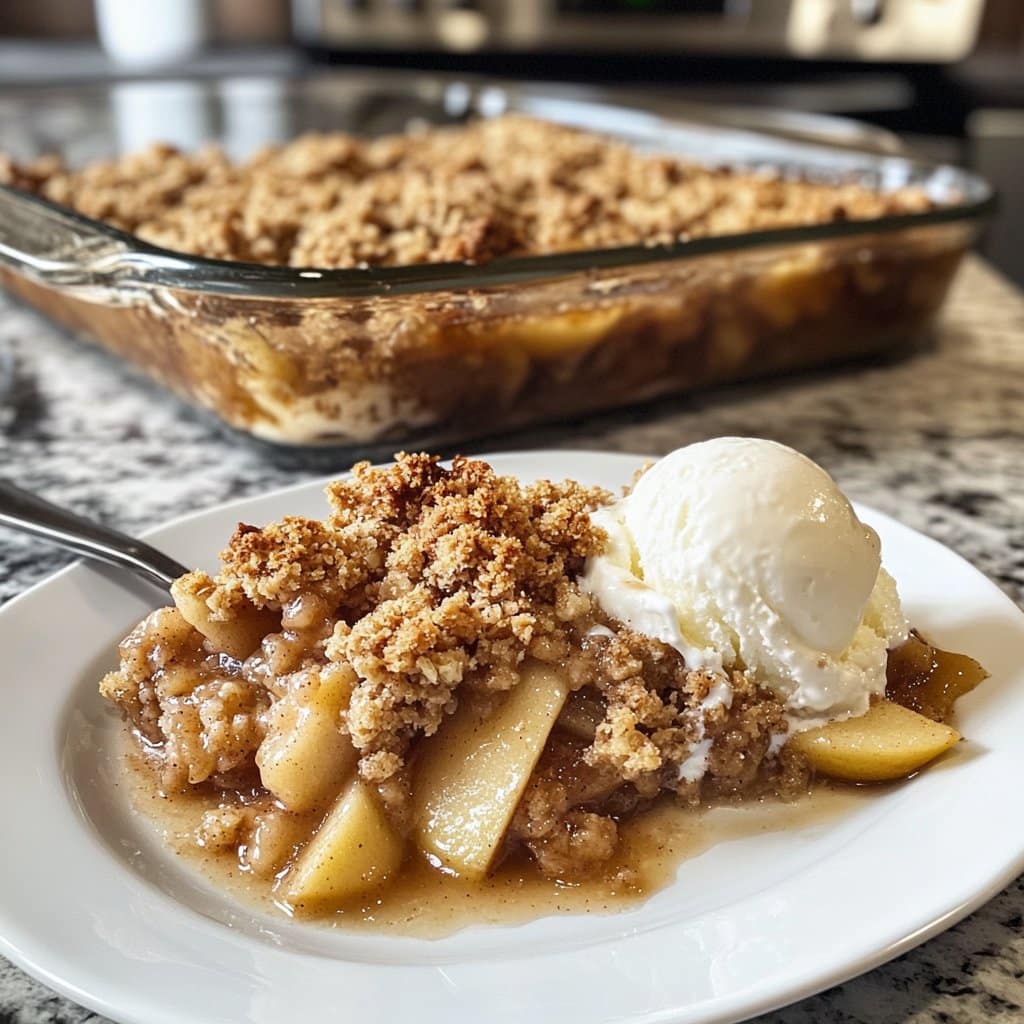
Variations I’ve Tried (Some Good, Some… Not So Much)
- Adding berries (blueberries especially) is lovely; just toss a handful in with the apples.
- Pears instead of apples? Surprisingly tasty, but gets mushier. Would I make it again? Eh, probably, but only if I have pears that need eating.
- One time, I tossed in chopped walnuts, and the crunch was great—unless you have a nut-allergy situation, obviously.
- I tried making this once with coconut oil instead of butter. Let’s just say, it was not a winner. Stick with butter or margarine if you can.
No Fancy Gear? No Problem
Look, a pastry cutter is nice but not required—your hands are honestly the best tool for mixing the topping. No baking dish? I’ve used a deep frying pan before. It wasn’t pretty, but it worked. If you want a really even topping, a fork works to fluff it up before baking (though most of the time I just use my fingers and hope for the best).
Storing the Leftovers (If You Have Any…)
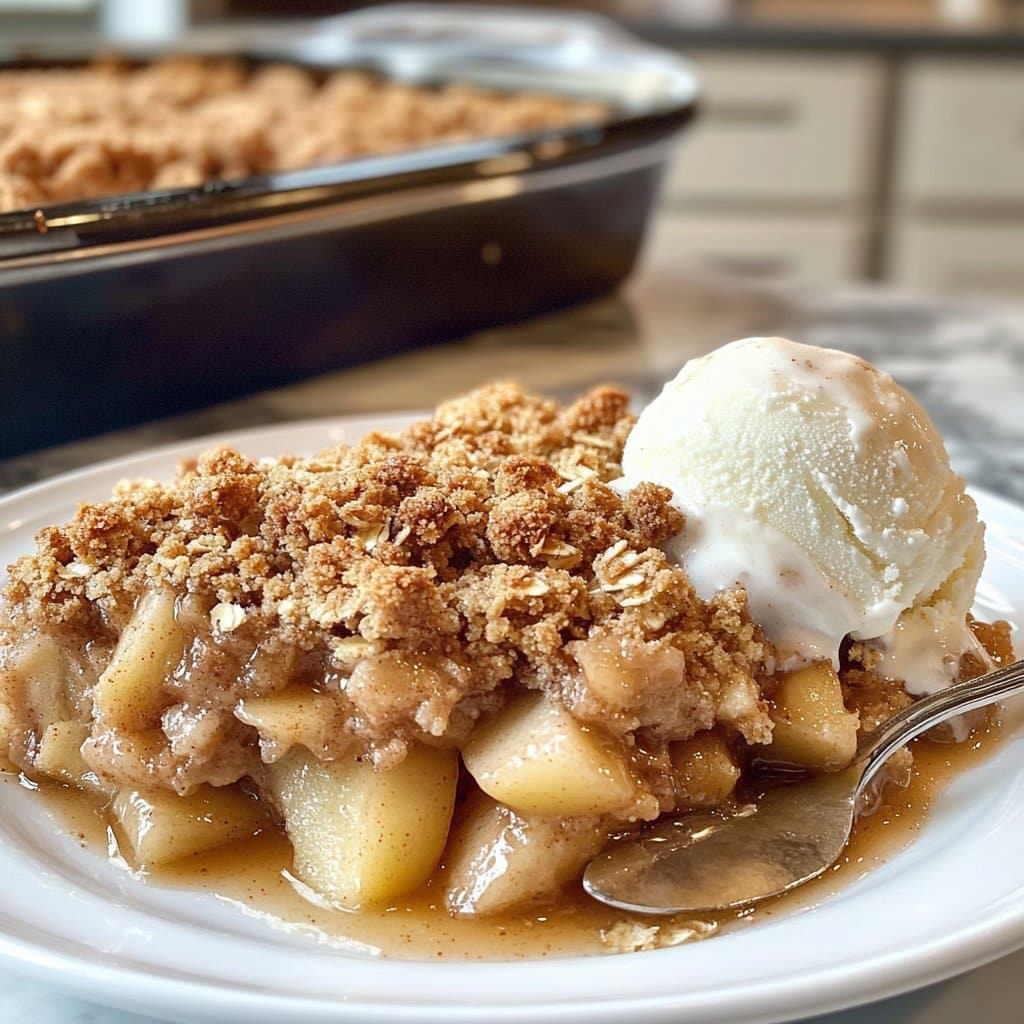
Just cover the dish with foil or plastic wrap and pop it in the fridge. It’ll keep for up to three days, but honestly, in my house it never makes it past breakfast the next day. I think it’s actually somehow better cold—or maybe that’s just me.
How I Love to Serve This
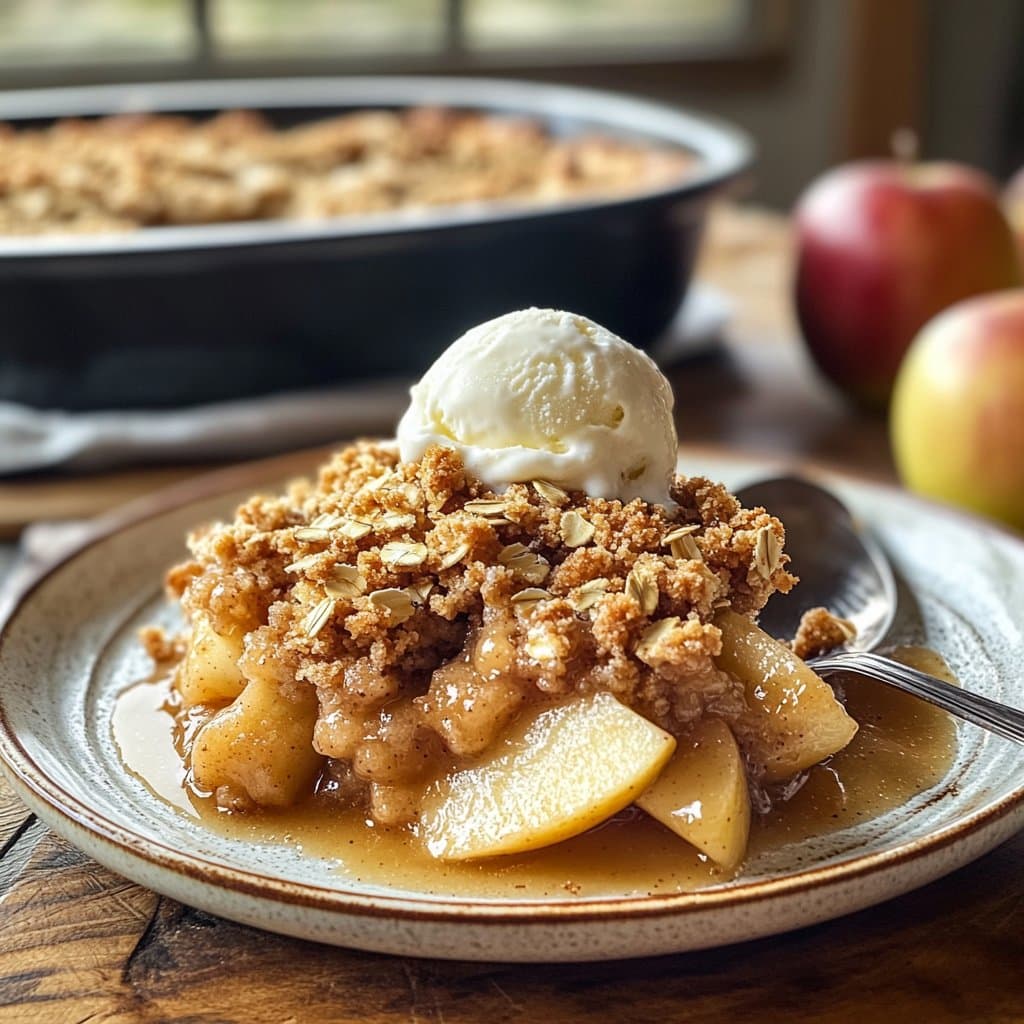
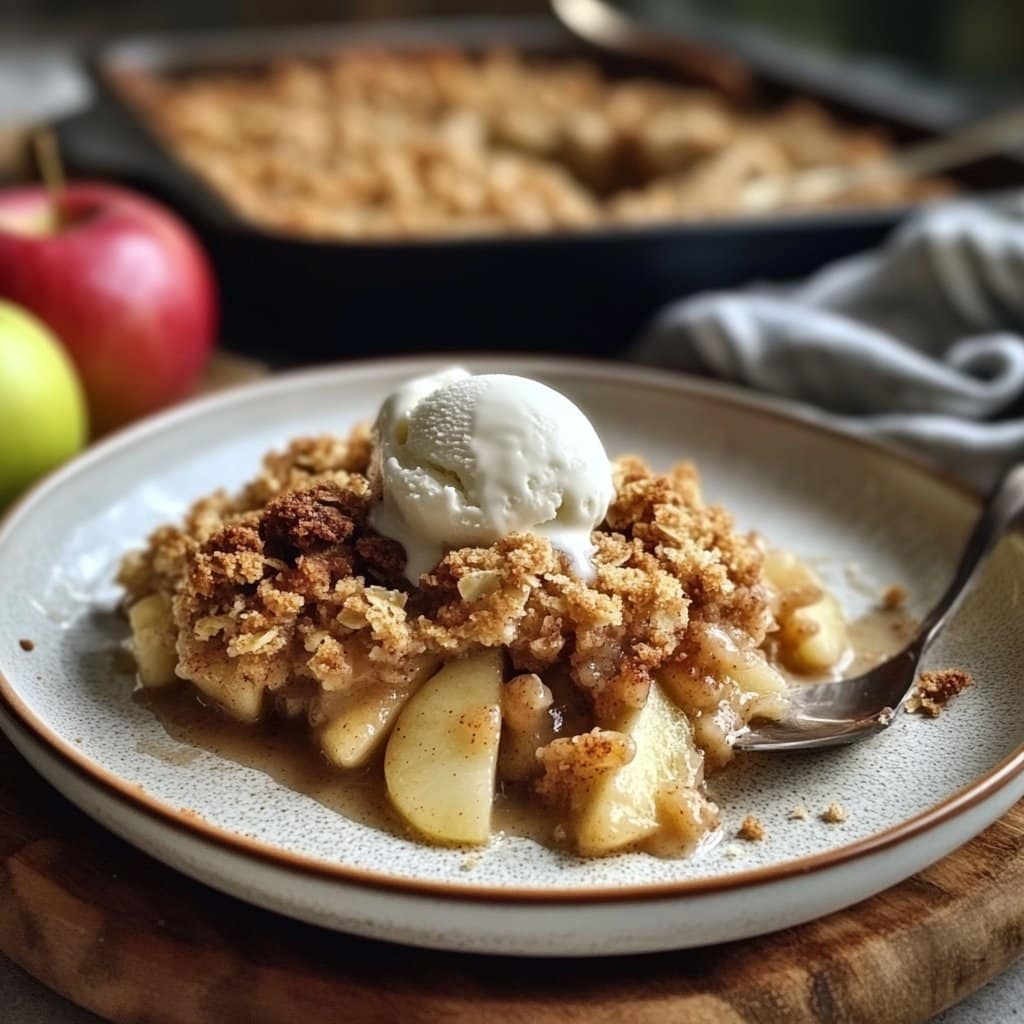
Big scoop, still warm, topped with a ridiculous amount of vanilla ice cream. Or, if someone’s feeling fancy, a dollop of whipped cream. Occasionally, we do a drizzle of caramel sauce (store-bought, don’t judge). Sometimes I serve it for brunch with yogurt, which feels like a loophole in the dessert-for-breakfast rules.
Things I’ve Learned the Hard Way (Pro Tips… Kind Of)
- Don’t rush the butter mixing. I tried melting it once to save time—bad move; the topping ended up a bit greasy and not crumbly. Just cube it cold and smush it in.
- If you cut the apples too thin, they basically disappear; I like chunky slices so you still get some bite.
- Baking it on a tray saves you from a sticky oven, just in case it bubbles over (which it totally did that one Thanksgiving—lesson learned!).
FAQ: Real Questions I’ve Actually Gotten
- Can I make this ahead? Yep! You can assemble it up to the baking step, cover, and chill in the fridge for up to a day. Then just bake as usual. Or bake it, cool it down, and reheat when you need it (actually, I think it tastes even better the next day—don’t tell my family!).
- Is it gluten-free? Only if you use gluten-free flour and oats. I’ve done it, and it’s totally respectable. A bit more crumbly, maybe, but who cares?
- What apples work best? Granny Smith’s my usual, but really, whatever you’ve got is fine. The tarter, the better, in my book. I’ve even mixed in a couple of Pink Ladies if I was short.
- Can I freeze it? You can, but the topping goes a bit soft when thawed. Not the end of the world, though. Just reheat it in the oven to get some crisp back.
- Do I have to peel the apples? Absolutely not. Sometimes I don’t, especially if I’m tired or feeling like extra fiber (ha!). The skin softens as it bakes anyway.
If you want to geek out over apple varieties, check out The Kitchn’s apple guide. Or if you want to see a slightly fancier version, Smitten Kitchen has a fun twist on apple crisp (though honestly, I always come back to this easy one).
So, there it is—my easy apple crisp with oat topping, with all its quirks and kitchen detours. Give it a go, and if you find yourself eating the leftovers for breakfast, well, you’re in good company.
Ingredients
- 6 medium apples, peeled, cored, and sliced
- 2/3 cup granulated sugar
- 1 teaspoon ground cinnamon
- 1 tablespoon lemon juice
- 3/4 cup old-fashioned rolled oats
- 1/2 cup all-purpose flour
- 1/2 cup packed light brown sugar
- 1/2 cup unsalted butter, cold and cubed
- 1/4 teaspoon salt
Instructions
-
1Preheat the oven to 350°F (175°C). Lightly grease a 9×13-inch baking dish.
-
2In a large bowl, toss the sliced apples with granulated sugar, cinnamon, and lemon juice. Spread the apple mixture evenly in the prepared baking dish.
-
3In a separate bowl, combine oats, flour, brown sugar, and salt. Add the cold, cubed butter and use a pastry cutter or your fingers to mix until the topping resembles coarse crumbs.
-
4Sprinkle the oat topping evenly over the apples.
-
5Bake for 40 minutes, or until the topping is golden brown and the apples are tender.
-
6Allow to cool slightly before serving. Enjoy warm, optionally with vanilla ice cream.
Approximate Information for One Serving
Nutrition Disclaimers
Number of total servings shown is approximate. Actual number of servings will depend on your preferred portion sizes.
Nutritional values shown are general guidelines and reflect information for 1 serving using the ingredients listed, not including any optional ingredients. Actual macros may vary slightly depending on specific brands and types of ingredients used.
To determine the weight of one serving, prepare the recipe as instructed. Weigh the finished recipe, then divide the weight of the finished recipe (not including the weight of the container the food is in) by the desired number of servings. Result will be the weight of one serving.
Did you make this recipe?
Please consider Pinning it!!
