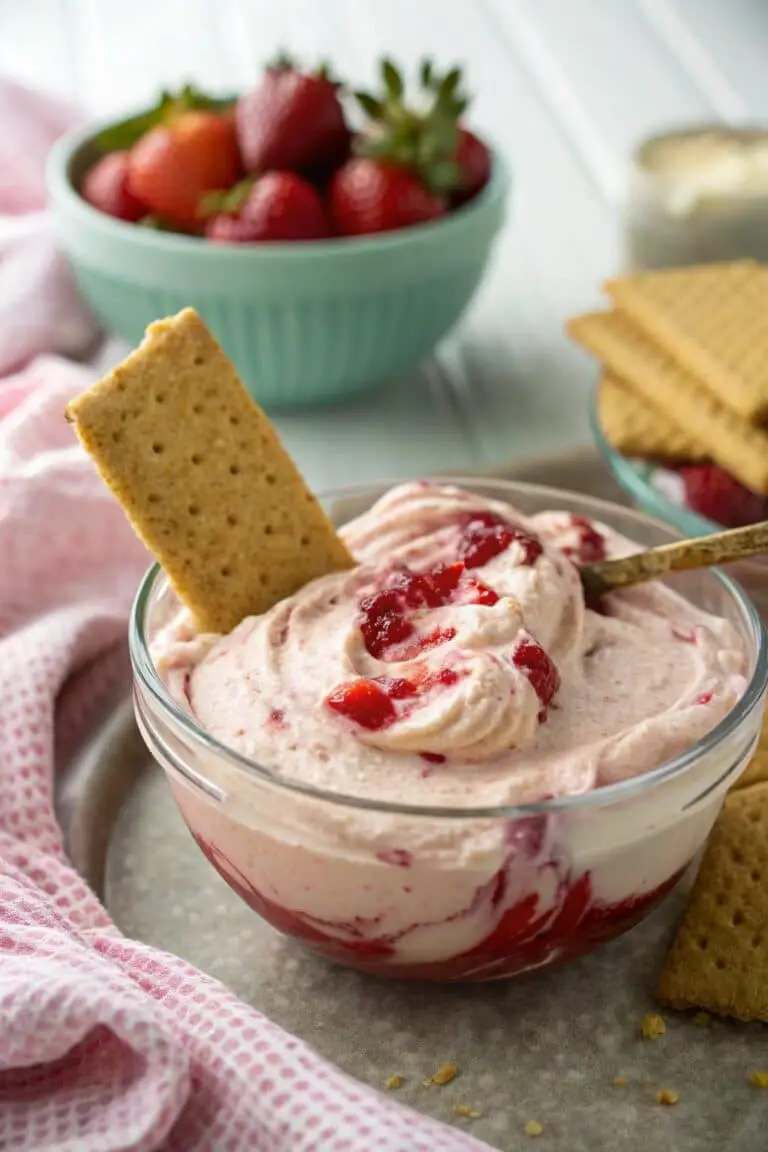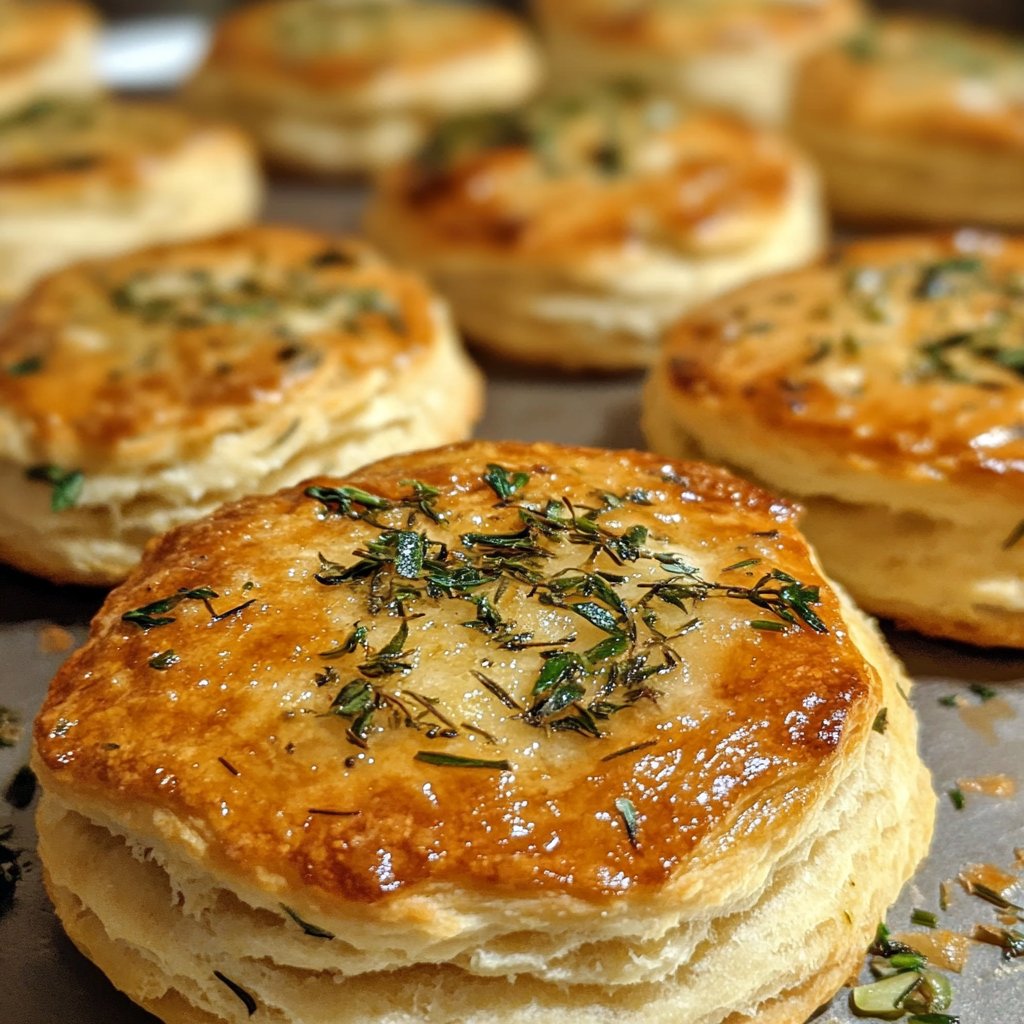
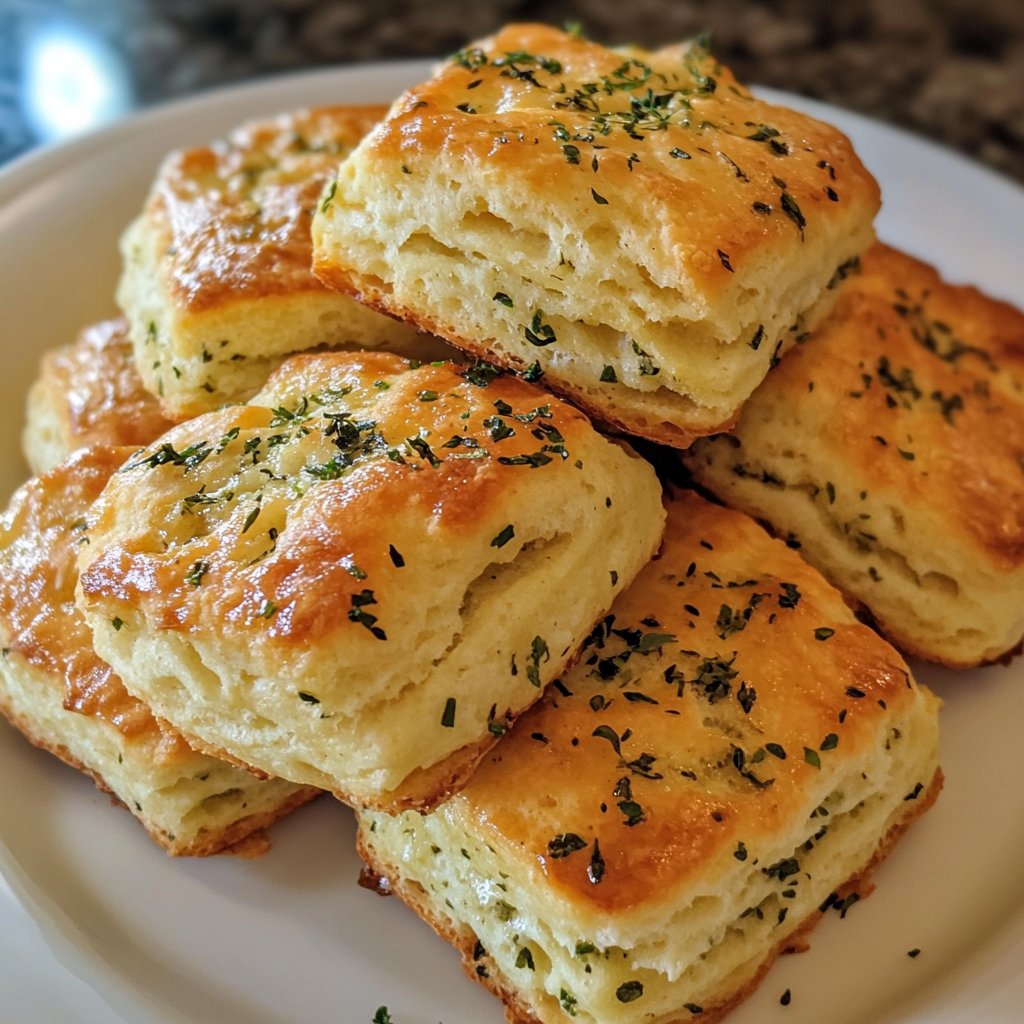
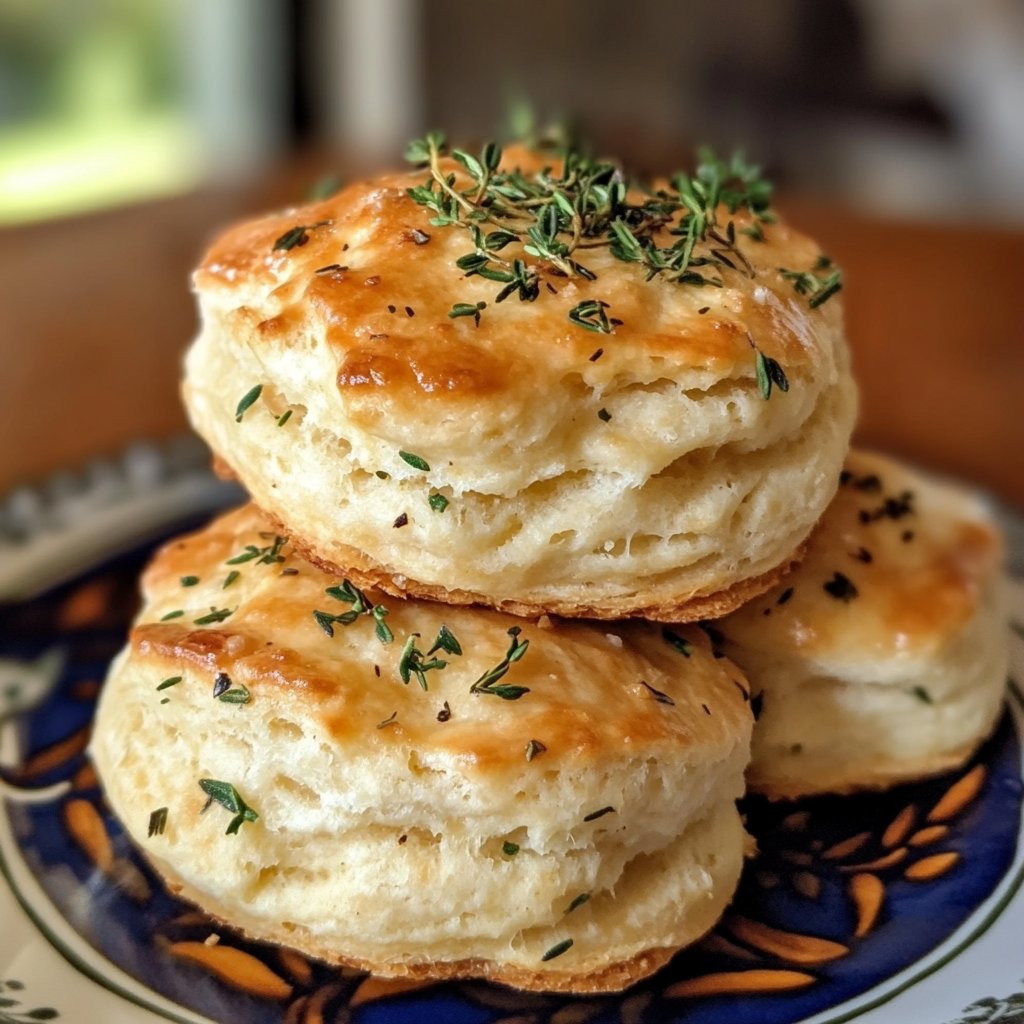
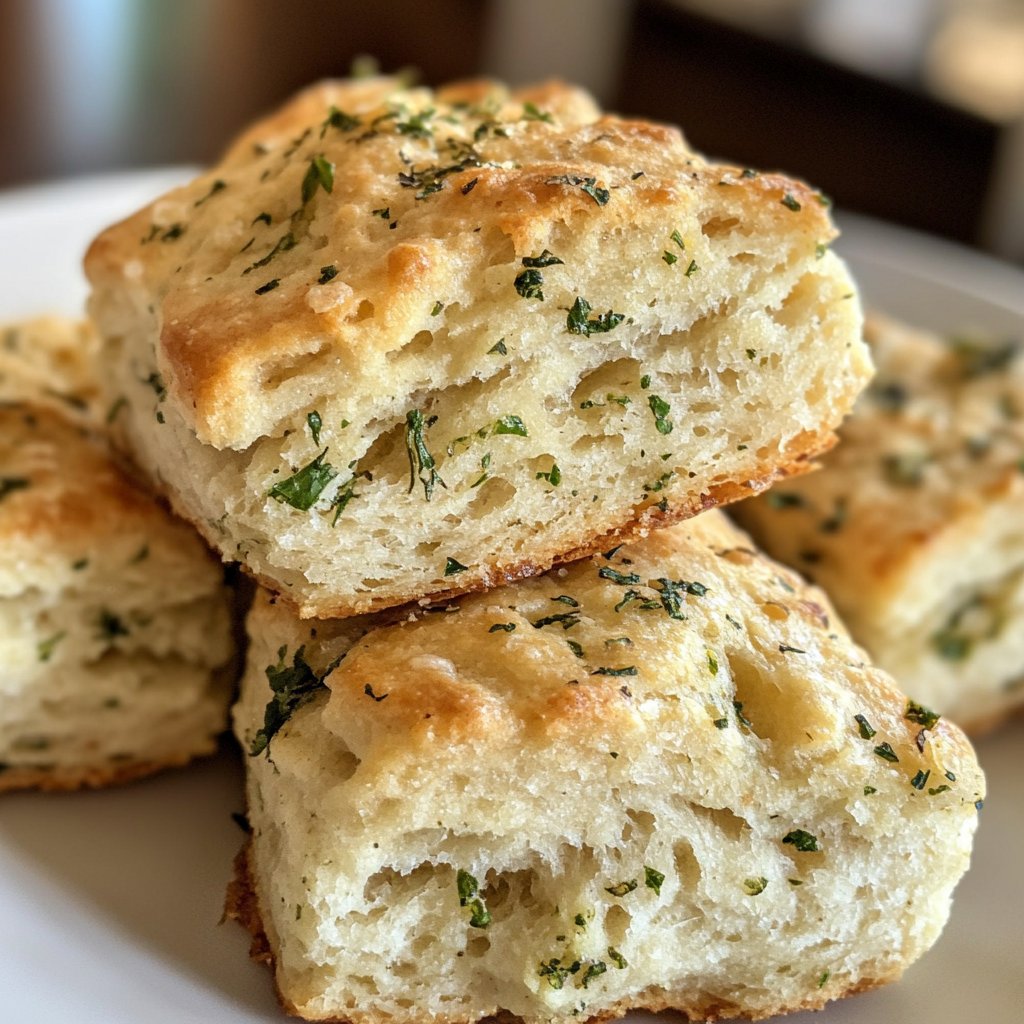
Spring Herb Butter Biscuits
Alright, gather ’round folks. Let me tell you about these Spring Herb Butter Biscuits that have graced my family gatherings every spring since I can remember. Honestly, I think I first fell in love with cooking because of these biscuits. Picture little me, standing on a stool, trying to help my mom (mostly making a mess, let’s be real) and sneaking bits of butter when she wasn’t looking. Ah, those were the days!
Why You’ll Love This
I whip these up whenever I need a quick pick-me-up or when unexpected guests show up at my door (you know the type). They’re fluffy, buttery, and have just the right hint of spring with all the herbs. My family loves them so much that, honestly, I have to hide a few for myself. There’s something magical about the combination of fresh herbs with warm, flaky biscuits that makes everyone swoon. And, if I’m being perfectly honest, the aroma alone is swoon-worthy.
Ingredients
- 2 cups all-purpose flour
- 1 tablespoon baking powder
- 1/2 teaspoon salt
- 1/2 cup cold unsalted butter (sometimes I cheat and use salted; it works fine)
- 3/4 cup milk (I’ve tried it with almond milk when I ran out of regular milk – not too shabby!)
- 1/4 cup fresh herbs, chopped (think parsley, chives, or dill – whatever’s in the fridge)
Directions
- Preheat your oven to 425°F (220°C). The hotter, the better, I say!
- In a large bowl, whisk together flour, baking powder, and salt. (This is when I usually daydream about the weekend or my next meal.)
- Cut in the butter using a pastry cutter or, honestly, your fingers work just as well. You want pea-sized lumps.
- Pour in the milk and stir until just combined. (It might look a bit rough, but don’t stress.)
- Gently fold in the herbs. The smell at this stage is beyond tempting. Resist the urge to taste.
- Turn the dough out onto a floured surface and knead briefly – like, three times. We’re not making bread here.
- Pat the dough into a 1-inch thick round-ish shape. Use a biscuit cutter (or a glass if you’re in a pinch) to cut out circles.
- Place biscuits on a baking sheet and pop in the oven for 10-12 minutes, or until golden. Try not to hover too much – they know what they’re doing.
Notes
I once forgot the salt, and let’s just say, they weren’t as popular. Also, I sometimes add a tiny splash of lemon juice to the milk to mimic buttermilk if I’m feeling fancy.
Variations
Once, I tried adding cheese and it was a hit. Another time I used rosemary, and it was… well, not my favorite (a bit too overpowering). But hey, to each their own!
Equipment
If you don’t have a pastry cutter, no worries. Just use two knives or even your hands. It’s a workout, but it works!
Storage Information
Store them in an airtight container for up to two days – though honestly, in my house, it never lasts more than a day!
Serving Suggestions
I love serving these warm with a dollop of homemade jam or some honey. My kids like them with a bit of cheese on top. We’re all about options!
Pro Tips
Don’t rush cutting in the butter. I once tried to speed through it, and they turned out dense. Take your time; it’s worth it.
FAQ
- Can I use dried herbs? Sure! Just use less since they’re more potent – maybe about a teaspoon of each.
- What if I don’t have a biscuit cutter? No worries! Use a glass or even a jar lid in a pinch.
- Do I have to knead the dough? Just a bit! Too much will make them tough, and that’s not what we’re going for.
For more delightful recipes, check out some simple recipes or for specific herb growing tips, take a peek at Gardenista!