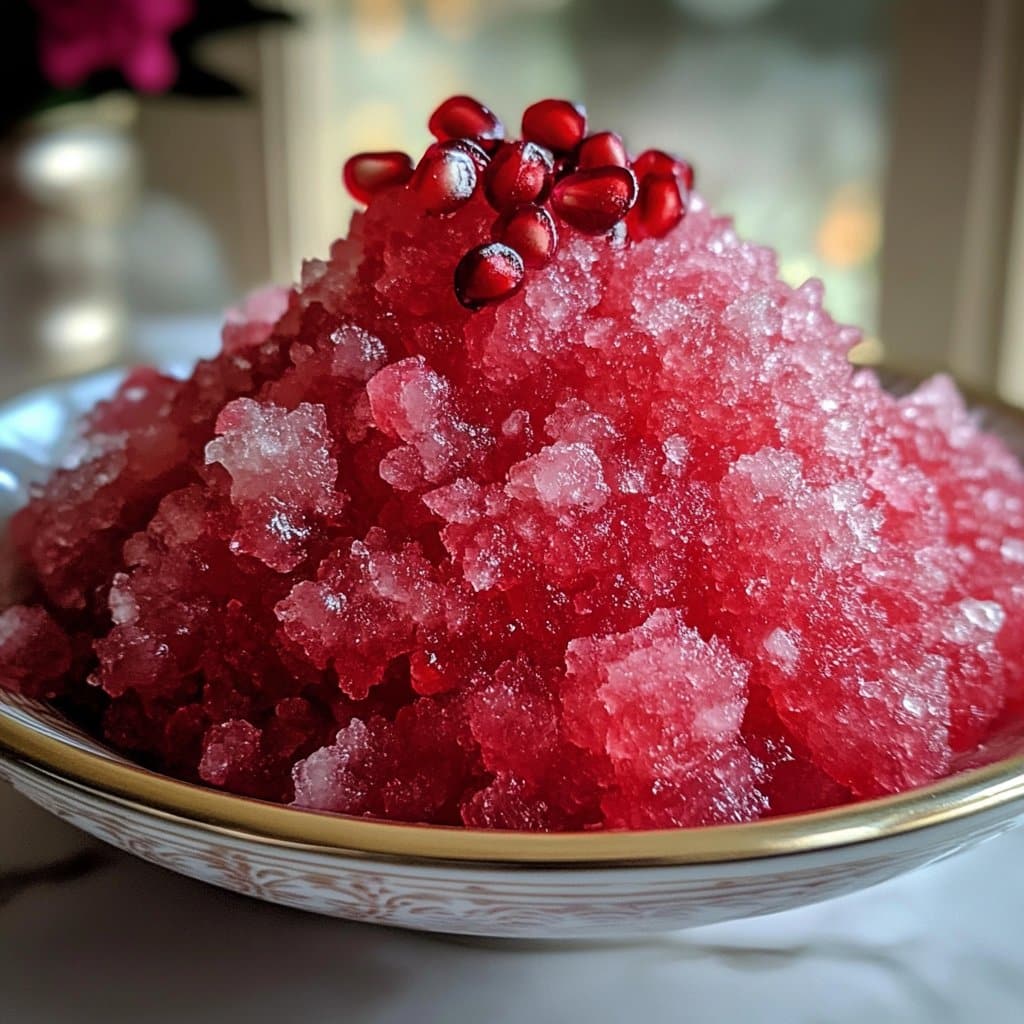
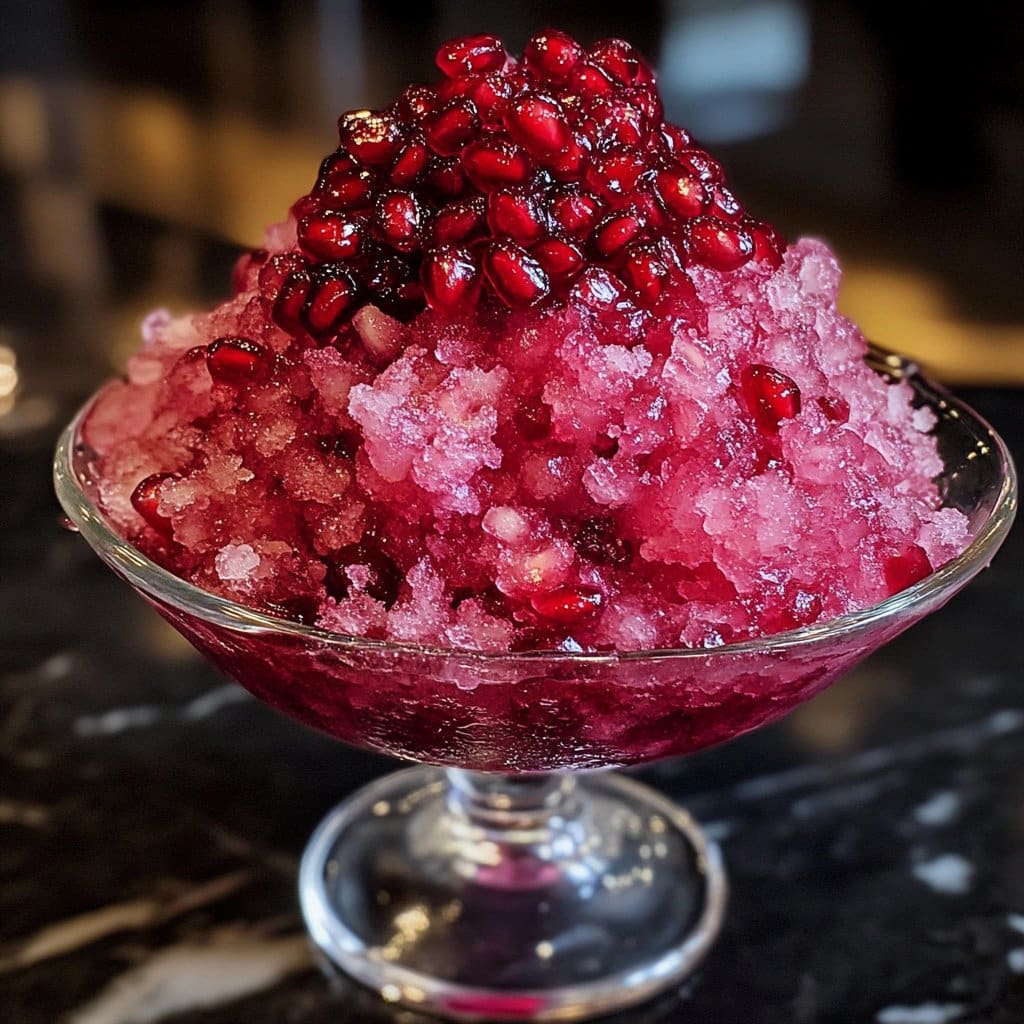
Pomegranate Granita – Light & Refreshing Summer Dessert
Let Me Tell You About This Granita I Can’t Stop Making
Alright, picture this: It’s August, my kitchen is basically a sauna, and I’m muttering about how my ancient freezer can’t possibly keep up. Enter Pomegranate Granita—honestly, one of those desserts I started making out of pure desperation for something cold and ended up borderline obsessed. There was this one time I somehow splattered pomegranate juice all over my white shirt (don’t do that), and my family thought I’d been attacked by a berry bush. Anyway, if you’re after something light, sweet-tart, and dead easy, pull up a chair, because this granita is calling your name.
Why You’ll Love This (Or, Why I Keep Coming Back To It)
I make this when it’s too hot to even think about turning on the oven, which is most of July and, let’s be real, a good chunk of September here. My family goes a bit bonkers for it because it tastes like summer in a bowl (maybe that’s just me romanticizing, but you know what I mean). The best part? No fancy gadgets—just a fork, a freezer, and a touch of patience. Plus, if you’re into those classic Italian ices, this is kind of the lazy cousin. Oh, and if you’ve ever had trouble with icy desserts turning out rock-hard, I feel your pain; this one’s forgiving.
What You’ll Need (Substitutions Welcome!)
- 2 cups pomegranate juice (bottled is fine; I sometimes use fresh if I can be bothered, but honestly, store stuff like POM Wonderful works just as well)
- 1/3 cup sugar (I usually go with regular granulated, but raw sugar gives a sort of caramel-ish vibe if you’re into that)
- 1 tablespoon lemon juice (lime works in a pinch, or even orange if you’re feeling wild)
- Optional: A pinch of salt (my gran once said it “brings out the flavor,” and I sort of believe her)
- Optional: Seeds from half a pomegranate for a bit of crunch (sometimes I skip ’em, especially if I’m feeling lazy or can’t be bothered to de-seed)

How To Make It—No Fuss, Just Goodness
- Stir together the juice, sugar, and lemon juice in a bowl until the sugar’s dissolved. This is where I usually sneak a taste—sometimes I add a bit more lemon for extra zip, or sugar if I’m feeling like a sweet tooth.
- Pour that juice mix into a shallow baking dish (metal chills faster, but glass works fine too; once, I even used a loaf pan and it was… okay).
- Pop it in the freezer. Wait 30–40 minutes, then give it a good scrape or fork fluff. It’ll look a bit weird and slushy at first—don’t panic. That’s how it’s meant to be.
- Keep scraping every 30 minutes or so for about 2–3 hours. The crystals should form nicely by the second round, but if you forget to scrape one time (like I always do), just break up the big chunks with your fork later. No one’s judging.
- If you’re adding seeds, toss them in after the last scrape. Or just sprinkle on top when serving. Or skip them. It’s your kitchen, not mine.
My Notes (Learned the Hard Way, Usually)
- Once I used less sugar, thinking I’d be virtuous, but it froze too hard. Sugar is your friend here—maybe not your dentist’s, but yours.
- The lemon really does make the flavors pop, but if it’s a bit much, try orange juice as a swap. Actually, I find it works better if you mix lemon and orange together.
- Don’t use a deep dish; it’ll take ages to freeze and you’ll get bored. Trust me.
Some Variations I’ve Tried (Plus One Dud)
- If you swap in half orange juice, it gets this lovely sunrise color and a sweeter tang. My kids liked that one.
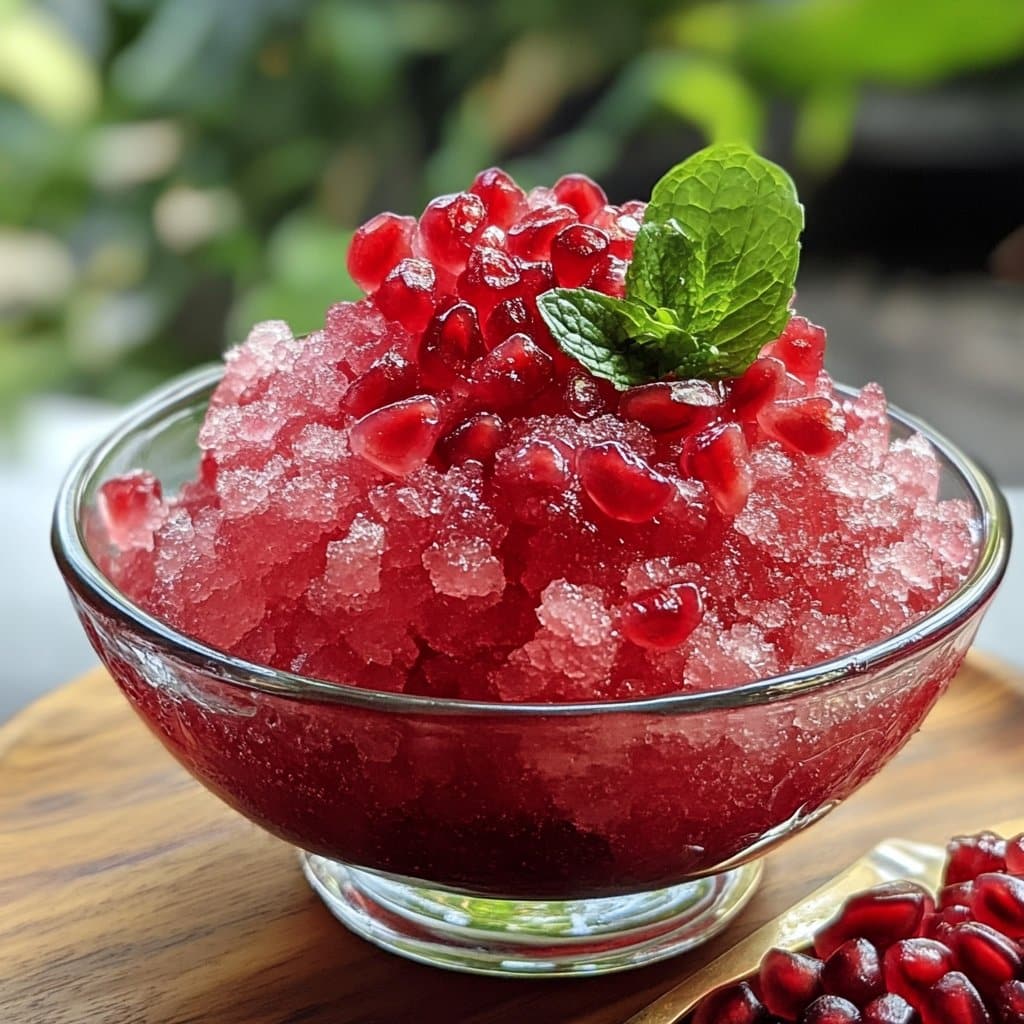
- Mint leaves chopped in? Brilliant—so fresh. Or basil, if you’re feeling chef-y.
- Once I threw in a slug of vodka, thinking it’d be grown up. It was… odd. Too slushy and not in a good way. Wouldn’t recommend, but hey, live and learn.
Equipment? Don’t Stress
I use a metal baking dish because it freezes things quick, but honestly, any flat-ish pan is fine. If you don’t have one, try a big Tupperware lid (yep, I’ve done that), just don’t tell the Tupperware police. And a regular fork for scraping—leave the fancy gadgets to the food bloggers.
Storage (Ha, Good Luck With Leftovers)
You can store granita covered in the freezer for up to 3 days. Fluff it up with a fork before serving. But honestly, in my house, it never lasts more than a day, so who even knows what happens after 24 hours?
How We Serve It (Or: Family Traditions, Such As They Are)
I like to scoop granita into little glasses and top with a dollop of whipped cream (the real stuff, not from the can if you can help it). Sometimes I sprinkle a few pomegranate seeds or even a couple blueberries on top. My sister swears by serving it alongside a tiny biscuit—never figured out why, but it’s become a thing. Oh, and once we tried it with vanilla ice cream underneath… that was next-level.
Lessons Learned: My Best Pro Tips
- I once tried rushing the scraping and ended up with a frozen slab. Big mistake—go slow, scrape often.
- Don’t pour hot juice in the freezer. Let it cool first. (Sounds obvious, but I learned the hard way. Oops.)
- Taste as you go—sometimes bottled juice is more tart or sweet, so adjust to your liking.
FAQ (From Actual Friends, Not the Internet)
Q: Can I make this with another fruit juice?
A: Oh absolutely. I’ve done it with orange, watermelon, and even a pineapple combo. Just watch the sugar; some juices need more, some less.
Q: Do I really have to scrape it every 30 minutes?
A: Well… ideally yes, but if you forget once or twice, it’s not the end of the world. It might just be a little chunkier (in a rustic way!).
Q: How do you get pomegranate juice out of your shirt?
A: Good luck! Cold water, quick. Or wear an apron, which I never seem to remember. Oh, and don’t cook in your favorite top—just saying.
Not strictly related, but if you’re a fan of other frozen treats, check out this granita guide at The Kitchn—they’re a lifesaver for flavor combos.
Anyway, that’s my rambling guide to pomegranate granita. If you try something wild and it works (or doesn’t), let me know—I love a good kitchen mishap story almost as much as a kitchen win!
Ingredients
- 2 cups fresh pomegranate juice (about 4 large pomegranates)
- 1/2 cup granulated sugar
- 1/2 cup water
- 1 tablespoon lemon juice
- 1 teaspoon orange zest
- 1/4 teaspoon sea salt
- Fresh mint leaves, for garnish
- Pomegranate seeds, for garnish
Instructions
-
1In a small saucepan, combine the sugar and water. Heat over medium heat, stirring until the sugar is completely dissolved. Remove from heat and let cool.
-
2In a large bowl, mix together the pomegranate juice, cooled sugar syrup, lemon juice, orange zest, and sea salt.
-
3Pour the mixture into a shallow, freezer-safe dish. Place in the freezer for 30 minutes.
-
4After 30 minutes, use a fork to scrape the frozen edges toward the center. Return to the freezer and repeat scraping every 30 minutes for about 3-4 hours, until the granita is fluffy and fully frozen.
-
5To serve, fluff the granita with a fork and spoon into chilled glasses. Garnish with fresh mint leaves and pomegranate seeds.
Approximate Information for One Serving
Nutrition Disclaimers
Number of total servings shown is approximate. Actual number of servings will depend on your preferred portion sizes.
Nutritional values shown are general guidelines and reflect information for 1 serving using the ingredients listed, not including any optional ingredients. Actual macros may vary slightly depending on specific brands and types of ingredients used.
To determine the weight of one serving, prepare the recipe as instructed. Weigh the finished recipe, then divide the weight of the finished recipe (not including the weight of the container the food is in) by the desired number of servings. Result will be the weight of one serving.
Did you make this recipe?
Please consider Pinning it!!