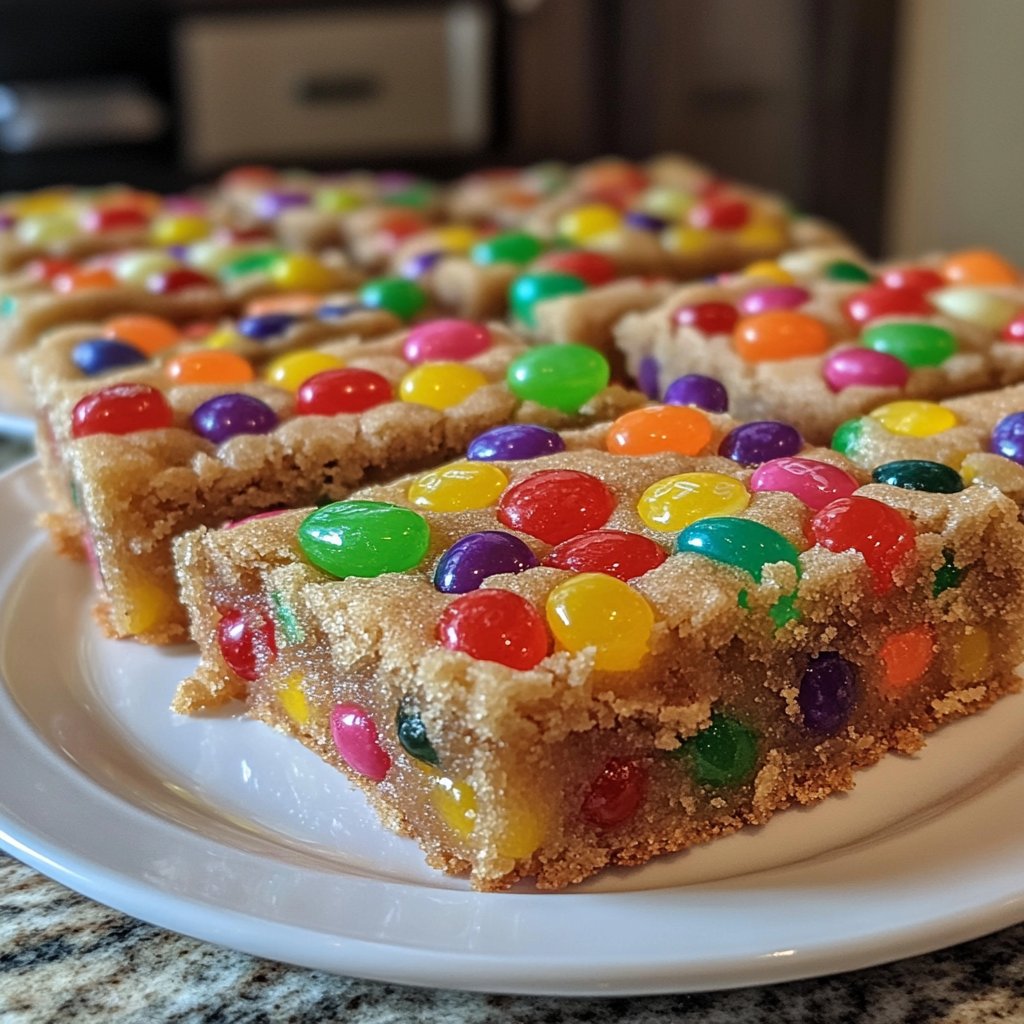
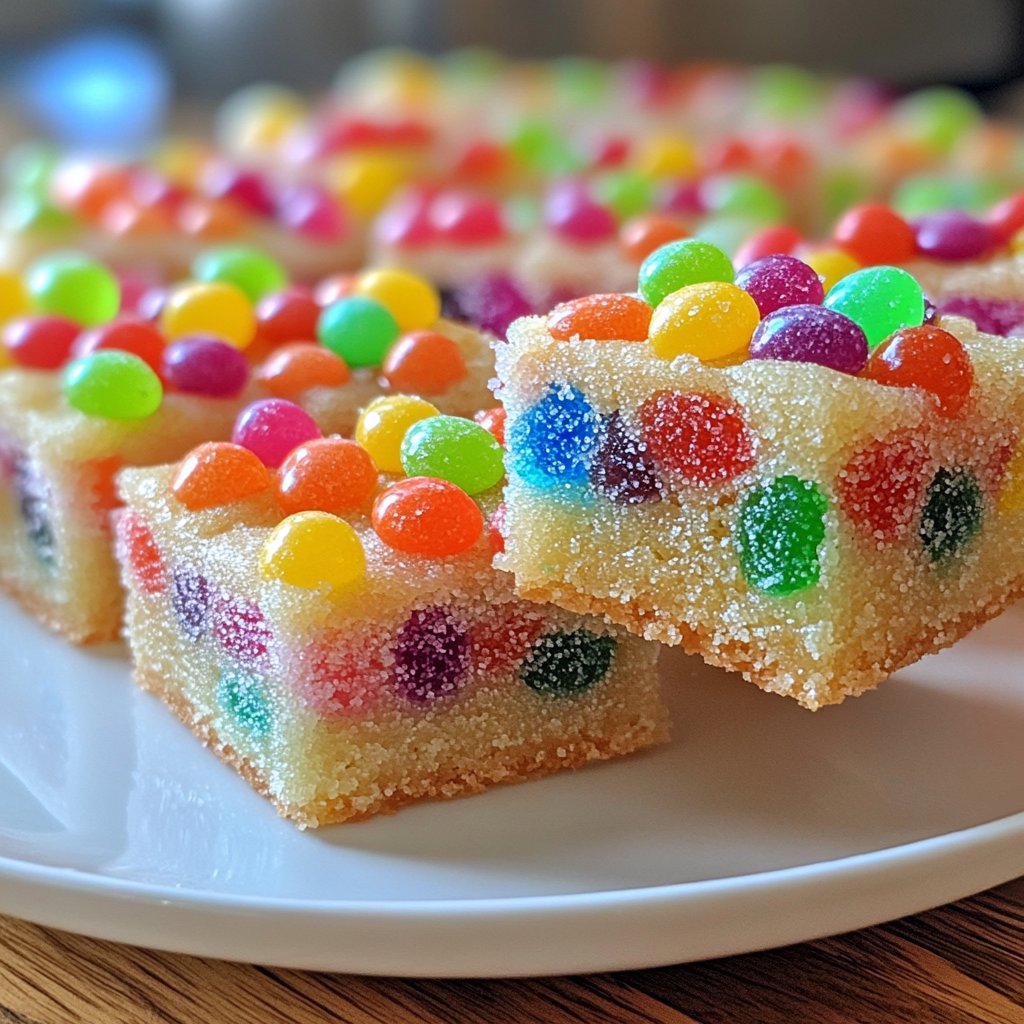
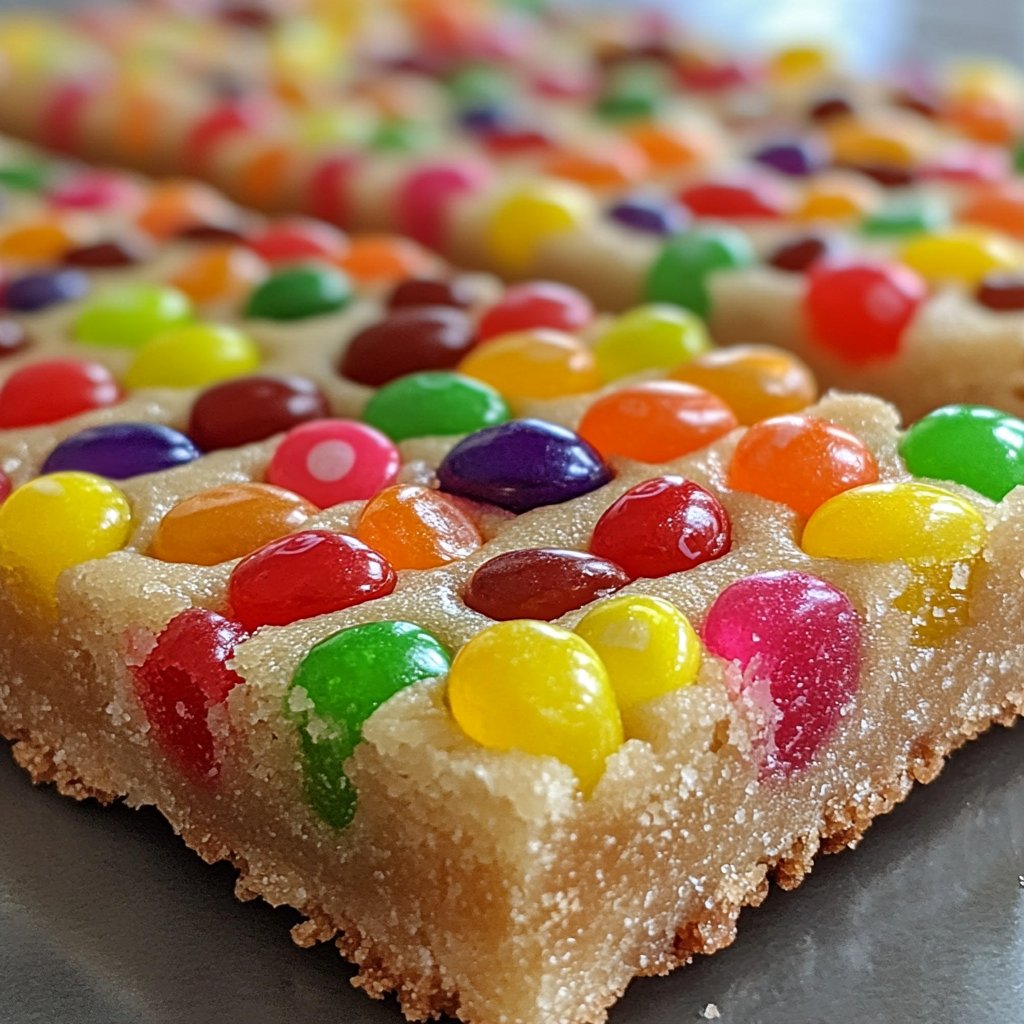
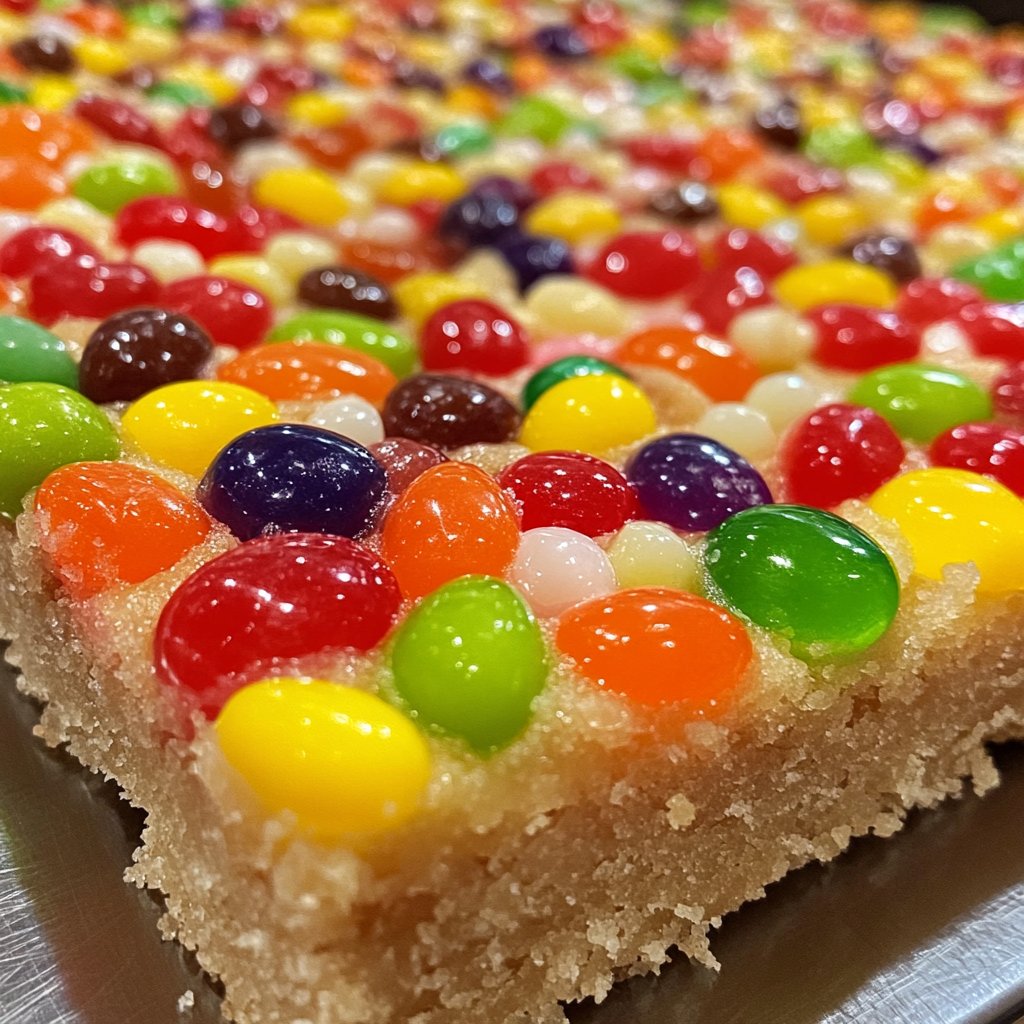
Jelly Bean Sugar Cookie Bars
Hey there! So, let me tell you about these Jelly Bean Sugar Cookie Bars. They’re a bit chaotic, but in a good way—like a sugar rush you didn’t know you needed. The first time I made these was during a particularly rainy weekend when my kids were bouncing off the walls. I figured, why not match their energy levels with something equally colorful and sweet? Plus, it was a sneaky way to use those leftover jelly beans—though, to be honest, I might have eaten half the bag while baking. Oops!
Why You’ll Love This
I reach for this recipe when I need an instant burst of color in my day. My family goes nuts for it, especially my little one who insists on counting the jelly beans on each bar (future mathematician in the making?). These bars are a bit like a party on a plate; they’re lively, fun, and you never quite know what flavor you’re gonna get until you take a bite. And sure, they’re a bit messy to make, but that’s part of the charm, right?
Ingredients
- 1 cup unsalted butter, softened (if you’re in a pinch, margarine works too)
- 1 cup granulated sugar (sometimes I use brown sugar for a deeper flavor)
- 1 large egg
- 2 tsp vanilla extract (my grandma swore by using almond extract instead)
- 2 1/2 cups all-purpose flour
- 1/2 tsp baking powder
- 1/2 tsp salt
- 1 cup jelly beans (I prefer the classic mix, but sour ones are surprisingly good!)
Directions
- Preheat your oven to 350°F (or about 180°C if you’re across the pond). Sometimes I forget this step and have to wait while my dough sits on the counter.
- Beat the butter and sugar together until fluffy. This is where I usually sneak a taste—quality control, right?
- Mix in the egg and vanilla. Don’t worry if the mixture looks a bit curdled; it always does, and it turns out fine in the end.
- In a separate bowl, combine the flour, baking powder, and salt. Then slowly add this to your wet mix. I find it helps to do this in stages, less flour all over the place!
- Fold in those jelly beans gently. They look like little treasures hidden in the dough.
- Press the dough into a greased 9×13 inch pan. Pro tip: Use a piece of parchment to press it down evenly—it keeps your hands clean, mostly.
- Bake for 20-25 minutes or until the edges are golden. It’s okay if the center is a bit soft; it’ll firm up as it cools. Trust me, I’ve learned this the hard way by overbaking.
Notes
After a couple of tries, I discovered that letting these bars cool completely before cutting makes a huge difference. They fall apart less, which means more to eat!
Variations
Once, I tried adding mini chocolate chips to the mix. It was a great success! But adding dried fruit didn’t go over so well—my kids gave me the side-eye on that one. Oh, and if you’re feeling adventurous, try sprinkling a bit of sea salt on top before baking. It doesn’t sound like it would work, but it’s amazing!
Equipment
You’ll need a mixer, but if you don’t have one, a sturdy whisk and some elbow grease will do the trick. And don’t stress if you don’t have a 9×13 pan; use whatever you’ve got, and adjust the baking time a bit.
Storage
Store these in an airtight container, and they should last for a good three days—though honestly, in my house they never last more than a day!
Serving Suggestions
I like to serve these with a cold glass of milk, but my husband insists on having them with coffee. It’s a bit of a debate in our house, but to each their own, right?
Pro Tips
Don’t rush the cooling process. I once tried cutting them while still warm, and they just crumbled apart. Lesson learned!
FAQ
Q: Can I use different candies instead of jelly beans?
A: Absolutely! I’ve used M&M’s before, and they’re delicious. Just be careful with anything that melts too much.
Q: What if I don’t have baking powder?
A: Well, you can use baking soda, but halve the amount and add a teaspoon of lemon juice or vinegar to activate it.
Q: Can I freeze these bars?
A: Yep, you can freeze them for up to a month. Just thaw them at room temp before serving—though I think they taste best fresh.