Icebox Cake Recipe: The Ultimate No-Bake Dessert Guide
There’s something magical about a dessert that requires no oven, no fancy techniques, and barely any time to prepare. Enter the icebox cake — a simple yet elegant treat that has stood the test of time. This classic no-bake dessert is perfect for any occasion, from summer barbecues to holiday feasts. With its layers of creamy filling, tender cookies, and optional toppings, it’s a showstopper that anyone can make. In this guide, you’ll learn everything you need to know about creating the perfect icebox cake, including tips, variations, and step-by-step instructions. Let’s dive into the art of crafting this easy, crowd-pleasing dessert!
What is an Icebox Cake?
The Origin of Icebox Cakes
The icebox cake dates back to the early 20th century when refrigerators (then called “iceboxes”) became household staples. The dessert became a hit because it required minimal effort and ingredients, making it accessible to everyone.
How It Works
At its core, an icebox cake is a layered dessert made by alternating cookies or crackers with a creamy filling, which softens the cookies into a cake-like consistency as it chills in the fridge. It’s a brilliant combination of simplicity and flavor.
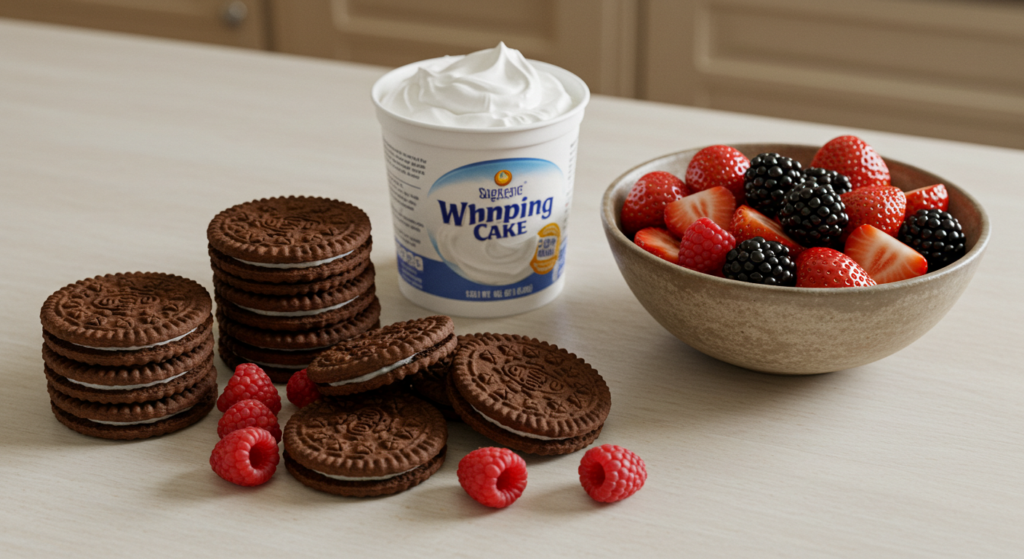
Ingredients for the Perfect Icebox Cake
Base Ingredients
- Cookies or Crackers: Classic options include graham crackers, chocolate wafers, or ladyfingers.
- Creamy Filling: Whipped cream, mascarpone, or pudding are popular choices.
Optional Add-Ins
- Fresh fruits like strawberries, bananas, or mangoes.
- Chocolate shavings, sprinkles, or crushed nuts.
- Extracts like vanilla or almond for added flavor.
Pro Tip:
Use high-quality ingredients for the best results. Freshly whipped cream and artisanal cookies can elevate your dessert from good to unforgettable.
Step-by-Step Icebox Cake Recipe
Preparation Time:
- Prep: 20 minutes
- Chill: 4-6 hours (or overnight)
Ingredients:
- 2 cups heavy whipping cream
- 1/4 cup powdered sugar
- 1 teaspoon vanilla extract
- 1 package (about 24) chocolate wafers or graham crackers
- Optional toppings: fresh berries, chocolate shavings, or crushed nuts
Instructions:
- Whip the Cream: In a large bowl, beat the heavy whipping cream, powdered sugar, and vanilla extract until stiff peaks form.
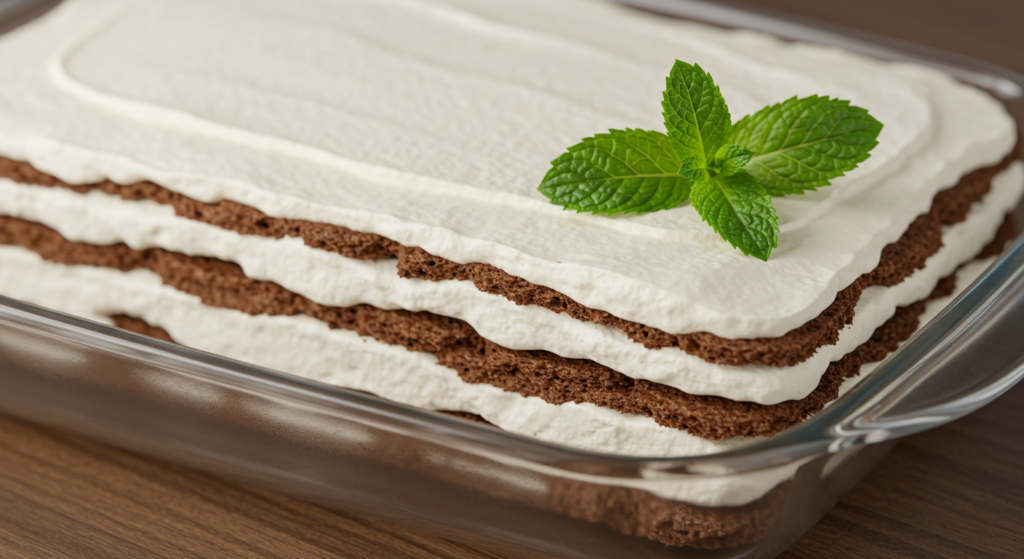
- Layer the Ingredients: Spread a thin layer of whipped cream at the bottom of your serving dish. Add a single layer of cookies or crackers on top. Repeat the process, alternating layers of cream and cookies, until you fill the dish.
- Chill: Cover the dish with plastic wrap and refrigerate for at least 4-6 hours or overnight. This allows the cookies to absorb moisture and soften.
- Decorate and Serve: Top the cake with your favorite add-ons before serving.
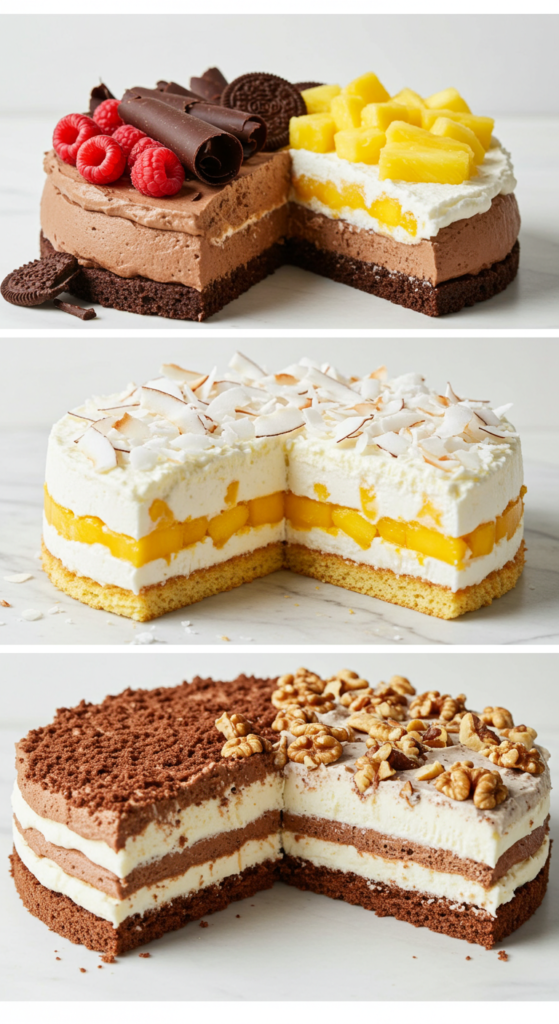
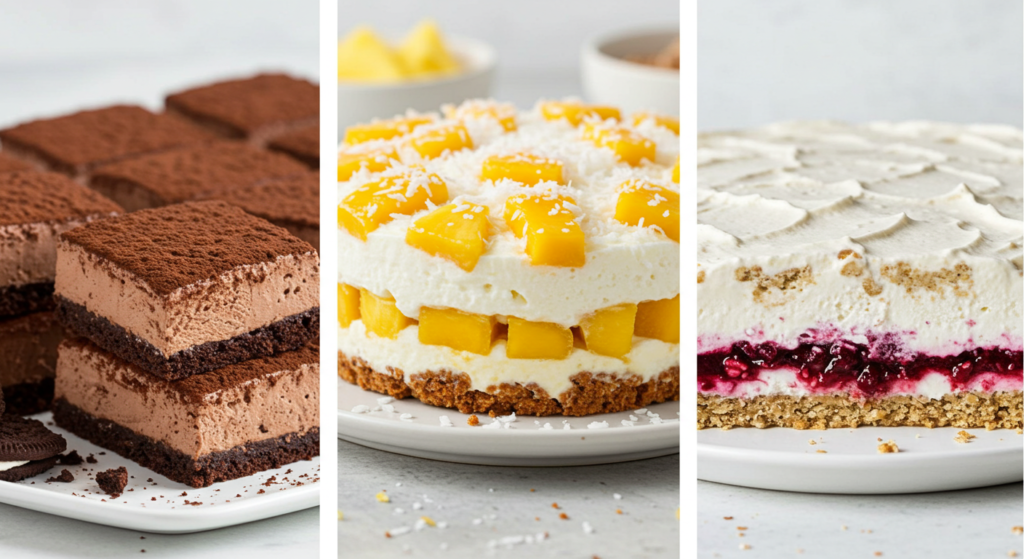
Variations to Try
Chocolate Lover’s Icebox Cake
- Use chocolate pudding instead of whipped cream.
- Sprinkle mini chocolate chips between layers.
- Top with a drizzle of chocolate ganache.
Tropical Icebox Cake
- Substitute graham crackers with coconut-flavored cookies.
- Add layers of pineapple chunks and shredded coconut.
- Finish with a garnish of toasted coconut flakes.
Vegan Icebox Cake
- Replace whipped cream with coconut whipped cream or dairy-free alternatives.
- Use vegan cookies or biscuits.
- Opt for fruit-based layers like berries and banana slices.
Tips for Success
Keep It Neat
Use a clear glass dish to showcase the beautiful layers, which is part of the icebox cake’s charm.
Make Ahead
Icebox cakes taste even better the next day as the flavors meld together, so consider preparing it 24 hours in advance.
Experiment Freely
Feel free to mix and match flavors, from cookie bases to cream fillings. There’s no wrong way to make an icebox cake!
Conclusion
The icebox cake is more than just a dessert; it’s a culinary tradition that brings joy to any table. With its endless variations, no-bake simplicity, and stunning presentation, it’s a recipe worth mastering. So grab your ingredients, let your creativity flow, and start layering your way to a delicious masterpiece. Don’t forget to share your creations with friends and family — they’ll thank you for it!