Easy Nanaimo Bars – Chocolate, Custard & Coconut Layers
Pulled from the Old Cookie Tin: My Nanaimo Bars Story
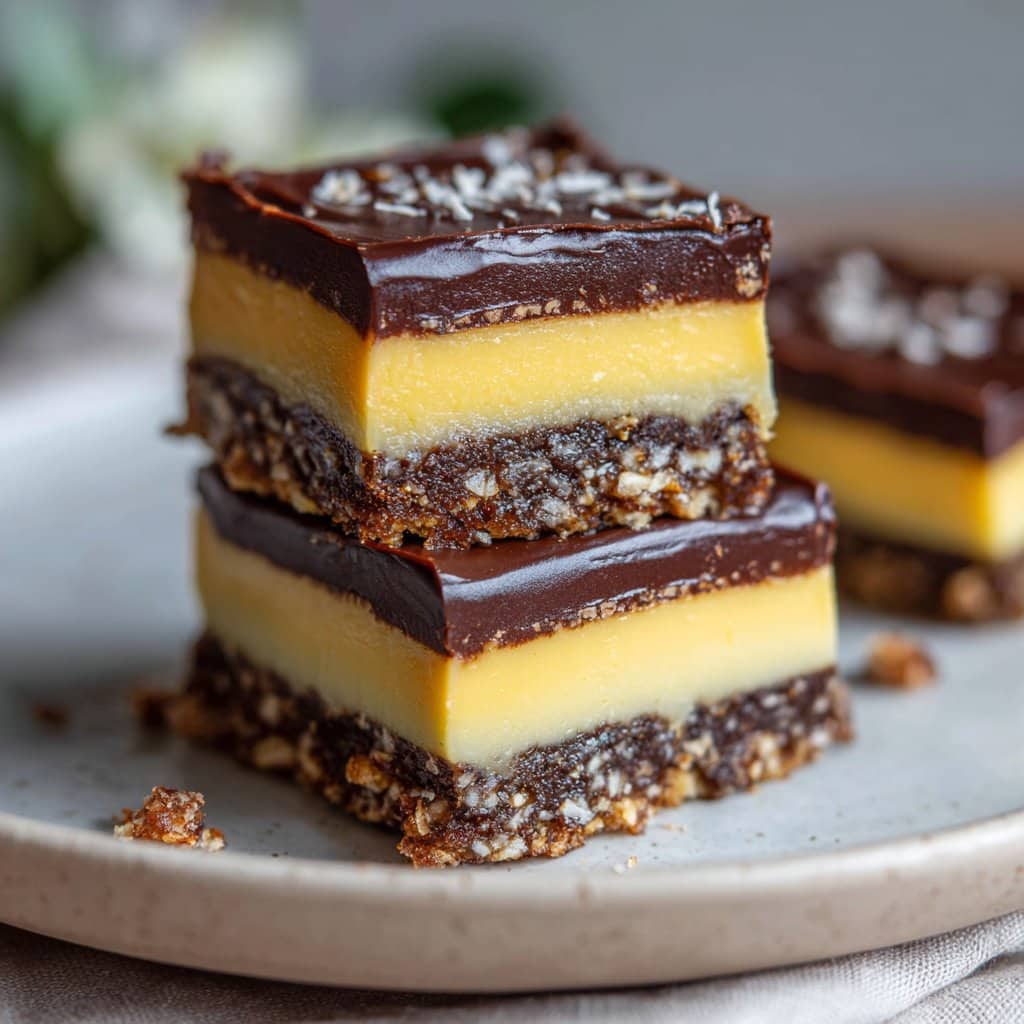
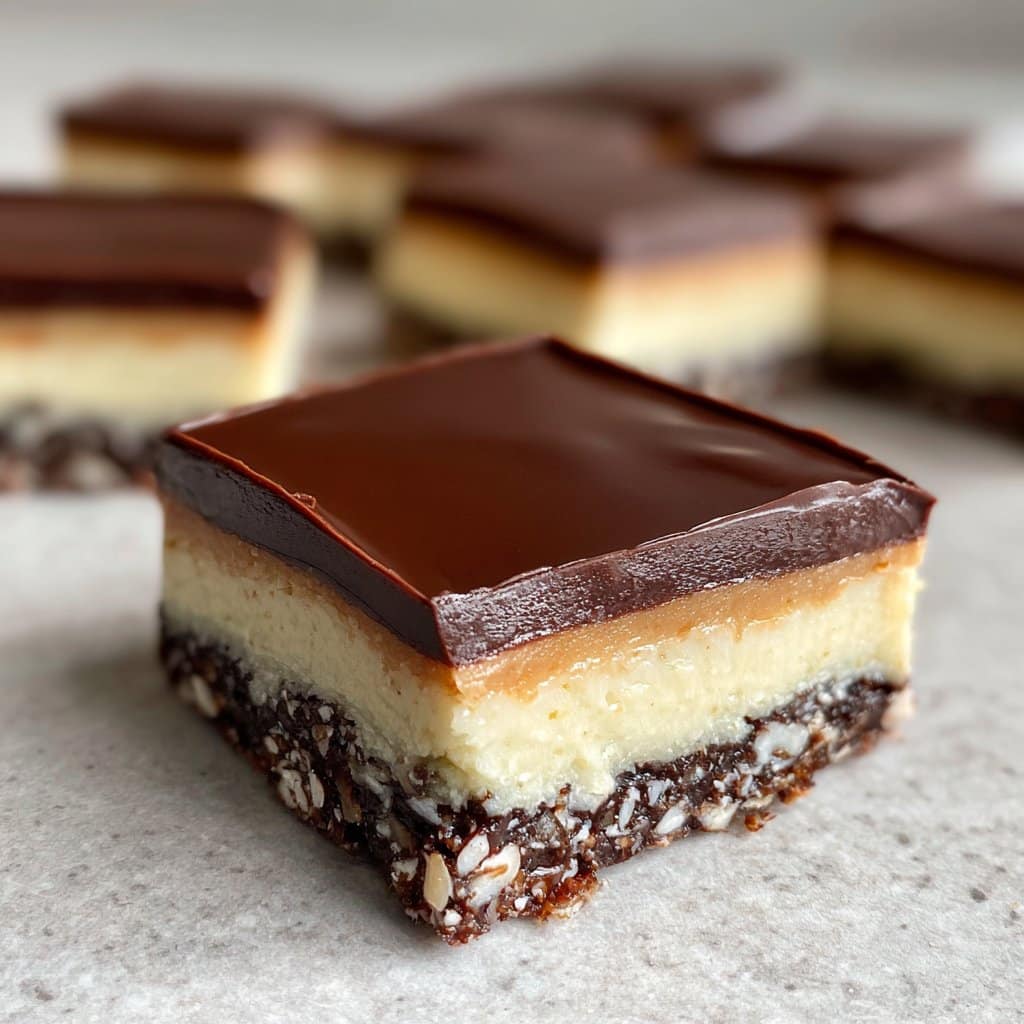
Okay, so listen: Nanaimo bars are kind of a big deal in my house. Actually, I first discovered them at my friend Jess’s kitchen table, where her granny would always keep a battered old tin (you know the one, meant for sewing stuff but always full of treats) just for us. There’s something unbeatable about biting through those three layers—chocolate, then that soft yellow custard, then crispy coconut—oh, I could wax on about them for ages. And you know what, I once thought they were super complicated. Turns out, they’re easier than trying to keep my cat off the counter when I’m baking. Just saying.
Why I Keep Coming Back to These Bars
I make these bad boys when I’ve got exactly zero energy for oven-minding or when company drops by and I want something that looks fancier than it is. My partner loves them so much, he’ll try to sneak one before they’ve set completely—(they taste better set, trust me). Oh, and here’s the thing: if it’s too hot to bake but you still want dessert, this is the answer. Also, I don’t know if this is just me, but sometimes that custard filling is a little…challenging? It sets weirdly if you don’t let the butter soften properly—but I’ll get to that.
What You’ll Need—Plus a Few ‘Oops, I Ran Out’ Substitutes
- 1/2 cup (115g) unsalted butter (honest, salted works in a pinch; just skip the extra salt)
- 1/4 cup granulated sugar (my gran used brown sugar sometimes—tasted deeper)
- 1/3 cup unsweetened cocoa powder (I’ve used Dutch-processed, and it’s lush if you can get it)
- 1 large egg, lightly beaten
- 1 tsp vanilla extract (real or fake—seriously, use what you’ve got)
- 2 cups graham cracker crumbs (sometimes I crush digestives or, ahem, whatever old cookies are knocking about)
- 1 cup shredded coconut (sweetened, unsweetened—no one’s judging)
- 1/2 cup chopped walnuts or pecans (or just leave them out if allergies/logistics!)
- For the Custard Layer:
- 1/4 cup (60g) unsalted butter, softened (I zapped it in the microwave once—don’t recommend for more than 10 seconds!)
- 2 tbsp vanilla custard powder (Bird’s is classic, but instant pudding mix kinda works if you’re desperate, though it tastes a wee bit different)
- 2 cups powdered (icing) sugar, sifted (or don’t sift if you don’t mind the odd lump—no judgement)
- 2 tbsp milk
- For the Chocolate Layer:
- 4 oz (115g) semi-sweet chocolate, chopped (or chocolate chips, honestly)
- 2 tbsp unsalted butter
Making Nanaimo Bars: Step-by-Step (With Mumbling)
- Bottom Layer: Melt butter, sugar, & cocoa together in a medium saucepan over low-ish heat, stirring so nothing burns or turns gritty. Remove from the heat, let it cool just a tad, then add the egg (so it doesn’t scramble—ask me how I know…). Stir in graham crumbs, coconut, nuts, and vanilla. Mix it till everything’s sort of holding together—don’t panic if it’s crumbly; it comes together under pressure. Press hard into a lined 8-inch square pan (I always lose a bit to sticky fingers here).
- Custard (Middle) Layer: In a bowl, beat softened butter with custard powder and milk till sorta dreamy and fluffy. I add the powdered sugar in two goes so I don’t end up in a cloud of it (been there). Spread over base. Even if it looks suspiciously thin, it thickens in the fridge.
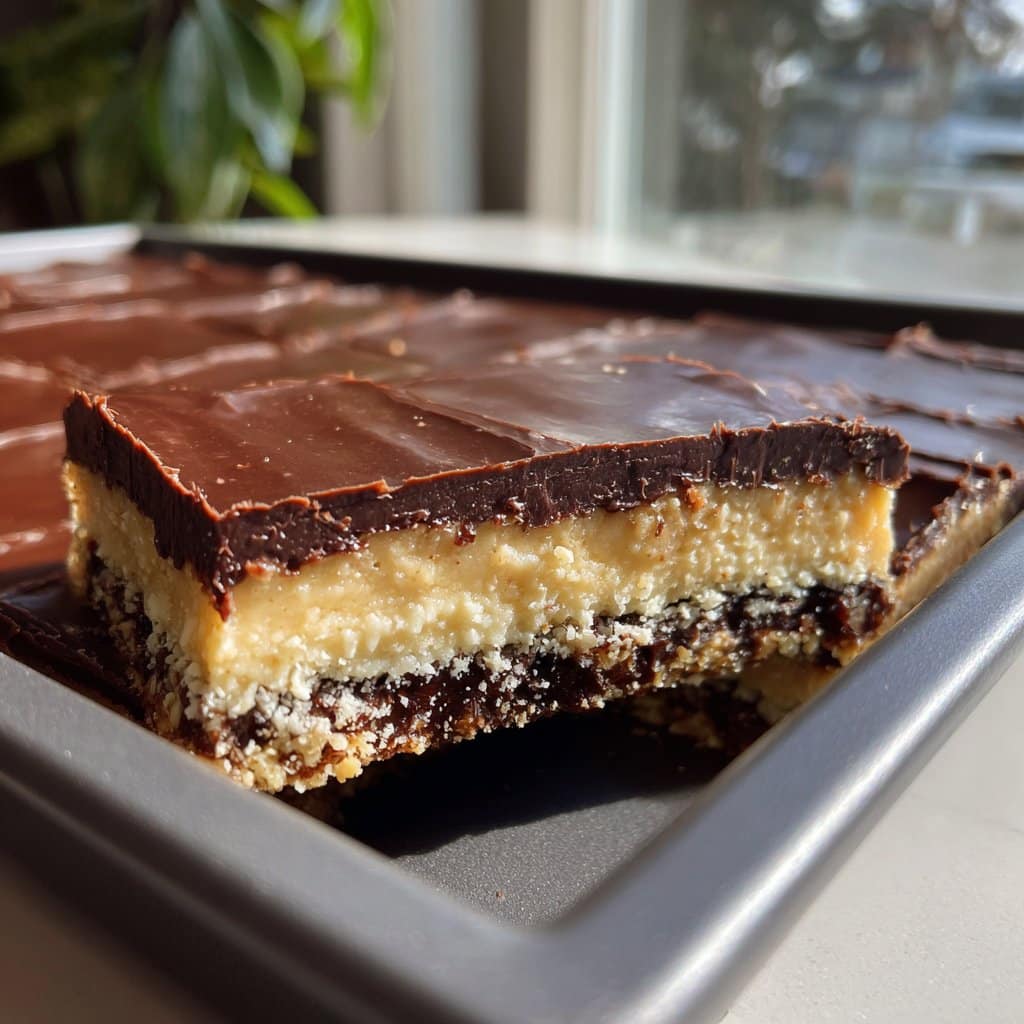
- Top Chocolate Layer: In a bowl set over barely simmering water (double boiler vibes), melt chocolate and butter together until glossy and smooth. Or, just sling it in the microwave in bursts—short ones! Spread over custard layer, nudging all the way to the corners. This is where I usually lick the spatula and make no apologies.
- Chill for at least 2 hours—overnight is best, but who’s got time sometimes? Use a sharp knife dipped in hot water to cut nice squares (or triangles if you’re whimsical).
A Few Notes (Yep, From Hard-Won Mistakes)
- If your chocolate cracks when cutting, let the pan sit out for about 10 mins. Or just embrace the wild, broken look—tastes just as good.
- Coconut can be toasted for extra flavor; I rarely remember, but when I do, it’s next-level stuff.
- If the custard layer is oozy, it probably needed a bit more time chilling—or maybe your kitchen’s a sauna, which, sorry, not much help there.
Some Variations I’ve Tried (Not All Winners, Honest)
- Swapped out nuts for crushed pretzels—a salty surprise I ended up loving.
- Used almond extract in the custard once; nice, but a bit much. Probably wouldn’t repeat.
- One time, I added a little espresso powder to the chocolate layer… game changer if you’re a coffee fan. My nephew hated it, though, for what it’s worth.
Gear You Need (But Here’s a Hack or Two)
A proper 8-inch square tin is ideal, but I’ve made do with a loaf pan, just lines are a bit taller and slices oddly. Mixing bowls, a spatula, whisk, and either a double boiler or just a pot and heatproof bowl for melting chocolate. No electric mixer? No worries—a fork and some muscle will do. I once used my thermos cup to crush biscuits; it did the job!
How to Store Nanaimo Bars (Though Ours Disappear Fast)
Technically, these will keep in an airtight container in the fridge for up to 5 days. Freezer is even better for longer—just thaw before serving. But honestly, they’ve never lasted more than 36 hours form the moment anyone sees them. My cousin literally wrapped a few in paper towels for her purse once. (Not recommended, but…you do you!)
Serving Up—How We Like ‘Em
I slice them small—usually 16 from a pan, but if I’m feeling generous, just 9 big honkin’ pieces. Sometimes we serve them on a fancy plate with coffee; other times, it’s straight from the pan, standing at the counter. If I’m really feeling wild, I’ll add a scoop of vanilla ice cream on the side.
Lessons Learned (A Few ‘Please Don’ts’)
- I once tried putting the pan in the freezer to speed things up… top layer shattered like glass. Let it chill in the fridge, patience pays off here.
- If you skip the parchment, you might need a chisel to get the bars out (trust me on this one…)
Fielding the FAQ (Straight from Real Folks)
- Can I make these nut-free? Oh, for sure—just leave out the nuts or boost the coconut a smidge. Totally works.
- What is custard powder, anyway? It’s a British thing—makes the yellow layer taste dreamy. Bird’s is the classic (get it here). You could try instant pudding mix, but I think the flavor’s a bit off.
- Can I double this? Absolutely, just use a 9×13-inch pan. Might need another tiny dab of willpower not to just eat half the tray at once.
- Why does my chocolate sometimes separate? Probably the heat’s too high, or the bowl’s wet. Just go slow—honestly, it’s worth it.
- Where’d you learn this recipe? Mash-up of Nana’s scribbled cards, epicurious, and a random Canadian cooking blog actually (here’s one I like).
Quick Side Note
If you’re all about Canadian classics, you could also check out butter tarts—they’re a whole different mood but just as addictive. You can even find loads of brilliant recipes over on Canadian Living, they’re pretty trustworthy.
Ingredients
- 1/2 cup unsalted butter, melted
- 1/4 cup granulated sugar
- 5 tbsp unsweetened cocoa powder
- 1 large egg, beaten
- 1 1/4 cups graham cracker crumbs
- 3/4 cup sweetened shredded coconut
- 2 cups powdered sugar
- 1/4 cup unsalted butter, softened
- 2 tbsp vanilla custard powder
- 2 tbsp milk
- 4 oz semisweet chocolate, chopped
- 2 tbsp unsalted butter (for topping)
Instructions
-
1Line an 8×8-inch baking pan with parchment paper. In a saucepan over low heat, melt 1/2 cup butter, then stir in sugar and cocoa powder until smooth.
-
2Stir in the beaten egg and cook, stirring constantly, until the mixture thickens, about 1–2 minutes. Remove from heat.
-
3Mix in the graham cracker crumbs and shredded coconut. Press the mixture firmly into the bottom of the prepared pan. Chill in the refrigerator while preparing the next layer.
-
4For the custard layer, beat together powdered sugar, 1/4 cup butter, custard powder, and milk until smooth. Spread evenly over the chilled base. Return to refrigerator to set, about 15 minutes.
-
5Melt semisweet chocolate with 2 tbsp butter in a double boiler or microwave in short bursts, stirring until smooth. Pour over the custard layer and spread evenly.
-
6Chill for at least 1 hour or until set. Cut into bars with a sharp knife, wiping between cuts for clean edges. Serve and enjoy.
Approximate Information for One Serving
Nutrition Disclaimers
Number of total servings shown is approximate. Actual number of servings will depend on your preferred portion sizes.
Nutritional values shown are general guidelines and reflect information for 1 serving using the ingredients listed, not including any optional ingredients. Actual macros may vary slightly depending on specific brands and types of ingredients used.
To determine the weight of one serving, prepare the recipe as instructed. Weigh the finished recipe, then divide the weight of the finished recipe (not including the weight of the container the food is in) by the desired number of servings. Result will be the weight of one serving.
Did you make this recipe?
Please consider Pinning it!!