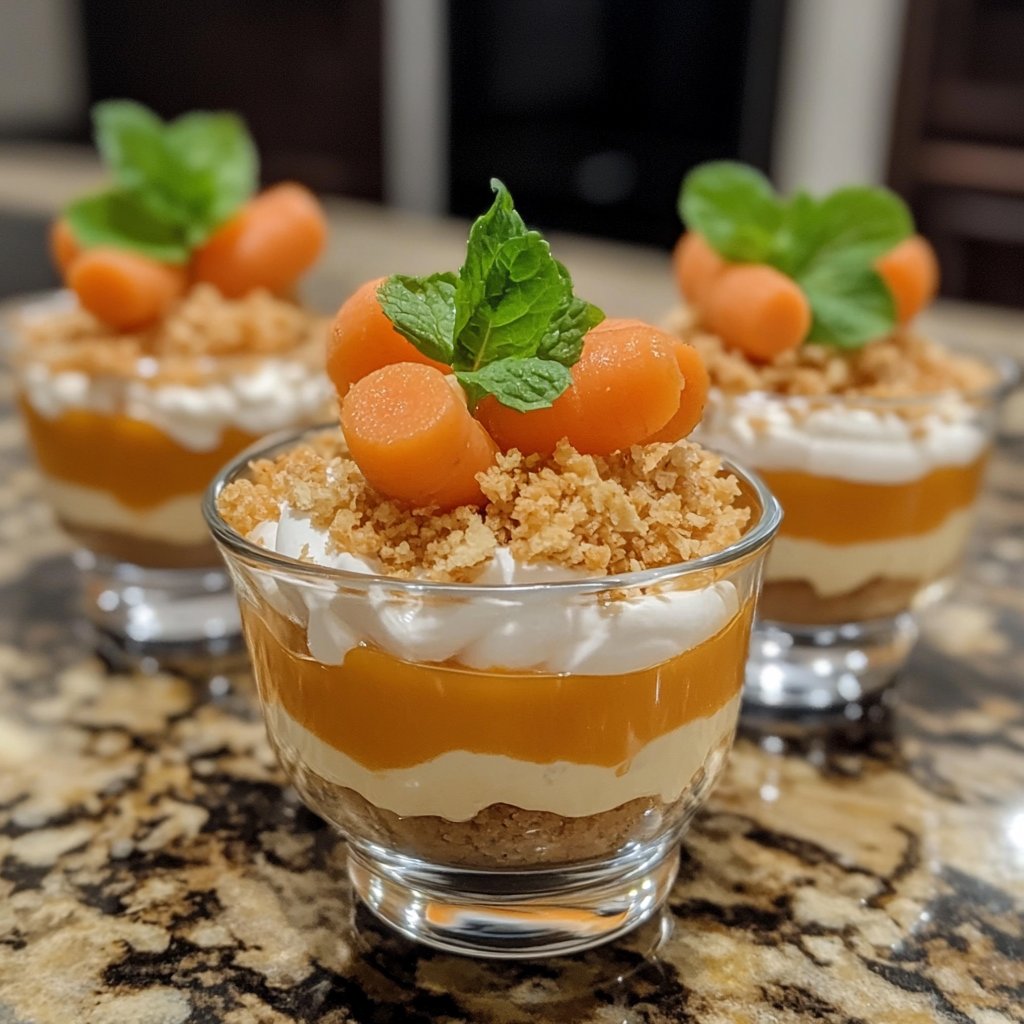
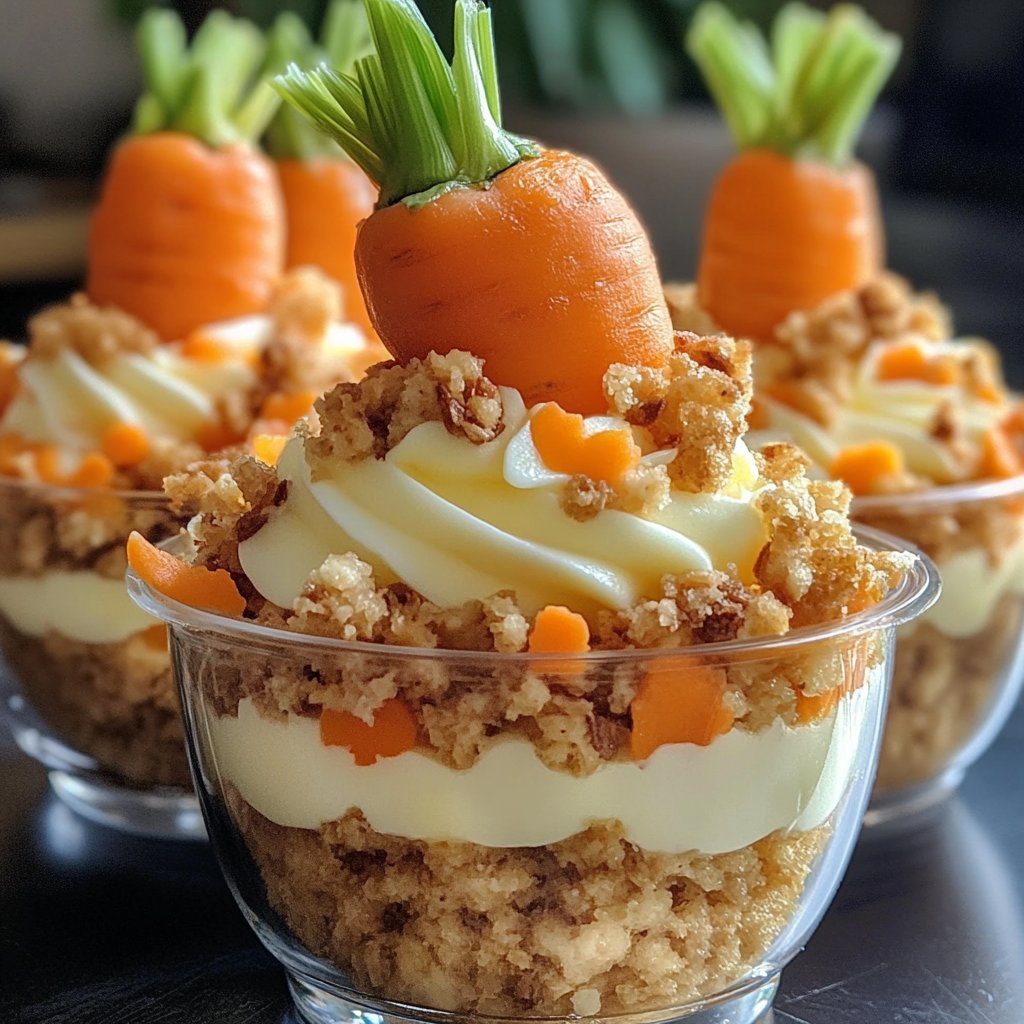
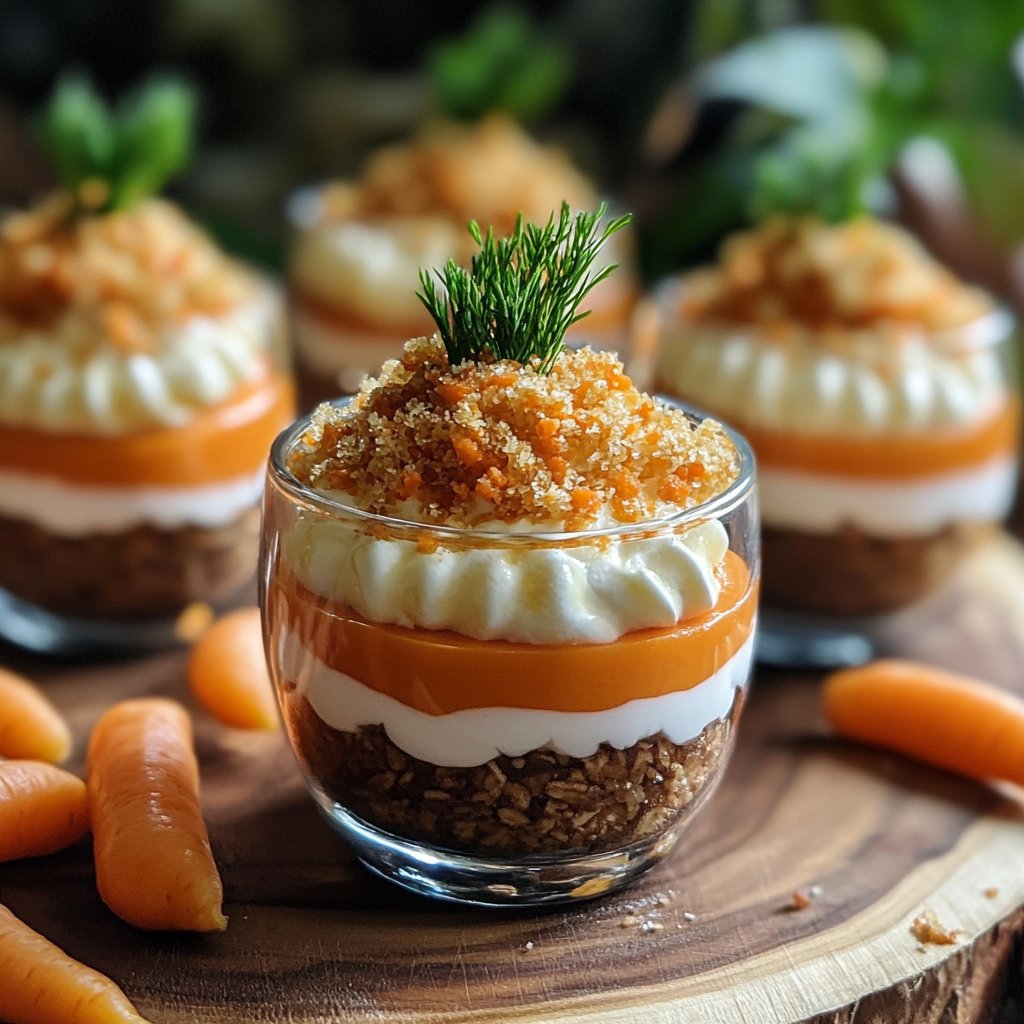
Carrot Patch Pudding Cups
Hey friend, so I’ve got this super fun dessert idea that I’ve been obsessed with lately—Carrot Patch Pudding Cups. It all started when my niece came over and we wanted to make something playful and delicious. Honestly, it was like a mini-adventure in the kitchen, and surprisingly, we didn’t make too much of a mess! (Though, chocolate pudding on white tiles—yikes!)
Why You’ll Love This
I love whipping these up when I need a treat that screams ‘fun’ more than ‘fancy’. My family goes absolutely nuts for it, especially the kids. And let’s be real, who doesn’t love an edible garden? The best part is, you don’t have to be a master chef to pull this off. Even my husband, who once mixed up salt and sugar, manages to help out without incident (usually).
Ingredients You’ll Need
- 1 package of chocolate pudding mix (I sometimes use vanilla and add cocoa powder when I’m feeling rebellious)
- 2 cups of milk (any kind, though my grandmother swears by whole milk)
- Crushed chocolate sandwich cookies (store brand works fine, but Oreo fans might disagree)
- A handful of orange candy melts or orange-colored chocolate
- Green candy or icing for the ‘tops’
Directions (The Fun Part!)
- Start by whisking the pudding mix with milk. This is where I usually sneak a taste—don’t judge, quality control is important!
- Pour the pudding into cups. Use whatever you have; I once used coffee mugs and it was a hit!
- Sprinkle the crushed cookies over the top—voilà, dirt! It’s oddly satisfying, trust me.
- Melt the orange candy. I do this in the microwave in short bursts because I once scorched it trying to be speedy.
- Shape the melted candy into little carrots and set them atop your ‘dirt’. You can use green icing for the leaves or just snip green gummy candies.
- Chill in the fridge until you’re ready to impress (or until the fam gets impatient).
Notes From My Kitchen
I found that using pre-made pudding cups in a pinch works, though the homemade mix is tastier. If you don’t own a food processor for the cookies, just pop them in a ziplock and crush them with a rolling pin—old school style!
Variations I’ve Tried
Once, out of curiosity, I tried using butterscotch pudding. Not the greatest pairing with chocolate ‘dirt’, but hey, live and learn. Adding mini marshmallow ‘rocks’ was a hit though!
Do I Really Need That Equipment?
A whisk and a microwave are your best friends here. But if you don’t have a microwave, a stove works for melting candy—just be patient!
How to Store These Little Gardens
Honestly, they never last more than a day in my house. But if you need to store them, keep them in the fridge for up to 2 days. Just cover ’em up so they don’t dry out.
How We Serve ‘Em
I love dishing these out after a big family BBQ. We gather around, chat, and watch the kids’ eyes light up when they see their edible garden. It’s the perfect conversation starter.
Pro Tips (Learn From My Mistakes!)
Take your time melting the candy. I once tried rushing this step and ended up with a burnt blob instead of carrots. And use fresh milk—the instant pudding mix is not kind to anything else.
FAQs From My Inbox
Can I use something other than candy melts? Sure thing! Colored white chocolate chips work great too—just be careful not to overheat them.
What if I don’t have a piping bag for the green tops? No worries! A plastic baggie with the corner snipped off works in a pinch.