Zero Carb Yogurt Bread – High Protein & Keto-Friendly
You Seriously Won’t Believe This Bread Is Keto (Trust Me, I Didn’t Either at First)
Oh goodness, where do I start with this one? I remember the first time I tried making this zero carb yogurt bread. I was skeptical—like, “Is this just going to taste like warm yogurt with disappointment on the side?” But it was a rainy Sunday, my husband was grumbling about missing bread, and the dog kept looking at me like maybe I’d finally bake something she’d be allowed to eat. Spoiler: she wasn’t. Anyway, after a couple of (let’s call them “experimental” batches), I finally got it right—and now it’s basically my go-to when someone says “but don’t you miss REAL bread?”
Why You’ll Love This – No, Seriously
So, I make this mostly on lazy Saturday mornings whenever I want to feel “super healthy” (but also can’t stand another egg muffin). My family goes bonkers over it—which is wild because, let’s be honest, my attempts at keto baking have seen some flops. It’s soft, a little tangy, and actually toasts pretty well (plus, it won’t blow up your carb count… ask me how I know). And for anyone stuck on a gluten-free ride or just tired of almond flour everything, this is a fresh change.
Random aside: Did you know you can technically make bread out of just air and hope? Just kidding. But if you’d told me a year ago that you could make legit bread with yogurt as the backbone, I’d have said you were taking the mickey. Here we are.
Right, Onto the Ingredients
- 1 cup (about 240g) Greek yogurt – I usually reach for full-fat, but honestly, whatever is on sale works; my friend swears by two Good Culture, but I’ve used store brand and it’s fine
- 3 large eggs – room temp is best (I accidentally used ice-cold ones once; didn’t ruin it, just took longer to mix)
- 1 cup whey protein isolate – try to grab unflavored, though vanilla is passable if you’re in a jam (I once used the Isopure stuff, but there are loads out there. Don’t panic if yours is a bit lumpy)
- 1 1/2 teaspoons (give or take) baking powder – don’t stress if you’re a little over or under here
- 1 teaspoon apple cider vinegar – adds a tang, or you can use lemon juice if that’s what’s lurking at the back of your fridge
- 1/2 teaspoon sea salt (personally, I’m quite generous, but my mom says I’m heavy-handed)
- Optional: 2 tablespoons psyllium husk powder – gives more of a chewy, bready bite; skip it if you haven’t got any, it’s fine
- Optional: a dash of garlic powder or dried herbs if you want a savoury kick (sometimes I’ll throw in dried thyme just to fancy it up a bit)
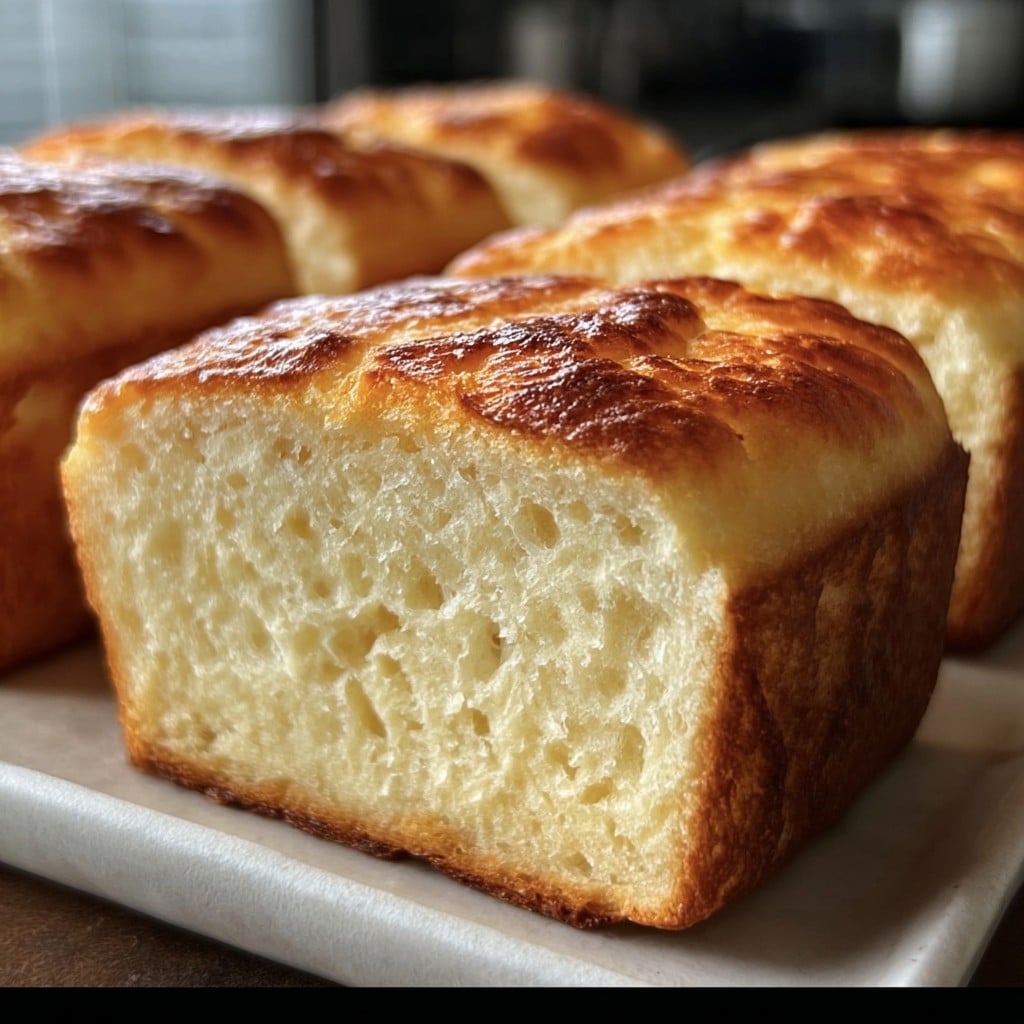
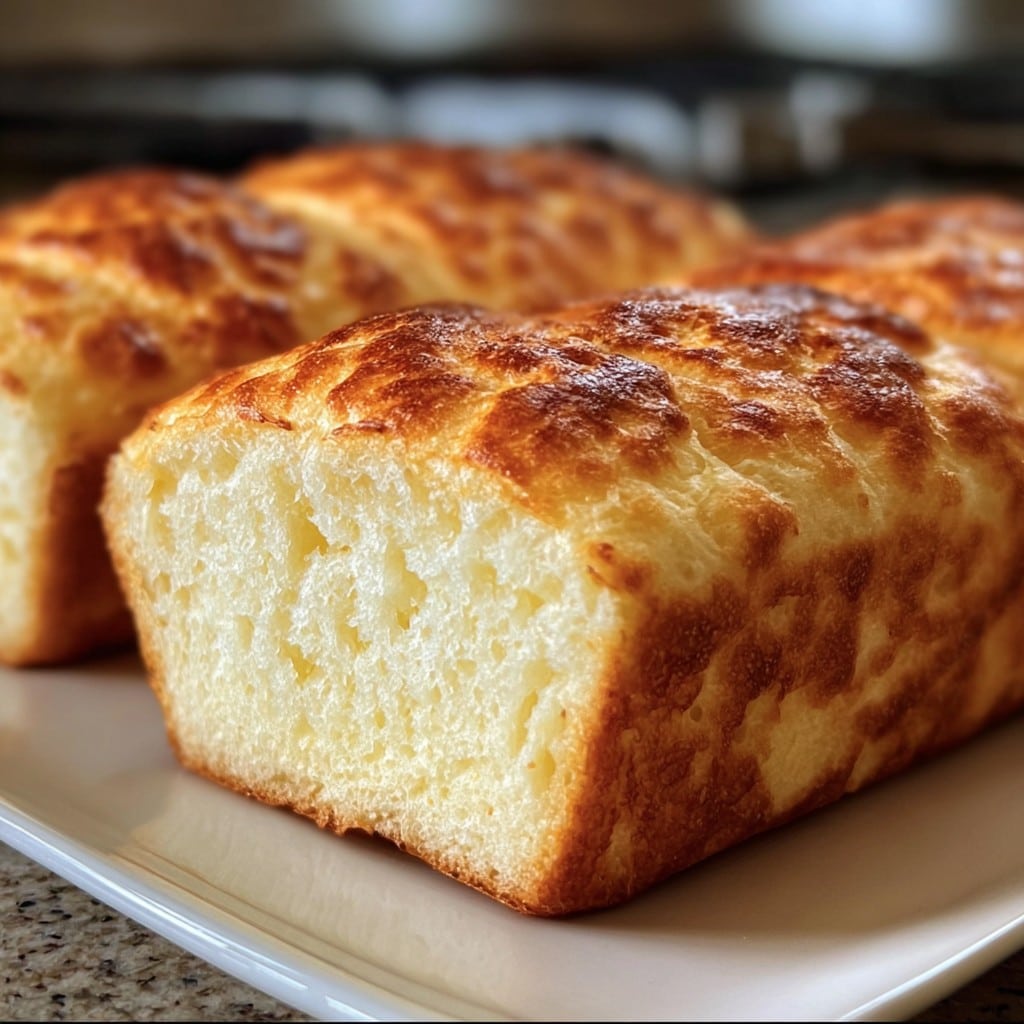
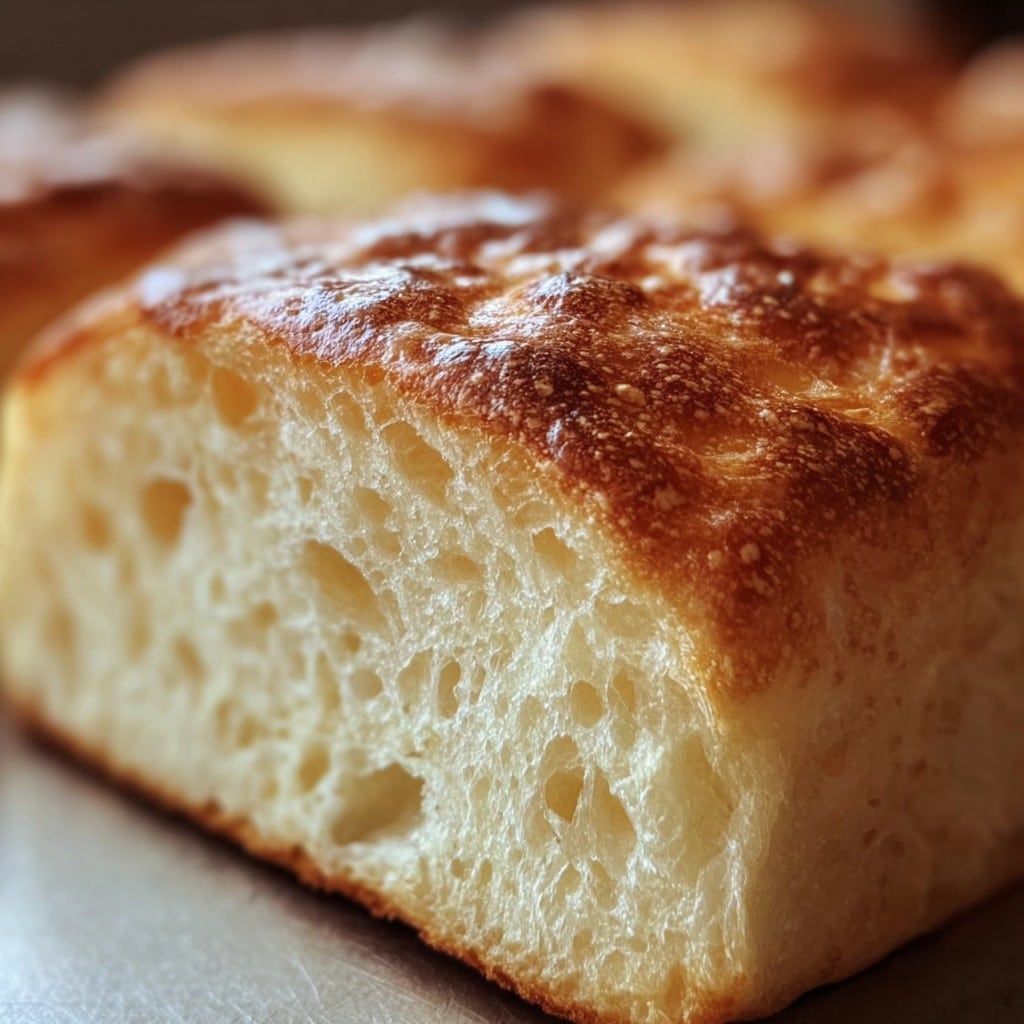
How I Actually Make It (Spoiler: I Don’t Baby the Batter)
1. Preheat your oven to 180°C (350°F), or, if you’re like me and your oven only has Hot or Nuclear, just aim for the middle. Grease a small loaf tin (something around 8×4 inches is good). If you don’t have non-stick spray, a little olive oil on a paper towel does the trick.
2. In a largish bowl, plop in your yogurt and eggs. Give it a hearty whisk (arms get a workout—this is why I don’t need a gym membership, right?). Don’t worry if it looks like a strange science project at first, it smooths out in the next step.
3. Dump in the whey protein, baking powder, salt, and apple cider vinegar (don’t panic if you forget the vinegar until the end; just stir it in then). Mix together till there are no mega-lumps. At this point, I usually taste the batter (yep, I know, raw eggs – oops) to check the saltiness.
4. Fold in psyllium if using. It’ll thicken up weirdly fast—looks almost like wallpaper paste, don’t freak out. If you want to add herbs, now’s your chance.
5. Scoop it all into your loaf pan and gently smooth out the top. It’ll look a bit less runny than pancake batter, more like porridge on a good day.
6. Pop it right into the oven middle rack. Now go distract yourself for 35 to 40 minutes – or until the top gets golden and a toothpick comes out more or less clean. (Don’t open the oven too often, or it’ll sulk and not rise well.)
7. Let it cool in the pan for 10-ish minutes, then finish cooling on a rack if you have one. If you don’t, just prop the loaf on its side on the counter and hope for the best – I do this all the time.
Random Notes (A.K.A. Things I Learned the Hard Way)
– I tried once with flavored yogurt (peach, if you can believe it)—the bread tasted like fruity gym socks. Stick with plain.
– If your batter seems too thick, a splash of water or extra yogurt won’t hurt. Go by feel (and don’t overthink it).
– On second thought, let it cool fully before slicing; I always try to sneak a bite early and it’s still a bit mushy inside otherwise.

Weird and Wonderful Variations I’ve Actually Tried
– Swapped out half the yogurt for cottage cheese (blitzed smooth)—made a lighter bread, though it did need an extra 10 minutes to not be soggy.
– Added a spoonful of Everything Bagel seasoning to the batter. Oddly good with cream cheese.
– Tried swapping protein powder with sunflower seed flour once… it didn’t rise at all. Would not repeat.
– Made mini-breads in a muffin tin; handy for snacks or lunchboxes!
Kit You Need (But Honestly, Go With What You Have)
Sure, a proper loaf tin is handy, but I’ve made this in a Pyrex dish, too. Hand whisk is fine. If you don’t have parchment, just grease really well.
How to Store It (Assuming It Lasts That Long)
Store leftover bread in an airtight container in the fridge. It’ll keep for about 3 days, but frankly, in my house it’s usually gone by the next one—especially if toast is on offer. Reheat slices in the toaster or a dry pan to “freshen” them up.
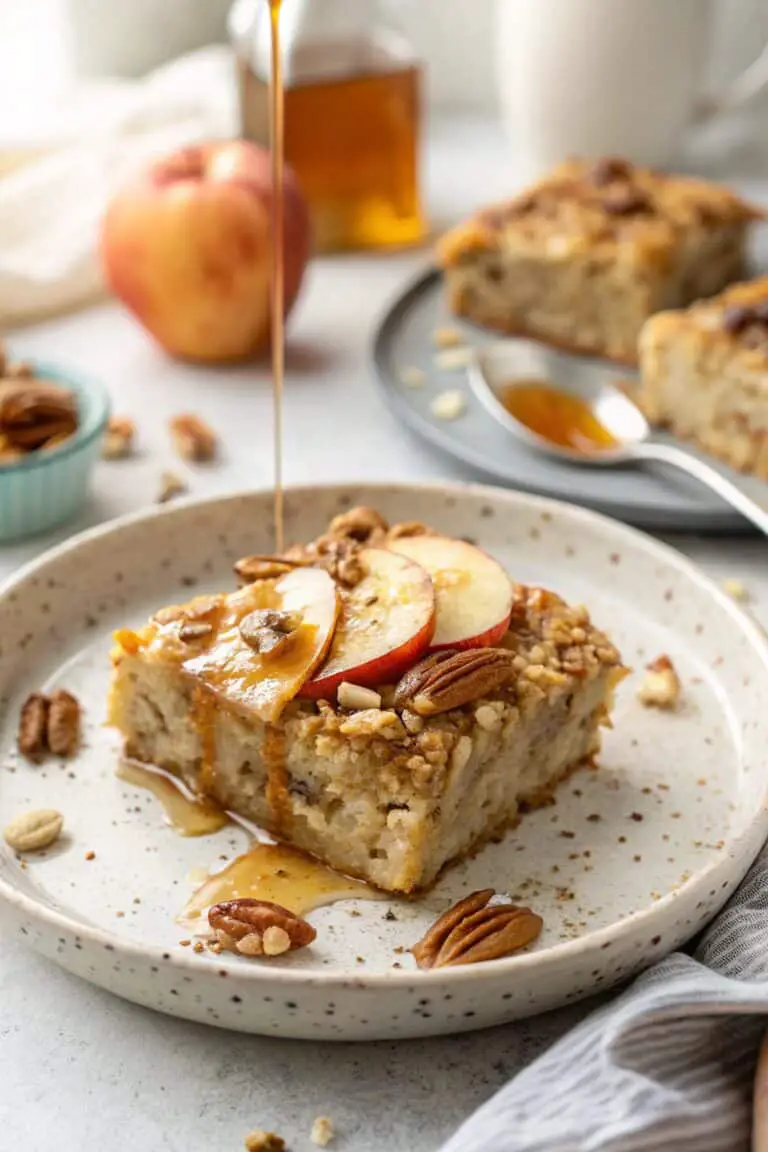
How I Serve It (And Why My Family Fights Me For The End Piece)
Personally, I love it warm with a big smear of salted butter and a bit of sugar-free jam. My partner dunks his in soup (like this keto broccoli cheddar from [Ruled.me](https://www.ruled.me/)). Oh, and if you’re feeling extra, a poached egg on top is *chef’s kiss—oh wait, now I’m hungry again.
Mistakes You Can Laugh At (Or Just Avoid)
– I once tried cranking up the oven to speed things up—nope, just a burnt crust with a raw middle.
– Don’t skip the salt, it really brings out the flavor. I used to forget. It’s basically edible gym foam otherwise.
– If you cut it hot, it’ll kind of smoosh. Be patient… or accept ugly slices (like me).
FAQs – Real Questions, Real Answers
Can I make this dairy free?
Eh, not really—that’s the point of the yogurt. You probably could try coconut yogurt, but I haven’t. Actually, if you do, let me know how it goes!
What if I don’t have protein powder?
It sort of holds the bread together… but you could maybe try finely ground almond flour. The texture won’t be the same (might be denser and less high-protein), but worth a shot.
Is it really zero carb?
Technically, if your yogurt and protein powder are both zero or close to zero carbs—yep. If you aren’t super strict, a carb here or there sneaks in (seriously, nothing’s totally zero unless it’s air).
How about freezing leftovers?
I freeze mine in slices between wax paper. Just thaw and toast. Sometimes the edges dry out, but it’s still good smothered in butter (what isn’t?).
Where did you get the idea?
Started after reading a bunch of posts on [r/ketorecipes](https://www.reddit.com/r/ketorecipes/) and just being plain frustrated with all the almond flour. I took a bit from here, a bit from there, and a pinch of stubbornness.
If you want to geek out, [Healthline](https://www.healthline.com/nutrition/keto-bread-recipe) has a nice primer on the science-y side of these sorts of breads. But really—trust your taste buds and don’t worry about perfection. No one will know if you sneak a bite before it’s cooled.
Ingredients
- 1 cup plain Greek yogurt (unsweetened, full-fat)
- 4 large eggs
- 1 1/2 cups whey protein isolate (unflavored)
- 1 tablespoon baking powder
- 1/2 teaspoon salt
- 2 tablespoons olive oil (plus extra for greasing pan)
- 1 teaspoon apple cider vinegar
- 1 tablespoon ground psyllium husk
Instructions
-
1Preheat oven to 350°F (175°C). Grease a loaf pan with olive oil or line with parchment paper.
-
2In a large mixing bowl, whisk together the Greek yogurt, eggs, olive oil, and apple cider vinegar until smooth.
-
3Add the whey protein isolate, baking powder, salt, and psyllium husk to the wet ingredients. Mix well until a thick batter forms.
-
4Transfer the batter to the prepared loaf pan and smooth the top with a spatula.
-
5Bake for 30-35 minutes, or until a toothpick inserted into the center comes out clean and the top is golden brown.
-
6Cool in the pan for 10 minutes, then remove and cool completely on a wire rack before slicing.
Approximate Information for One Serving
Nutrition Disclaimers
Number of total servings shown is approximate. Actual number of servings will depend on your preferred portion sizes.
Nutritional values shown are general guidelines and reflect information for 1 serving using the ingredients listed, not including any optional ingredients. Actual macros may vary slightly depending on specific brands and types of ingredients used.
To determine the weight of one serving, prepare the recipe as instructed. Weigh the finished recipe, then divide the weight of the finished recipe (not including the weight of the container the food is in) by the desired number of servings. Result will be the weight of one serving.
Did you make this recipe?
Please consider Pinning it!!