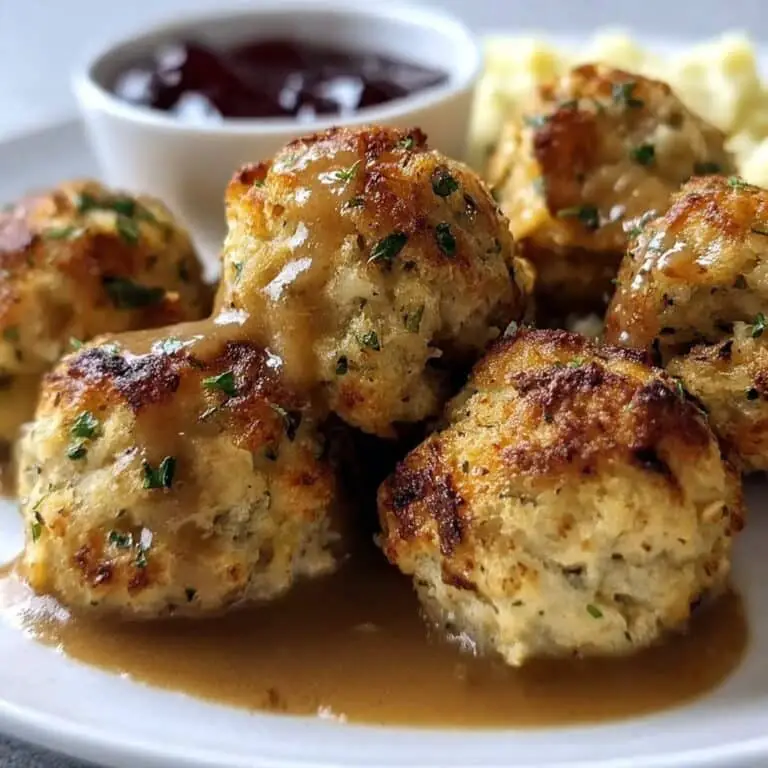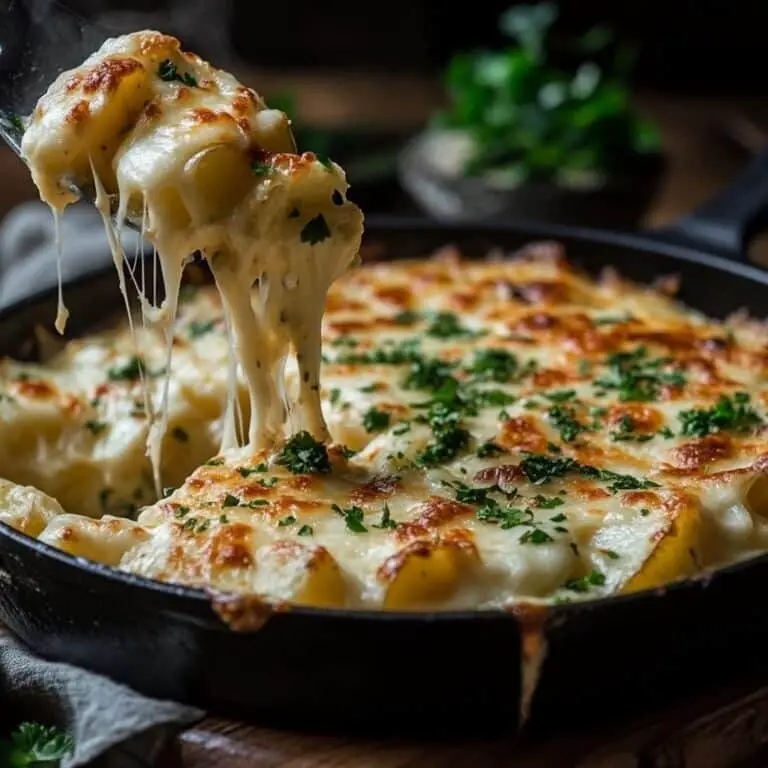
Crispy Mashed Potato Cheese Puffs – Golden, Gooey & Addictive
Let’s Talk About Crispy Mashed Potato Cheese Puffs
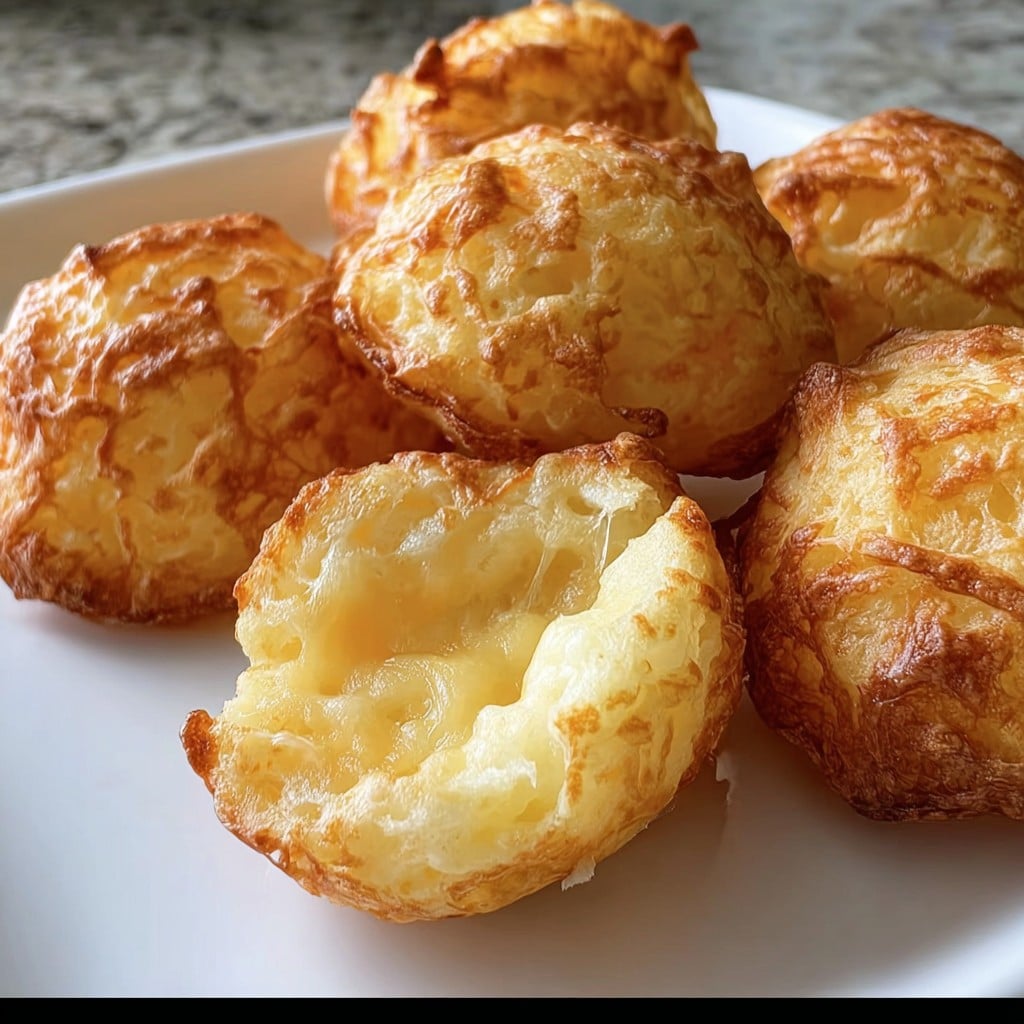
Alright mate, if you love potatoes (hi, who doesn’t?), you’re in for a treat. So, the first time I made these was actually for a random Wednesday movie night because—honestly? I had a lot of leftover mash in the fridge, and was too lazy to make another proper meal. It’s funny, now my nieces insist I bring ‘cheesy potato balls’ to every family do. Go figure! Anyway, they’re golden, crunchy, outrageously cheesy inside, and sort of addictive in that, oops-I-ate-eight kind of way. Oh, and don’t judge, but sometimes I eat them for breakfast; life’s too short.
Why You’ll Love Making These (Trust Me!)
I swear, every time I make these crispy mashed potato cheese puffs, my family circles the kitchen like hungry seagulls. They’re that good. I make them when we have leftover potatoes (um, which happens suspiciously often!), or sometimes just because. My teenager, who claims he ‘doesn’t like cheese’—lies, all lies—practically inhales them. If I skip the gooey mozzarella interior? There’s mutiny. (Oh, and I used to burn the first batch every time. Turns out, medium heat is my friend; who knew!?)
What You’ll Need: My Go-To Ingredients (and a Couple of Cheats)
- 2 cups mashed potatoes (leftovers work, or instant if you must, but homemade is better—I’ve used Sally’s basic recipe with good results)
- 3/4 cup grated cheese (cheddar’s my fave, but go with what’s in your fridge; my grandma swore by Double Gloucester but I honestly just reach for whatever block I find first)
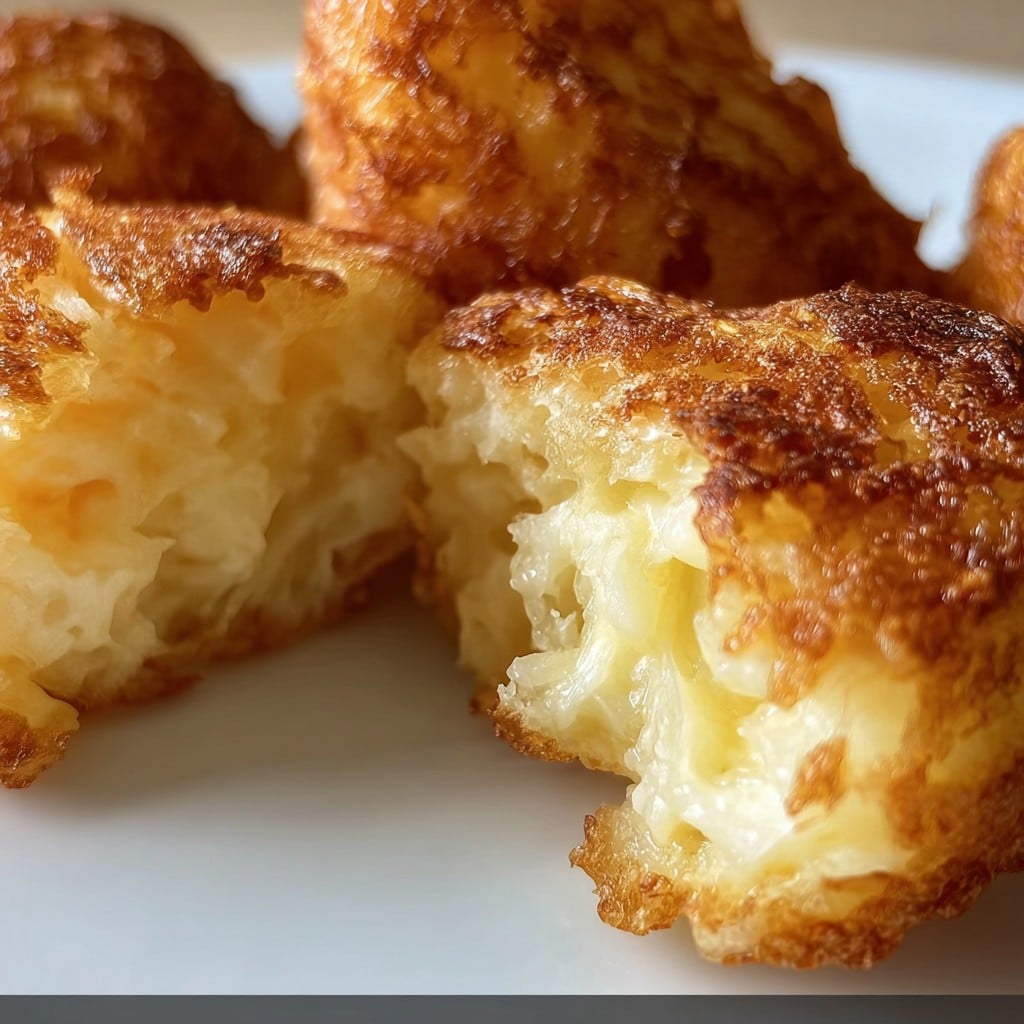
- 1/2 cup shredded mozzarella (optional but oh-so-gooey, sometimes I do extra just to watch it stretch)
- 2 eggs (I forgot these once—don’t do that; the puffs were sad)
- 3 tablespoons flour (plain/AP, but I’ve used self-raising in a pinch—totally fine!)
- 1/2 teaspoon garlic powder (sometimes I just crush a clove and throw it in)
- Salt and pepper (to taste; I barely measure, and neither should you)
- 1/2 cup breadcrumbs (panko gives epic crunch, but honestly, blitz up old toast—no one can tell)
- Chopped chives or spring onion (optional—I toss them in if I remember, but forget sometimes, and everyone still loves them)
- Oil for frying (vegetable, canola, even light olive oil—just not EVOO, too strong for this)
What To Do (A.K.A How I Usually Make a Bit of a Mess)
- Toss your mashed potatoes into a big bowl. Add grated cheese (go hard or go home), mozzarella, flour, one of the eggs (keep the other for later), garlic powder, and a good crack of pepper and salt. Mix it all up until it’s sticky and you can form a blob in your hand. This is where I taste a bit—no one’s looking.
- Scoop out little heaps, about the size of a golf ball—ping pong ball’s fine too—and roll them into balls. If it gets too sticky, splash some flour on your hands.
- Chill the balls for 20 mins in the fridge. Or don’t, but they’re easier to handle if you do. (I skip this step sometimes, and just end up with slightly more squished puffs. Still delicious.)
- Beat that second egg in a shallow bowl. Tip your breadcrumbs into another bowl. Roll the balls in egg, then breadcrumbs. This is an excellent job for bored kids—or, actually, ~messy~ kids. Just brace yourself for chaos.
- Pour oil into a pan, enough to cover the balls halfway. Heat it over medium (not high, seriously, I’ve lost too many to ambition here). Fry the balls in batches until gorgeously golden and crisp on all sides—this takes 3-4 minutes. Turn them gently (I use two forks, but tongs are fancier). A slotted spoon is handy for fishing them out.
- Drain them on kitchen roll. Try not to eat half before you serve them. Or do.
Stuff I Wish I Knew the First Time (My Notes)
- Your mashed potatoes shouldn’t be too runny. If they are, add more flour—honestly, just until they feel sort of like Play-Doh.
- Trying to skip the breadcrumb coating? I did once. Regret. It just doesn’t fry up the same, stays kinda sad and floppy.
- If you’re feeling fancy, add a pinch of smoked paprika or even a hit of finely diced jalapeño, but plain is classic for a reason.

Some Variations That Worked (And One That… Didn’t)
- I’ve swapped out cheddar for blue cheese once—my dad loved it, but my partner made a dramatic face, so yeah, not for everyone!
- Smashed a few peas in there one time. Not bad, a bit greener, a bit fresher—more like a spring thing though?
- Tried baking them instead of frying. Actually, not terrible, but still prefer the fried ones for the crunch. Air fryer works well too (here’s a roundup if you’re in the market), though you don’t get the same deep golden color sometimes.
The Gear I Use (But You Don’t Really Need Much)
Honestly, all you really need is a big-ish frying pan. No deep fryer necessary. If you don’t have a slotted spoon, just drain with any big spoon and shake it a bit, works fine. Also, I have made these with nothing but a fork and a mug for beating the egg—improvise, I say.

How To Keep Them (But Ours Are Always Gone In Minutes)
Supposedly, you can keep leftover puffs in the fridge, covered, and reheat in the oven next day at 180C (350F) for 8 minutes. But honestly, they don’t stick around long enough around here to really test that more than once. If you must, they freeze okay too—just bake from frozen, add a couple extra minutes.
Serving Up (My Favourite Ways)
We usually just pile them on a plate and go in with ketchup or a quick garlic yogurt dip (sour cream and a clove smashed in). For parties: stick a toothpick in each for easier eating, or serve with a big salad if you’re pretending to be healthy! Sometimes I sprinkle extra chives or even a hit of flaky salt just before serving.
What I Wish Someone Told Me (a Few Pro Tips)
- I once rushed the chilling step because I was impatient—total mess, squishy balls, burned hands. Chill them! Or, be brave, but you’ve been warned.
- Don’t let your oil get too hot; the outside goes brown and the middle stays cold. Not worth it.
- If your mash is leftover and already seasoned, don’t go crazy with salt. Learned this the hard way (thirsty for hours).
Questions People Actually Ask Me
- Can I use instant mashed potatoes? — Yep, and I’ve done it. Not quite as fluffy, but they’ll do in a pinch. Just make them stiffer than the box says.
- Can you bake these instead of frying? — Like I said above, yes, but slightly less crunchy. Spray them with oil and bake at 200C for 20 minutes, flipping once. Or use an air fryer if you have one—actually, I prefer that to baking.
- Any tricks for prepping ahead? — Make the balls and breadcrumb them, then freeze on a tray. Fry or bake form frozen—game changer for party prep!
- Why do mine fall apart? — Ha, happens to us all! Usually too-wet mash, or your oil isn’t hot enough. Add flour, try again. All about the texture, this one.
And you know what? Even when things go sideways, these never last long. If you try these, let me know (or drop a pic—I love seeing the chaos). Also, if you want to geek out about potatoes, I’m a fan of Serious Eats’ potato recipes. Happy munching!
Ingredients
- 2 cups mashed potatoes (cold, prepared in advance)
- 1 cup shredded cheddar cheese
- 1/4 cup grated Parmesan cheese
- 2 large eggs
- 1/2 cup all-purpose flour
- 1/2 teaspoon garlic powder
- 1/4 teaspoon black pepper
- Salt to taste
- 1 cup panko breadcrumbs
- Vegetable oil, for frying
Instructions
-
1In a large bowl, combine cold mashed potatoes, cheddar cheese, Parmesan cheese, 1 egg, garlic powder, black pepper, and salt. Mix until well combined.
-
2Shape the mixture into small 1-inch balls. Place them on a baking sheet lined with parchment paper.
-
3Beat the remaining egg in a small bowl. Place the flour and panko breadcrumbs in separate shallow bowls.
-
4Roll each potato ball first in flour, dip into beaten egg, then coat with panko breadcrumbs.
-
5Heat vegetable oil in a deep skillet or saucepan over medium-high heat. Fry the puffs in batches until golden and crispy, about 2-3 minutes per batch. Drain on paper towels.
-
6Serve warm and enjoy your crispy, gooey mashed potato cheese puffs.
Approximate Information for One Serving
Nutrition Disclaimers
Number of total servings shown is approximate. Actual number of servings will depend on your preferred portion sizes.
Nutritional values shown are general guidelines and reflect information for 1 serving using the ingredients listed, not including any optional ingredients. Actual macros may vary slightly depending on specific brands and types of ingredients used.
To determine the weight of one serving, prepare the recipe as instructed. Weigh the finished recipe, then divide the weight of the finished recipe (not including the weight of the container the food is in) by the desired number of servings. Result will be the weight of one serving.
Did you make this recipe?
Please consider Pinning it!!