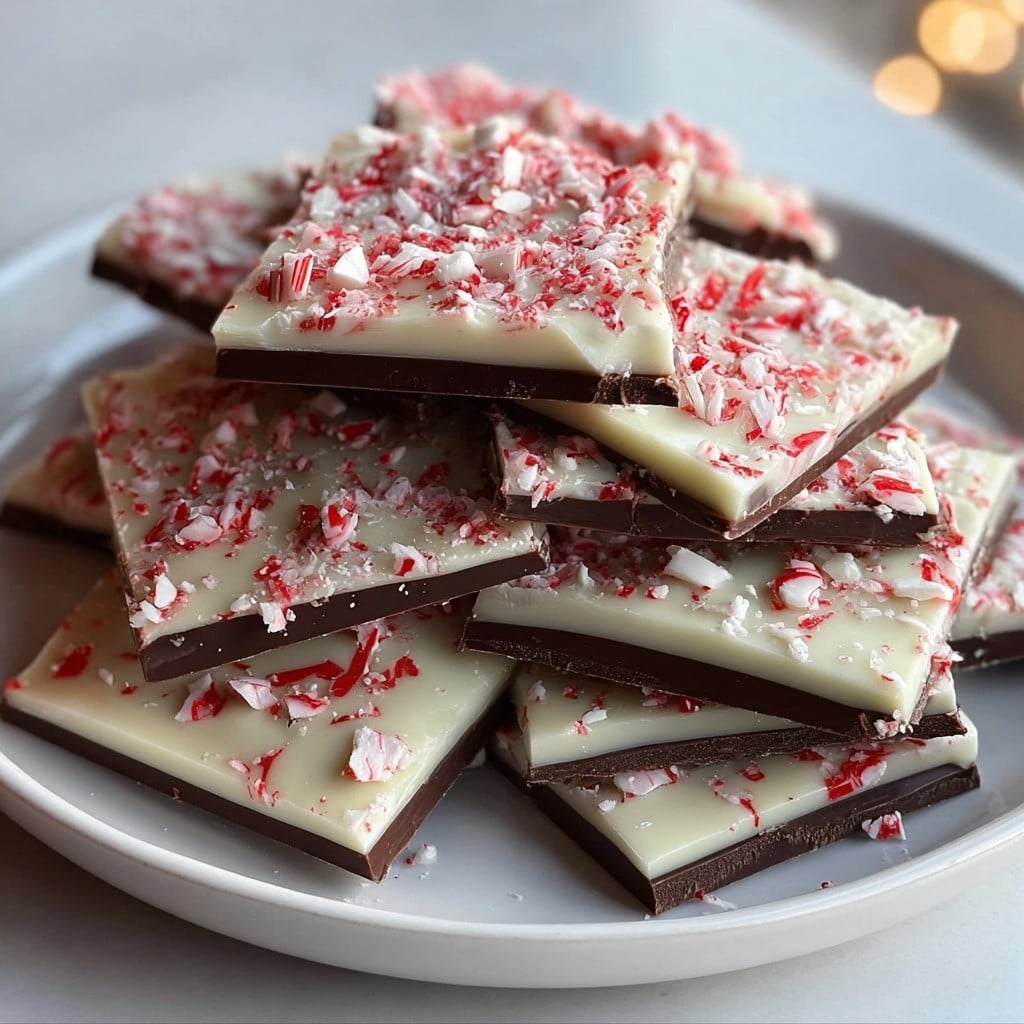
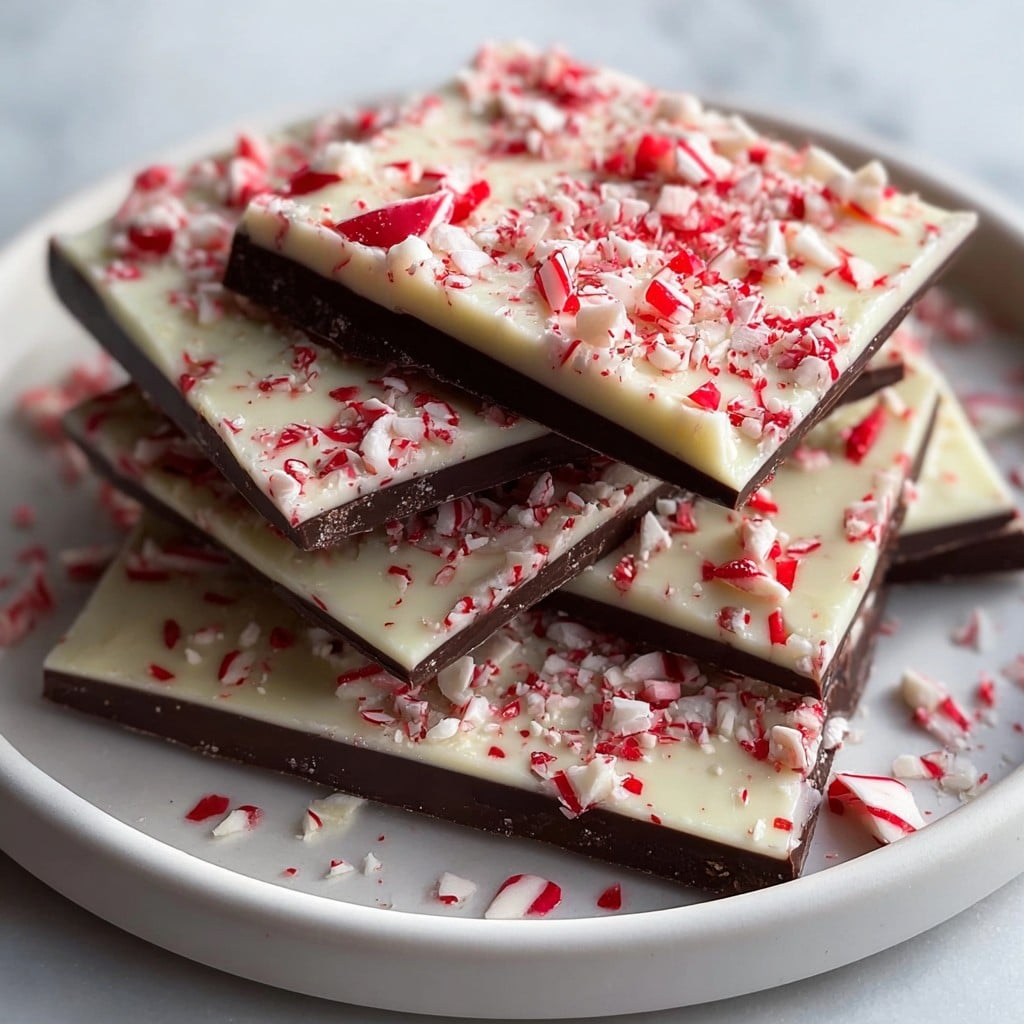
Easy Peppermint Bark Recipe – Classic Christmas Candy in Minutes
Holiday Peppermint Bark: The One Candy I Genuinely Never Mess Up
Okay, friend, this is my go-to Easy Peppermint Bark Recipe – Classic Christmas Candy in Minutes. I kid you not, I’ve whipped up a batch wearing pajamas (and once, a reindeer hat; it’s a long story) with less than an hour till folks turn up for a holiday do. Bark is, hands down, my trusty holiday party cheat—no oven drama, nothing fiddly. I think my first batch came out more like peppermint puddles than bark, but no one noticed since it, you know, disappeared within twenty minutes flat. It’s the dessert equivalent of a magic trick. If you can melt chocolate without burning it (mostly), you are golden.
Why I Reach for This Candy When Christmas Gets a Bit Much
I make this when I am short on time, patience, or both. My family goes mad for peppermint bark because it’s kind of a Christmas tradition for us (my niece once said “It tastes like a snowman exploded in chocolate,” which I’ll take as a compliment). Sometimes I get all ambitious and try to temper the chocolate perfectly—ha! Let’s just say, sometimes it’s a shiny masterpiece and other times it’s a bit… rustic. Still yummy. If you ever need to impress without stress, this is it. Plus, the smell makes the whole house smell like those holiday candle shops, in the best way.
Here’s What You Need (and What You Can Swap)
- White Chocolate – 300g or about 10-ish oz. I love Ghirardelli, but any semi-fancy bar works. In a pinch, white chocolate chips. Sometimes the chips don’t melt quite as nicely, but it still works.
- Bittersweet or Semi-Sweet Chocolate – 250g, or maybe a generous cup and a half if you’re not feeling precise. My grandmother insisted on baking chocolate squares; honestly, I use whatever’s in the cupboard.
- Candy Canes or Peppermint Candies – 4-5 canes, smashed to smithereens (the fun bit!). Spearmint works if you like it less sharp—I tried with humbugs once; not quite right, but edible.
- 1-2 teaspoons coconut oil or a knob of butter (optional) – If you want the chocolate a bit smoother. Sometimes I remember it; other times I don’t.
- Pinch of salt – Just brings everything together. Or don’t bother, it’s bark, not rocket science.
Let’s Make Some Bark (Step By Step, Sort Of)
- Line a baking tray (cookie sheet, whatever you call it) with parchment, or foil if that’s what you’ve got.
- Melt the dark chocolate: Microwave in 20-second blasts, stir, repeat. Or use a stovetop double boiler—fancy! Add a splash of coconut oil or butter if you remember. Pour and spread into a (sorta) even layer, maybe 8×10 inches. Don’t sweat the edges.
- This is where I sneak a taste with a spoon (for quality control, of course). Stick the tray in the fridge for about 10-15 minutes, till the chocolate’s just set.
- Melt the white chocolate the same way—careful, it burns faster than you think (voice of experience). Pour it over the dark chocolate layer and quickly spread. If it swirls together a bit, looks kind of pretty, so don’t fuss.
- Grab your candy canes and give them a proper whack with a rolling pin. Sprinkle all over the top (the more shards, the better; big chunks are fun, though).
- If you’re feeling wild, add a pinch of flaky salt right on top. Chill it again for at least 30 minutes, or as long as you can stand to wait.
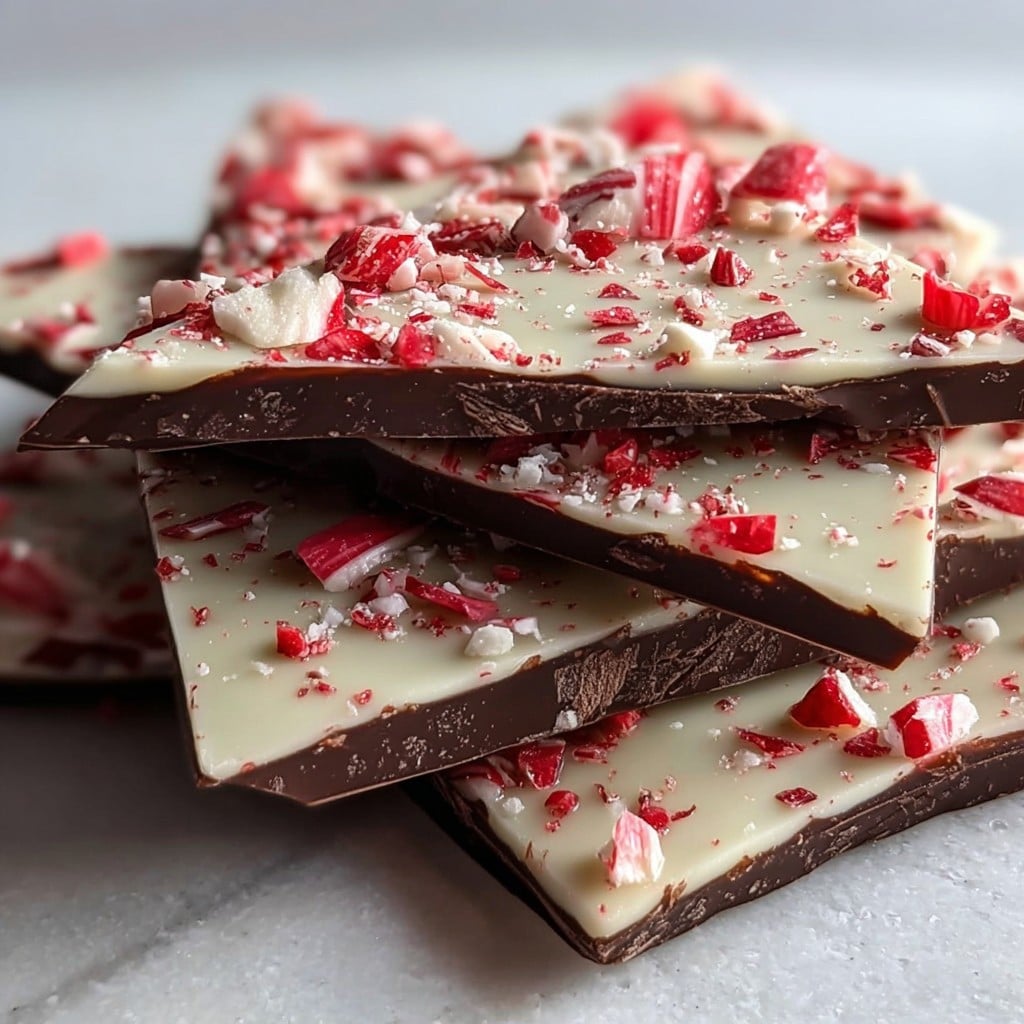
- Once it’s set, lift the whole thing off and break into messy shards (kids love this part; adults too, honestly). Wonder why you don’t just make this year-round.
Here’s What I’ve Figured Out the Hard Way
- If your chocolate seizes—even after you promise it won’t—just soldier on; the bark will still taste good.
- You can skip the double boiler if you’re gentle with your microwave. But, on second thought, if you’re the type who walks off with the microwave running, maybe not.
Bark Experiments: What Works and What Not So Much
- I once mixed in crushed Oreos. YUM. It’s not traditional, but neither is my Elf playlist on repeat.
- Tried orange zest. Not my favorite. I like orange and chocolate but, here, it just, I dunno, fought with the peppermint?
- You can swirl melted butterscotch chips between the layers. Kids love it, but it’s a sugar bomb, so maybe not every time.
What If I Don’t Have a Double Boiler?
No double boiler? Me neither, half the time. A heatproof bowl on your saucepan of simmering water will do the job. Or—confession—I often just use the microwave despite my earlier warnings.
Got Leftovers? Here’s How to Store Peppermint Bark
Bark will technically last in an airtight tub at room temp for up to 2 weeks, or fridge it if your house is warm. Honestly, in my house it never lasts more than a day! Sometimes I hide a chunk in a back cupboard—just for me (shhhh).
How I Like to Serve It (And an Odd Family Tradition)
Just pile the shards up on a cake stand (or a plate, or even a cereal bowl—whatever’s clean). My uncle always insists on serving it with hot cocoa and a silly paper crown. Sometimes I crumble it onto vanilla ice cream. No wrong way, really.
Lessons Learned (The Hard Way)
- I once tried rushing the chilling part. Regretted it, honestly—just got a sticky chocolate smear.
- If you’re impatient and break it before it’s fully set, it’ll look more like a chocolate pancake; still, tastes fine, but not as fun to eat.
Stuff I Actually Get Asked (Yeah, People DM Me About Bark)
- Q: Can I use just white chocolate?
Sure, but it’ll be super sweet. I’ve done it when I was out of the dark stuff. Still good, just different. - Q: Does it matter if my chocolate is a bit old?
Eh, I’ve used chocolate that was questionably ancient. As long as it doesn’t taste weird, go for it. - Q: What if I don’t have candy canes?
Try those Starlight mints or even chop up extra peppermint bark from somewhere like Williams Sonoma (outrageous but if you’ve got it…). - Q: Can I freeze it?
Sure, just wrap it up tight. Word to the wise: don’t eat it straight from the freezer. It’s like biting into an iceberg. (Ouch.) - Q: Any way to clean up the candy mess?
The candy cane bits go everywhere. I’ve just leaned into having a sticky floor till the holidays end. But, you know, you could put a rimmed sheet under while smashing them (sometimes…I remember).
If you want to geek out on chocolate, there’s a whole section about melting and bark at Sally’s Baking Addiction—her stuff is amazing. Can’t recommend it enough.
And before you go—I know the classic is great, but next time you’re feeling bold, try mixing in toasted almonds or dried cranberries. Or don’t! Honestly, the best part about bark is, it never turns out quite the same way twice. And I sort of love that.
Ingredients
- 8 oz semi-sweet chocolate, chopped or chips
- 8 oz white chocolate, chopped or chips
- 1/2 tsp peppermint extract
- 1/2 cup crushed peppermint candies or candy canes
- 1 tbsp coconut oil (optional, for smoother chocolate)
- Pinch of sea salt
- Parchment paper (for lining pan)
Instructions
-
1Line a baking sheet with parchment paper.
-
2Melt the semi-sweet chocolate with 1/2 tablespoon coconut oil in a microwave-safe bowl in 20-second increments, stirring between each until smooth.
-
3Spread the melted semi-sweet chocolate onto the prepared baking sheet in an even layer, about 1/4 inch thick. Chill in the refrigerator for 10 minutes or until just set.
-
4Melt the white chocolate with the remaining coconut oil in 20-second increments until smooth. Stir in peppermint extract.
-
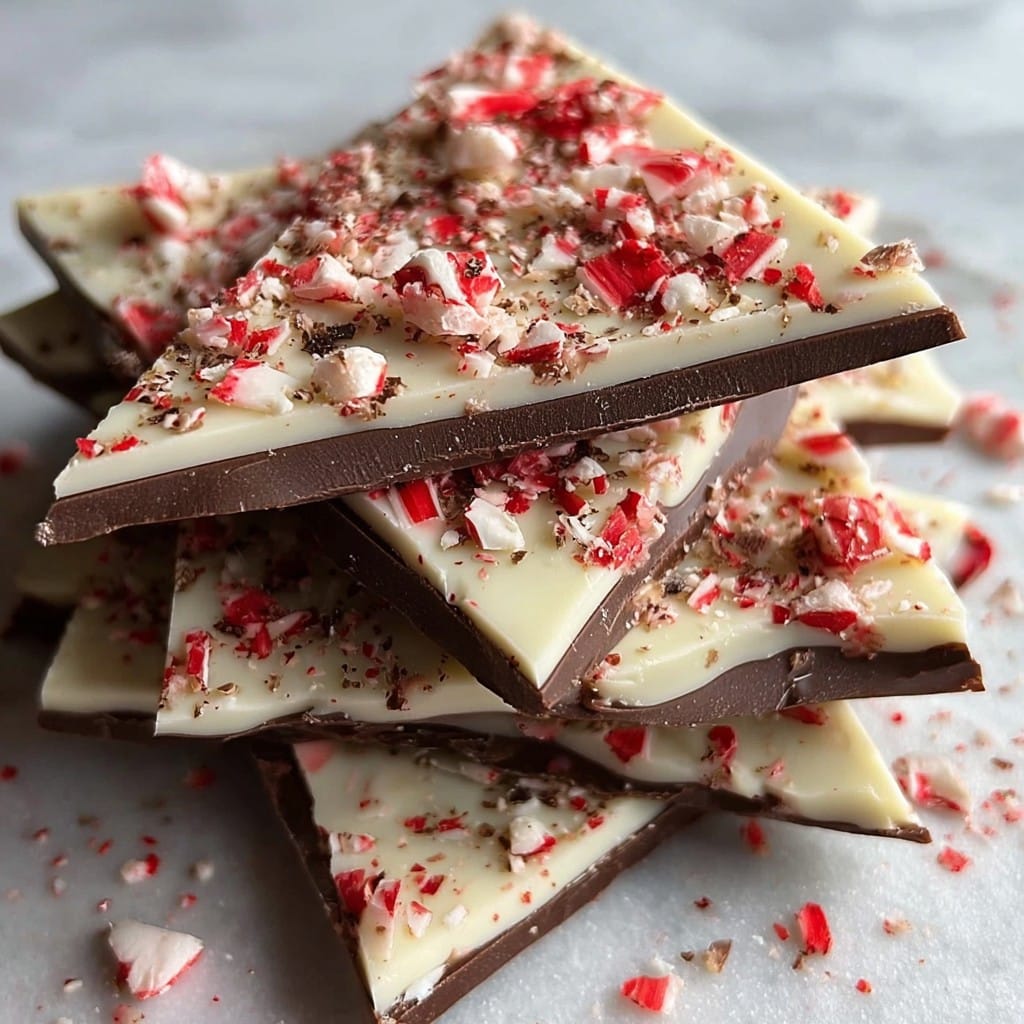
5Pour the melted white chocolate over the chilled dark chocolate layer and gently spread evenly. Immediately sprinkle the crushed peppermint candies and a pinch of sea salt on top.
-
6Chill bark for another 10 minutes or until completely set, then break into pieces and serve or package as gifts.
Approximate Information for One Serving
Nutrition Disclaimers
Number of total servings shown is approximate. Actual number of servings will depend on your preferred portion sizes.
Nutritional values shown are general guidelines and reflect information for 1 serving using the ingredients listed, not including any optional ingredients. Actual macros may vary slightly depending on specific brands and types of ingredients used.
To determine the weight of one serving, prepare the recipe as instructed. Weigh the finished recipe, then divide the weight of the finished recipe (not including the weight of the container the food is in) by the desired number of servings. Result will be the weight of one serving.
Did you make this recipe?
Please consider Pinning it!!