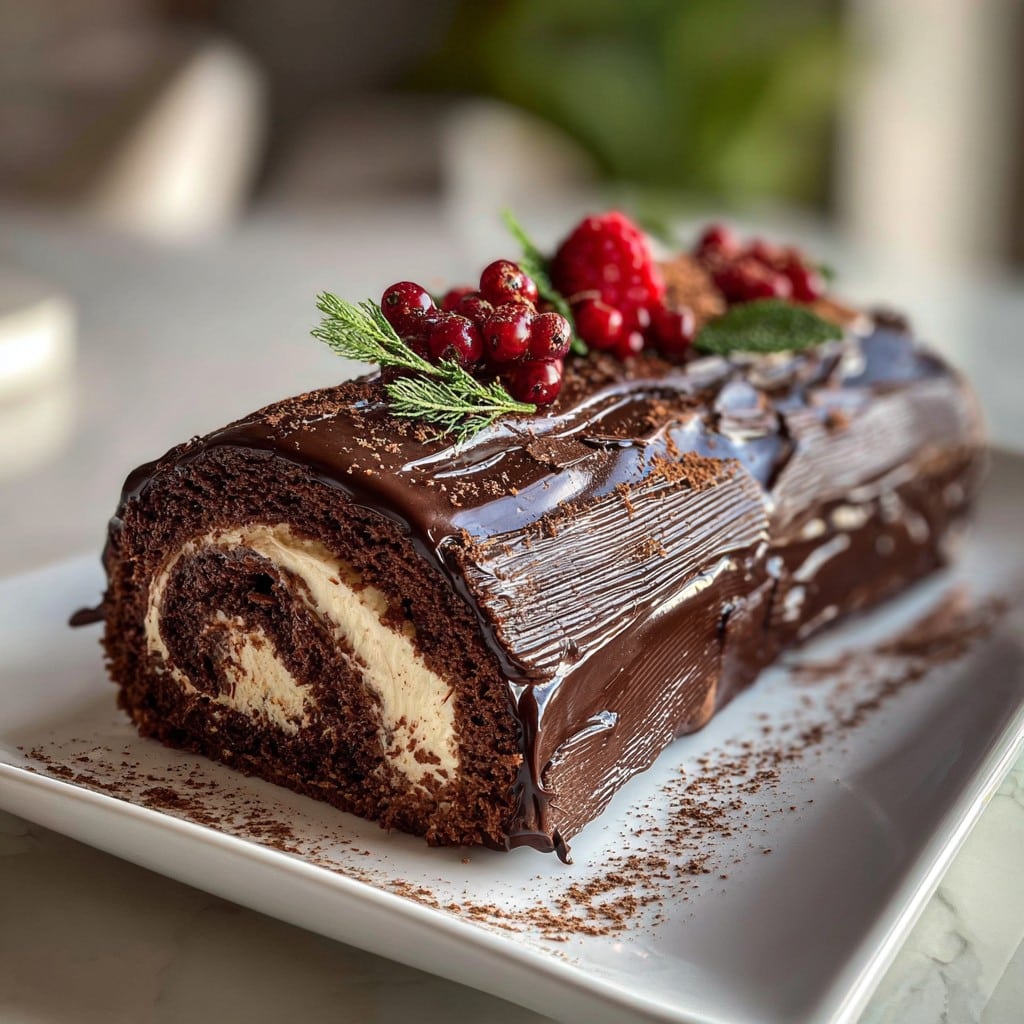
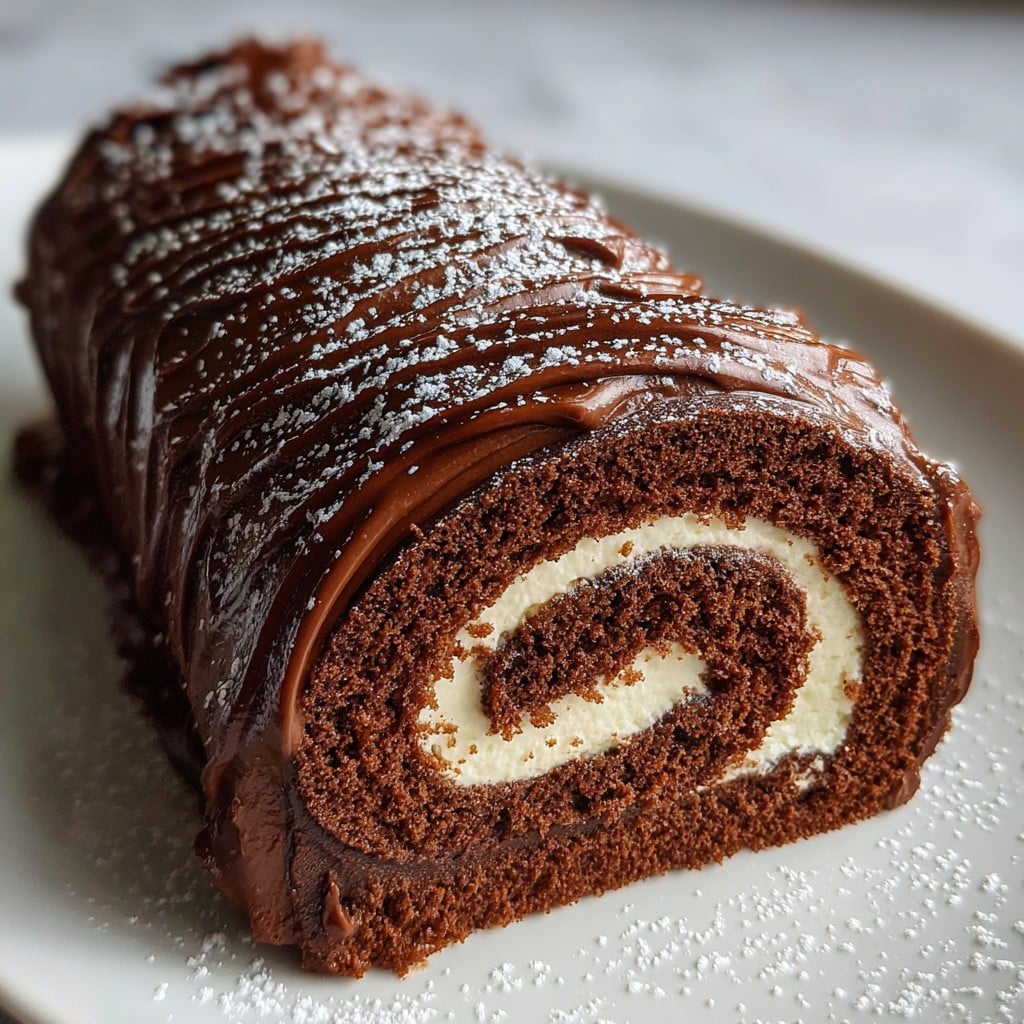
Chocolate Yule Log Cake: Real Life Tips from My Kitchen
The Story Behind My Chocolate Yule Log Cake (It’s Not Always Pretty)
Alright, so let me just say outright—there’s no way to make a Chocolate Yule Log Cake without getting at least a little messy. At least not in my kitchen (and I’ve tried). I remember the first time I tried this for Christmas Eve—it was supposed to look all elegant, like the ones you see in those fancy bakeries in Paris. Mine? Well, it looked more like a log that survived a squirrel attack, but honestly, none of us cared once we started eating it. And the smell… oh, if only you could bottle up that warm chocolatey scent and just wear it as perfume. Anyway, every year now, my family somehow ‘requests’ it—which in this house means someone puts chocolate chips on the grocery list and gives me a not-so-subtle wink.
Why You’ll Probably Fall in Love with This Cake, Too
I make this when we want to feel fancy but still keep it casual (you know, like wearing slippers with a tuxedo). My family goes bananas for it because it’s basically cake and frosting rolled into one—plus, it’s an excuse to eat ‘bark’ for dessert. Half the time, it cracks a little or there’s powdered sugar everywhere, but nobody cares, ‘cause it tastes like chocolate and childhood holidays. I mean, the rolling part? Sometimes I want to throw it out the window, but as soon as I see those chocolaty swirls, I’m hooked again. Oh, and my cousin Tim tries to claim the slice with the most filling every year. Good luck, Tim.
The Cake Ingredients (With Some Wiggle Room)
- 4 large eggs (I sometimes use 3 if that’s all I’ve got—just makes it a tiny bit flatter)
- 100g (about 1/2 cup) granulated sugar—if you’re out, I’ve actually used superfine, works fine
- 30g cocoa powder (I grew up with Hershey’s, but use that fancy Dutch stuff if you can find it)
- 1 tsp vanilla (or skip it, honestly—the chocolate’s the showstopper)
- 1 good pinch of salt (not too much, but enough to make it pop!)
For the filling & icing:
- 200ml double cream (heavy cream works—sometimes I use a mix if I’m scrounging the fridge)
- 150g dark chocolate; or do milk chocolate if you’re feeling wild, but it’s pretty sweet
- 3 tbsp icing sugar (probably more, if you like it really sweet—sometimes I do, sometimes not)
- Optional: 1 tsp instant coffee powder—gives it a little grown-up kick
- A dusting of powdered sugar and maybe even a sprig of holly if you’re feeling posh (I’m usually not)
How the Magic (and the Mess) Happens
- Preheat & Prep: Oven goes on to 180°C/350°F, line a medium-ish baking tray with parchment. I sometimes trace the tray outline on the paper, feels so pro.
- Whisk Eggs & Sugar: Whip the eggs and sugar together till pale and fluffy (like, really pale)—I do it by hand sometimes, but the stand mixer saves my arm. If you can draw a figure-eight in it, you’re there.
- Add the Dry Team: Sift cocoa, salt, and (if you want) a bit of flour in—then fold gently, so you don’t bash out all the air. If you see streaks, that’s okay; it’ll sort itself out. Vanilla goes in here. Don’t overthink it.
- Spread & Bake: Pour onto the tray, smooth out. Bake for 8–10 minutes. Not longer, or you’ve got chocolate cardboard, which… yikes.
- Sort the Rolling: Okay, here’s the weird bit: Tip the cake out onto a clean tea towel, peel off the parchment, and roll it up—with the towel inside. (Looks nuts, but trust me.) Let it cool this way, rolled up. This is where I usually take a breather (and sneak a taste of a crumb if no one’s looking).
- Filling Time: Melt chocolate gently (I do it in the microwave, though a double boiler’s fancier). Whip the cream with the icing sugar and (if you like) coffee powder, then fold in the—sometimes warm, sometimes cooled—melted chocolate. If it turns grainy, don’t sweat it, just give it a whisk.
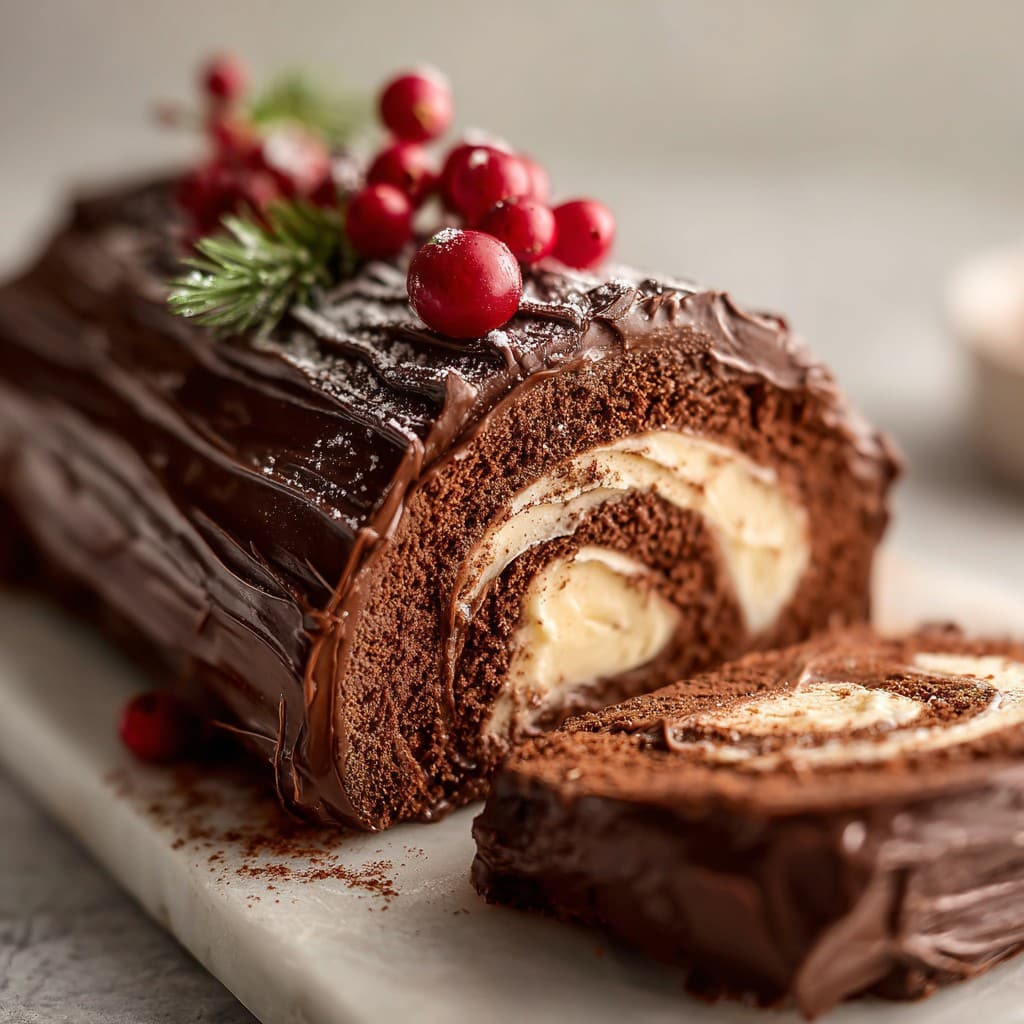
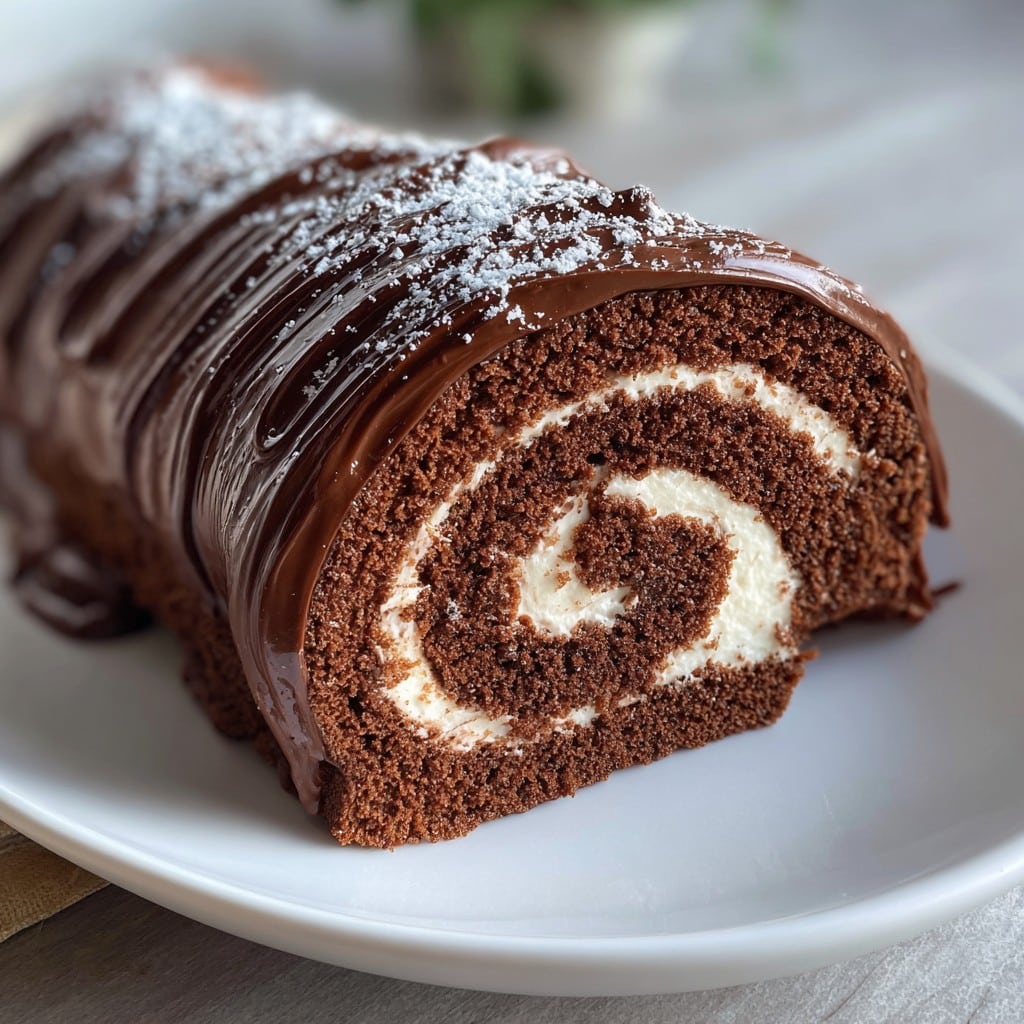
- Assembly (Cue the Drama): Unroll the cooled cake. Slather the filling on—don’t get right to the edge, as it squishes out. Roll it back up (without the towel, obvs). It almost always cracks. Just call it ‘rustic’. Spread the rest of the chocolate cream on the outside. Use a fork and go wild with ‘bark’ patterns. Sometimes I even stick a little offcut on the side as a ‘knot’—makes it look intentional.
Notes Only a Messy Baker Could Give You
- Too much filling? There’s no such thing. But actually, if you use way too much, it oozes out the sides. Learned this the sticky way.
- Powdered sugar covers a multitude of (cake) sins. Seriously.
- If your cake cracks, just get creative with the ‘bark’. The more you try to fix it, the more natural it looks.
- On second thought, don’t skip the salt; once I did, and it made everything taste a bit flat.
Variants & Experiments (Some Winners, Some Fails)
- Once tried hazelnut spread in the filling—my youngest still talks about it (like, a LOT).
- Rum in the cream? Yum, but a bit boozy for my aunt. Maybe half a shot next time.
- I tried a gluten-free version by subbing almond flour… kinda dry, actually. Maybe you’ll have better luck.
- You could roll it with jam and skip the chocolate filling entirely—just don’t tell my chocolate-loving cousin.
Equipment: What You Need (And What I Improvise With)
- Medium baking tray, or whatever size fits your oven (I once used two small ones and squished ‘em together… not ideal, but dessert’s dessert)
- Baking parchment—if you run out, greased foil sorta works, but the cake sticks more
- Clean tea towel for rolling (once I used a T-shirt… Don’t. Just, don’t)
- Mixing bowls, whisk (or electric mixer if you’re not looking for an arm workout)
- Fork for bark patterns—no need for a fancy ‘decorating comb’ (I mean, really)
How to Store It—If There’s Any Left
Honestly, in my house it never lasts more than a day. In theory, you can keep it in the fridge wrapped in clingfilm for two, maybe three days. I think it tastes better the next afternoon, after the flavors soak in. Freezer? It sort of works, but the texture goes a bit wonky. If you want something that freezes like a dream, try a Swiss Roll, which somehow doesn’t mind an icy nap.
Serving Ideas (Or: How We Like to Eat It)
Big, swoopy slices with a dusting of icing sugar, maybe a scoop of vanilla ice cream if we’re feeling indulgent. Occasionally, I hit it with a spritz of edible gold spray—mainly for laughs. For Christmas, Mum always insists on a little fake robin, which is now missing a wing (family heirloom?).
Lessons Learned (Usually the Hard Way)
- Rushing the cake cooling step? Regretted it every time—it just melts the filling. Wait it out.
- Once I forgot to line the tray… that cake never saw the light of day. Lining is non-negotiable (except, apparently, if you like eating with a spoon from the tray).
- Don’t skimp on sifting the cocoa; lumps = not fun in chocolate land.
Questions People (Actually) Ask Me
- Can I make it the night before? Yep, and actually I think it’s even better on day two—bit retro, but that’s my thing. Just store it covered in the fridge, or it’ll dry out.
- My cake cracked—what do I do? Relax! Most do. Frost right over it and say you wanted ‘extra bark’. No one’s ever refused a slice because of a crack, I promise.
- Can I make this gluten free? I tried almond flour, like I said, and it was okay, but a little on the dry side. Maybe swap in a gluten-free all-purpose blend? If you try and nail it, let me know! Or check out this gluten-free Yule Log cake from BBC Good Food—looks solid.
- Is it okay to freeze leftovers? Sorta? Like I said, texture changes a bit. Tastes fine though after a night in the chiller—I once did this and found my brother ‘taste-testing’ it at 3AM, so there’s that.
Right, if you made it this far, I owe you a piece (or at least a cup of tea while you wait for yours to set). And hey, if you ever want to see how the pros do it with, like, zero fuss, just peek at Gemma’s chocolate yule log—I sometimes watch for inspiration before inevitably doing my own thing. Happy holidays and happy rolling (or… unrolling, as the case may be)!
Ingredients
- 4 large eggs, separated
- 1/2 cup granulated sugar, divided
- 1/3 cup all-purpose flour
- 1/4 cup unsweetened cocoa powder
- 1/4 teaspoon salt
- 1 teaspoon vanilla extract
- 1 cup heavy cream
- 4 ounces semisweet chocolate, chopped
- 1/2 cup powdered sugar, plus extra for dusting
- 2 tablespoons unsalted butter
Instructions
-
1Preheat the oven to 375°F (190°C). Line a 10×15-inch jelly roll pan with parchment paper and lightly grease it.
-
2In a mixing bowl, beat egg yolks with 1/4 cup of sugar until thick and pale. Stir in vanilla extract.
-
3In a separate bowl, sift together flour, cocoa powder, and salt. Gradually add to the egg yolk mixture.
-
4In another bowl, beat egg whites until soft peaks form, then gradually add the remaining 1/4 cup sugar and beat until stiff peaks form. Gently fold egg whites into the cake batter.
-
5Spread batter evenly in the prepared pan. Bake for 10-12 minutes until the cake springs back when touched. Turn the cake out onto a powdered sugar-dusted towel and roll up from the short side. Let cool.
-
6For the filling, whip the heavy cream with 1/2 cup powdered sugar until stiff. Unroll cooled cake, spread with whipped cream, and re-roll. For ganache, melt chocolate and butter together, mix until smooth, and spread over the cake. Dust with powdered sugar and decorate as desired.
Approximate Information for One Serving
Nutrition Disclaimers
Number of total servings shown is approximate. Actual number of servings will depend on your preferred portion sizes.
Nutritional values shown are general guidelines and reflect information for 1 serving using the ingredients listed, not including any optional ingredients. Actual macros may vary slightly depending on specific brands and types of ingredients used.
To determine the weight of one serving, prepare the recipe as instructed. Weigh the finished recipe, then divide the weight of the finished recipe (not including the weight of the container the food is in) by the desired number of servings. Result will be the weight of one serving.
Did you make this recipe?
Please consider Pinning it!!