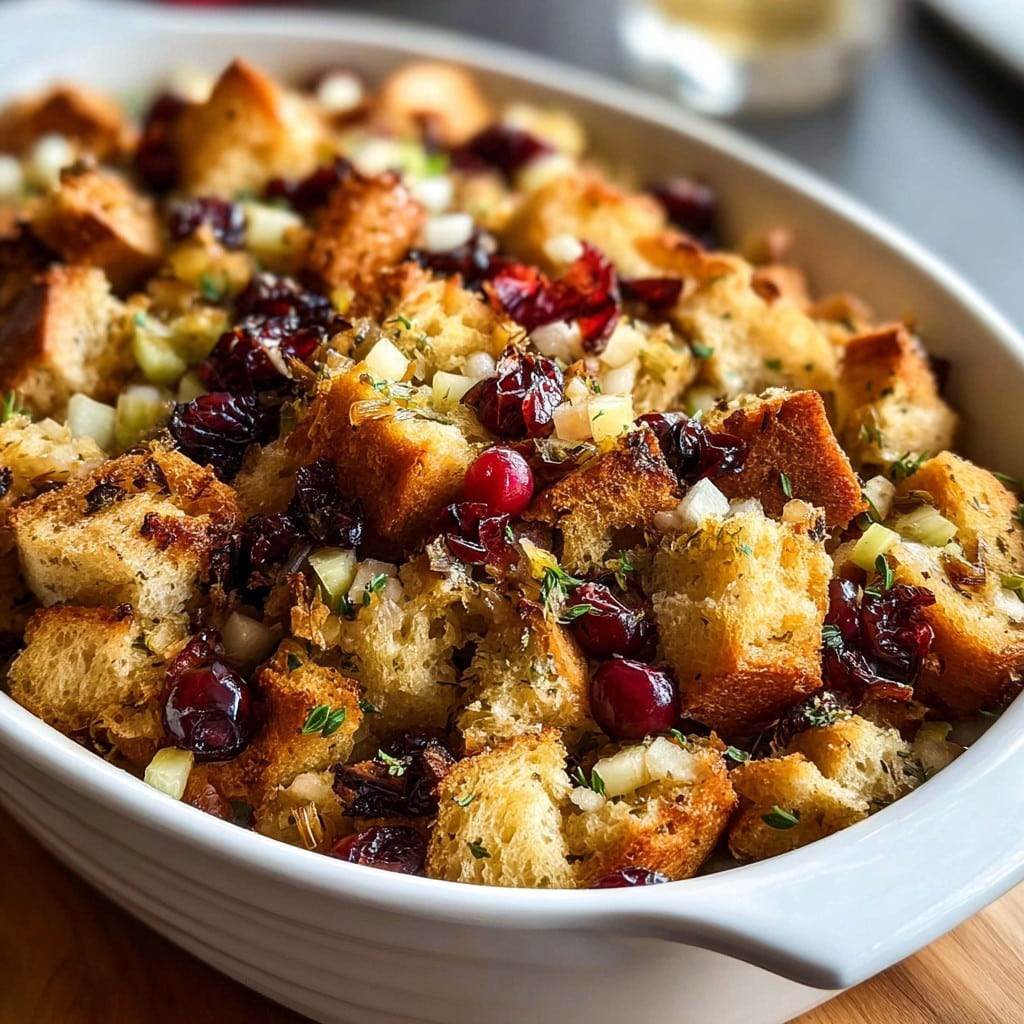
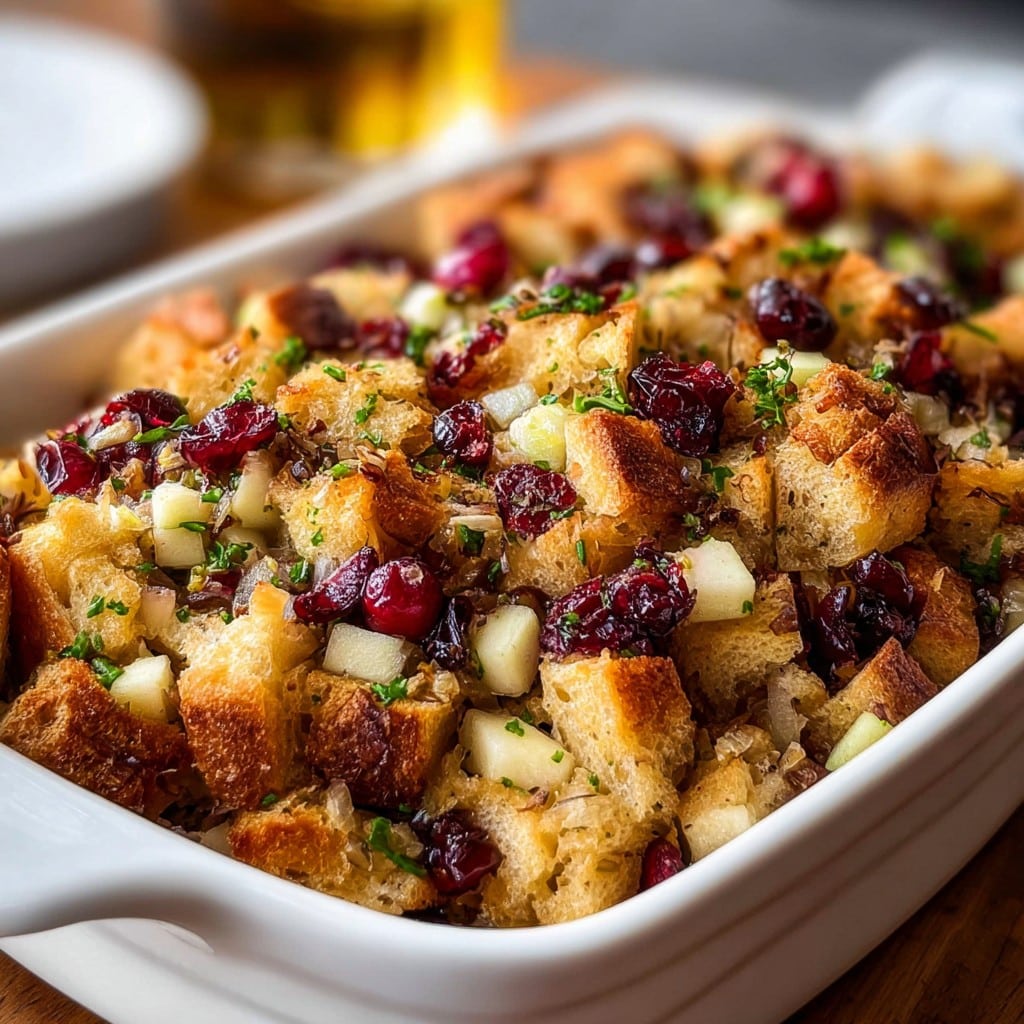
Thanksgiving Stuffing with Apples & Cranberries – A Flavorful Twist
This Stuffing Always Steals the Show at My Table
Okay, so let me spill the beans – every single Thanksgiving, my cousin Maddie claims she “doesn’t actually like stuffing” (yeah, right). But a few years back, I brought this quirky version with apples and cranberries, and she asked for seconds. I literally caught her sneaking leftovers after everyone left. Which is hilarious, because as a kid, I was the one hiding under the table to dodge the mushy stuff my grandma used to make. Funny how life flips the script. Maybe there’s something about getting those pockets of sweet and tart amid all the savory bits? Anyway, this has become our family’s go-to, and (full confession) if I make it for Friendsgiving, I almost always have to stash a bowl in the back of the fridge just for me, so I don’t miss out. Oh, and don’t be fooled by my fancy writeup — making great stuffing is more like bobbing for apples than rocket science.
Why I Actually Make This Stuffing (Instead of Just Buying a Mix)
I make this when I’m craving a side that surprises people (and, honestly, when I need a break from all things beige at the Thanksgiving table). My family goes bonkers for it because the apples keep it moist (hate that word, but here we are), and the cranberries are this little sweet-tart pop. Plus, I adore a dish where nobody’s certain if it’s healthy or just dessert in disguise (pro tip: don’t tell them it’s half butter). Also, I used to dread chopping onions for stuffing—somebody always cries, usually me. Now, I just wear my old ski goggles or, on a brave day, use frozen diced ones. Not gourmet, but it saves my mascara.
Here’s What You’ll Need (Fuss-Free, Promise)
- 12 cups bread cubes (about 1 large loaf, day-old is best, but honestly, any bread lying around works — I sometimes toss in that stray hot dog bun…)
- 2 medium apples, cored & chopped (I like Granny Smith for tang, my cousin claims Fuji is “more American” – both are good, or whatever you have!)
- 3/4 cup dried cranberries (or raisins if you’re desperate — not as zingy, but it does the trick in a pinch)
- 1 large onion, diced (use 1/2 cup frozen if you’d rather not cry over the cutting board today)
- 2-3 celery stalks, chopped roughly (don’t sweat it if you only have 2… nobody’s ever noticed)
- 2-3 cloves garlic, minced (yeah, jarred works but fresh is just a lil’ better)
- 3/4 cup unsalted butter (or a bit less if you’re, you know, feeling virtuous)
- 2 cups chicken or veggie broth (homemade is cool but the carton stuff has saved me more than once)
- 2 eggs, beaten (my grandma swore by farm eggs, but Safeway eggs are fine, trust me)
- 2 tsp fresh thyme (or 1 tsp dried, I sometimes throw in sage if I’m feeling wild)
- 1 tsp salt (taste as you go, broth can be salty)
- Good grind of black pepper
How I Actually Cook It (Not Just the Pinterest Version)
- Prep the bread. Spread bread cubes in a gigantic bowl or directly on a clean counter if you ran out of bowls (been there). They should be dry-ish. If your bread feels squishy—just pop the cubes in a 250°F oven for 10-15 minutes. Don’t wander off to check Instagram or they’ll burn in a snap.
- Sauté veggies. Melt butter in a big skillet over medium-ish heat. Toss in onions and celery first; stir until nice and soft, about 6-8 minutes (this is where I usually sneak a taste). Add garlic, sauté another minute. Don’t skip the extra minute — unless you love that raw garlic heat, then, hey, you do you.
- Flavor boost. Dump in apples, cranberries, herbs, salt, and pepper. Let that all mingle for 2-3 minutes until it smells like autumn in Vermont (or, y’know, your kitchen).
- Off the heat. Pour that lovely buttery mixture over the bread cubes. Try to get the juices, not just the chunky bits. Toss (with your hands or a big spoon, but, honestly, hands just work better unless you’re feeding germaphobes).
- Add eggs and broth. Beat eggs with the broth in a jug or whatever. Drizzle all that over the bread mixture. Gently fold it in. (Don’t freak if it looks soggy—it dries out as it bakes. On the other hand, if it seems bone dry? Eyeball a bit more broth.)
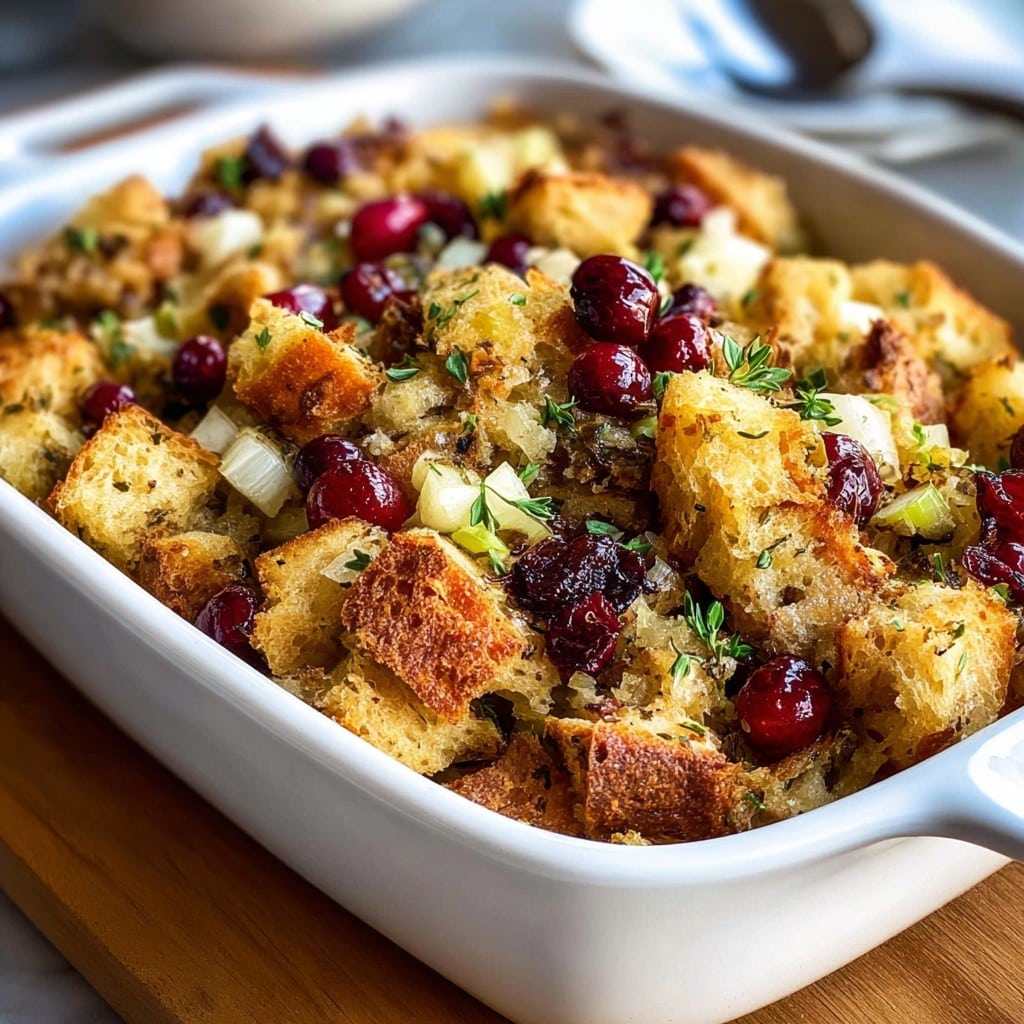
- Bake it up. Scoop stuffing into a buttered 9×13″ dish (but who’s measuring?). Cover with foil. Bake at 350°F for 30 mins, then uncover and let it go another 20ish mins, until golden and a tad crispy around the edges – this is the best bit!
Notes I’ve Gathered (After Several Oopsies)
- The bread matters, but not as much as you’d think. Sourdough is my new fave, but I once used leftover bagels and it was… unique. Not bad, just chewy.
- If your stuffing dries out while baking, drizzle some extra hot broth over the top and cover it for a few minutes. Way better than trying to reheat dry stuff later.
- Dried herbs totally work, so don’t let a snobby recipe make you feel bad if that’s all you’ve got.
Some Versions I’ve Tried (And a Flop)
- Sausage stuffing: Browning some mild Italian sausage and adding it in? Bonkers good, but dude, it makes it a main course by itself (which isn’t a bad thing, unless you’re already cooking turkey).
- Mushrooms swap: One time, I tried using mushrooms instead of apples for a more “umami kick.” Honestly, it got a bit swampy. Maybe I’ll get it right, someday.
- Nutty twist: A handful of toasted pecans or walnuts. My uncle called it “a nice surprise;” my teenage niece picked them all out.
Tools – Or Just Whatever You Have on Hand
I use a big old roasting pan and a sturdy wooden spoon, but honestly, you can get away with a disposable foil tray (those cheap ones from the dollar store—yep, guilty) if you’re taking this to a potluck. If you’ve got a stand mixer, some folks use it for tossing, but I just don’t wanna wash one extra bowl. Clean hands work fine! Oh, and if you ever misplace your measuring cups, this King Arthur Baking guide helps you eyeball it.
How I Store Leftovers (If There Are Any…)
In theory, this keeps for 2-3 days, covered, in the fridge. It even reheats well in the microwave, though I like to throw mine under the broiler for a couple minutes to crisp it back up. In practice… my household never lets it last that long. If you do end up with enough to freeze, just pack it tight in a freezer bag and label it (I learned this the hard way after defrosting what I thought was stuffing but turned out to be lasagna soup – oops).
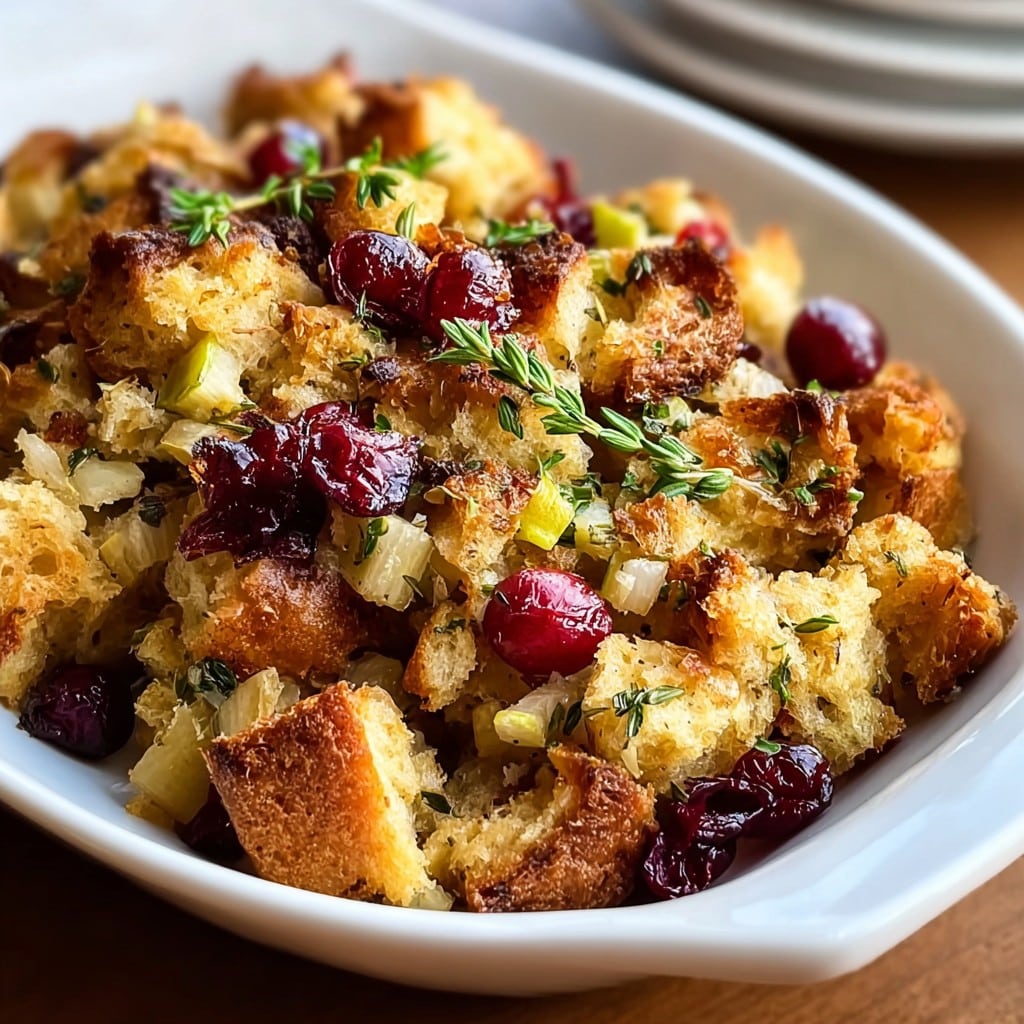
How I Serve It Up
We always put this out in a big bowl sprinkled with extra fresh herbs just because it looks pretty. Sometimes my little nephew even tries it with a drizzle of maple syrup (strange, but I’ve tried worse). Personally, I like mine alongside leftover turkey in a sandwich with a bit of cranberry sauce. That, to me, is peak comfort food. If you’re looking for inspo, try this wild Thanksgiving sandwich move.
Lessons Learned (So You Don’t Have to Make My Mistakes)
- Once I tried rushing the bread drying step, and, uh, it turned into a weird bread pudding. Which I pretended was intentional (no one bought it).
- Underseasoning is the silent killer of good stuffing. Taste, taste, taste. Salt can always go in, but can’t come out, y’know?
- Letting it rest before serving makes all the difference – actually, I think it tastes even better the next day. Controversial opinion in my house.
Real Questions I’ve Heard (With Honest Answers!)
- Can I make it ahead? Oh, totally! I assemble the whole thing the day before, throw it in the fridge, and bake right before dinner. Though, on second thought, it might be a bit soggier, so judge it by eye and add a handful more bread if it looks too soft.
- Can I make it gluten-free? Yup! Just swap in your fave gf bread. I tried it once with a store brand and, honestly, it was fine, though a bit denser – next time I’d use smaller cubes.
- Can I add more cranberries? For sure, though if you go overboard it starts to taste like a candle (trust me, less is more here).
- Can you stuff this in the turkey? Eh, you probably could, but I don’t. I like the crispy corners you only get baking it on its own. Plus, safer that way – the USDA agrees.
- What if I hate celery? Just skip it. Add more apples or onions, or even bell pepper. Stuffing is forgiving, like your best mate after you forget their birthday.
Quick Side Note (Since We’ve Come This Far)
Speaking of Thanksgiving, I still can’t figure out why we call it “stuffing” when most of us serve it on the side. Maybe it’s a regional thing? Or maybe it’s just one of those quirks, like calling soda “pop” or still pretending turkey is everyone’s favorite part. Anyway, hope you love this as much as my family does – I’m off to hide the leftovers in the crisper so Maddie won’t get to them first.
Ingredients
- 10 cups cubed day-old bread (sourdough or country loaf)
- 2 medium apples, peeled, cored, and diced
- 1 cup dried cranberries
- 1 cup chopped celery
- 1 medium onion, diced
- 3/4 cup unsalted butter
- 2 1/2 cups low-sodium chicken or vegetable broth
- 2 teaspoons dried sage
- 1 teaspoon dried thyme
- 1 teaspoon salt
- 1/2 teaspoon black pepper
- 1/4 cup fresh parsley, chopped
Instructions
-
1Preheat oven to 350°F (175°C). Grease a large baking dish with butter.
-
2In a large skillet over medium heat, melt the butter. Add the onion and celery, and sauté until softened, about 5 minutes.
-
3Add the apples, dried cranberries, sage, thyme, salt, and pepper to the skillet. Cook for an additional 3-4 minutes, stirring occasionally.
-
4In a large mixing bowl, combine the bread cubes with the skillet mixture. Pour in the broth gradually and toss until the bread is evenly moistened but not soggy.
-
5Transfer the stuffing mixture to the prepared baking dish. Cover with foil and bake for 35 minutes. Remove foil and bake for another 15 minutes until golden on top.
-
6Sprinkle with fresh parsley before serving.
Approximate Information for One Serving
Nutrition Disclaimers
Number of total servings shown is approximate. Actual number of servings will depend on your preferred portion sizes.
Nutritional values shown are general guidelines and reflect information for 1 serving using the ingredients listed, not including any optional ingredients. Actual macros may vary slightly depending on specific brands and types of ingredients used.
To determine the weight of one serving, prepare the recipe as instructed. Weigh the finished recipe, then divide the weight of the finished recipe (not including the weight of the container the food is in) by the desired number of servings. Result will be the weight of one serving.
Did you make this recipe?
Please consider Pinning it!!