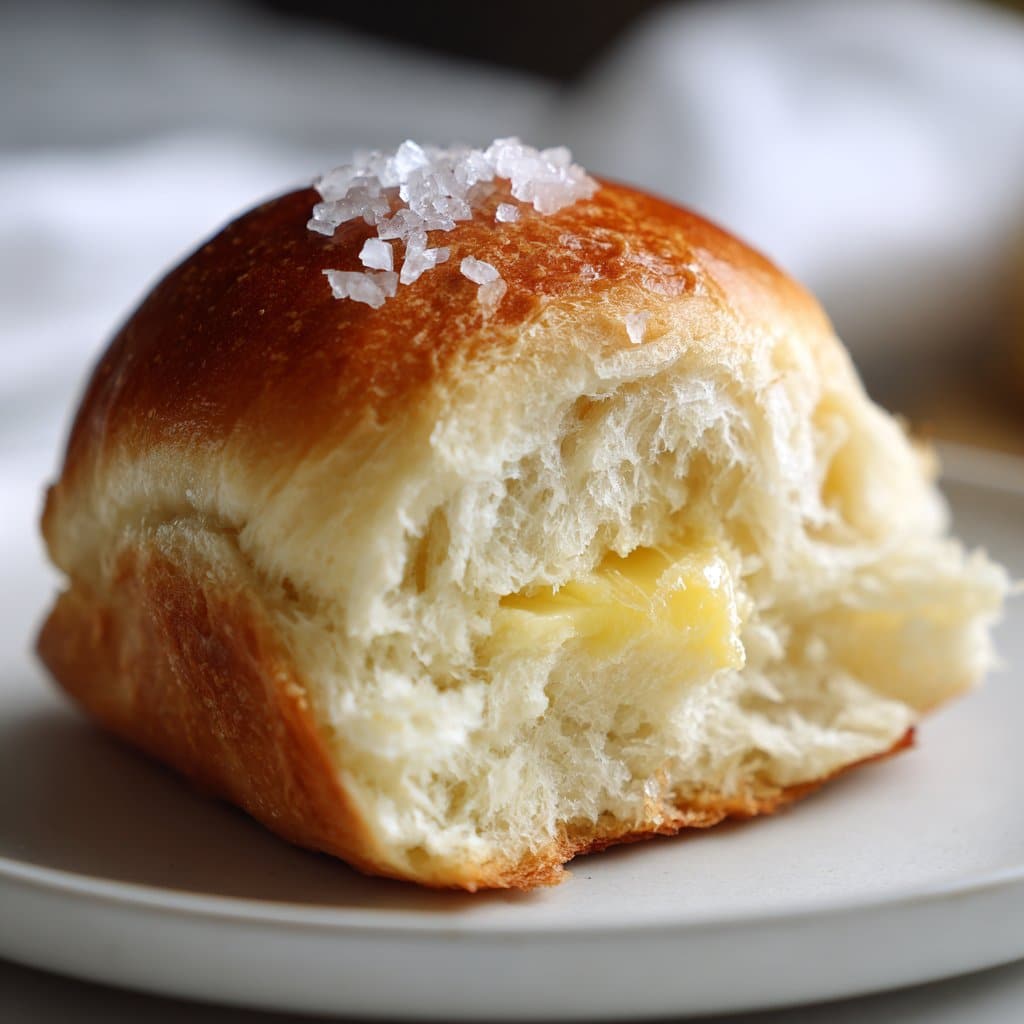
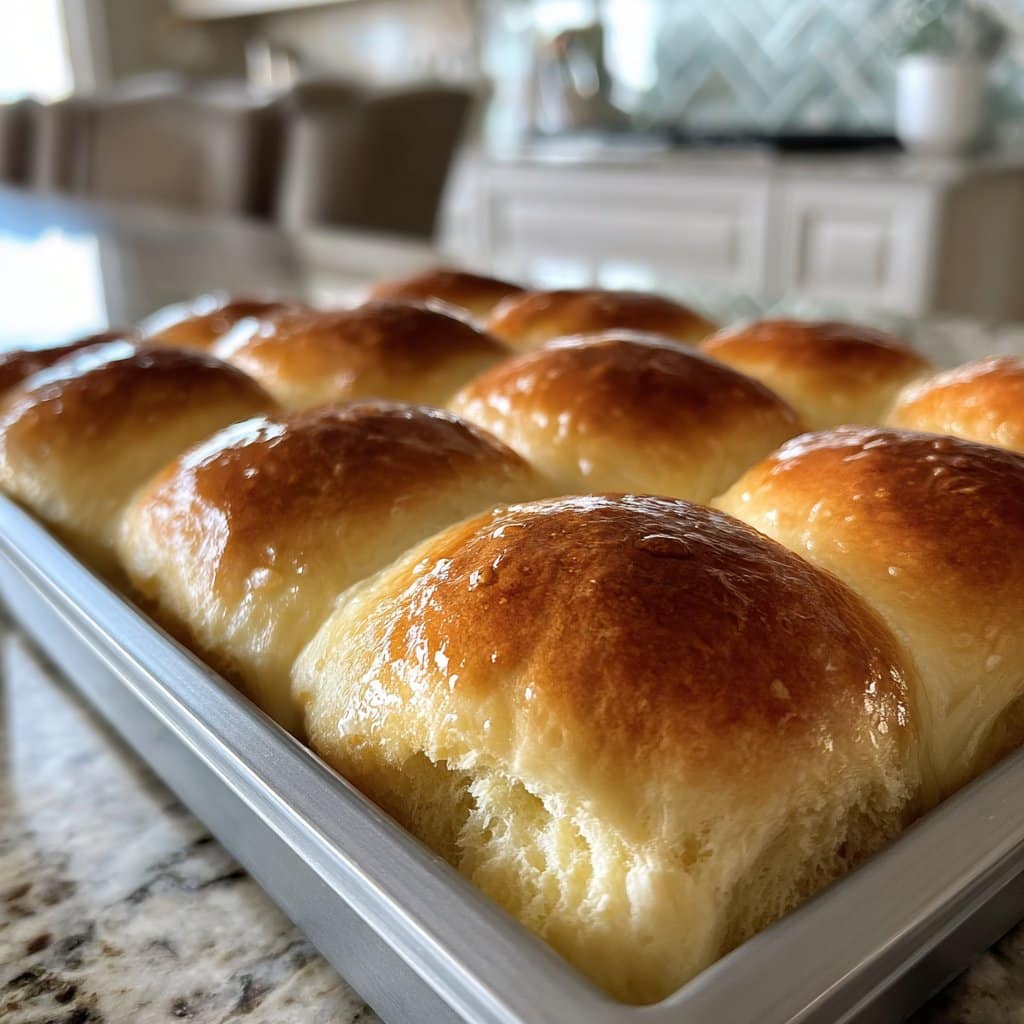
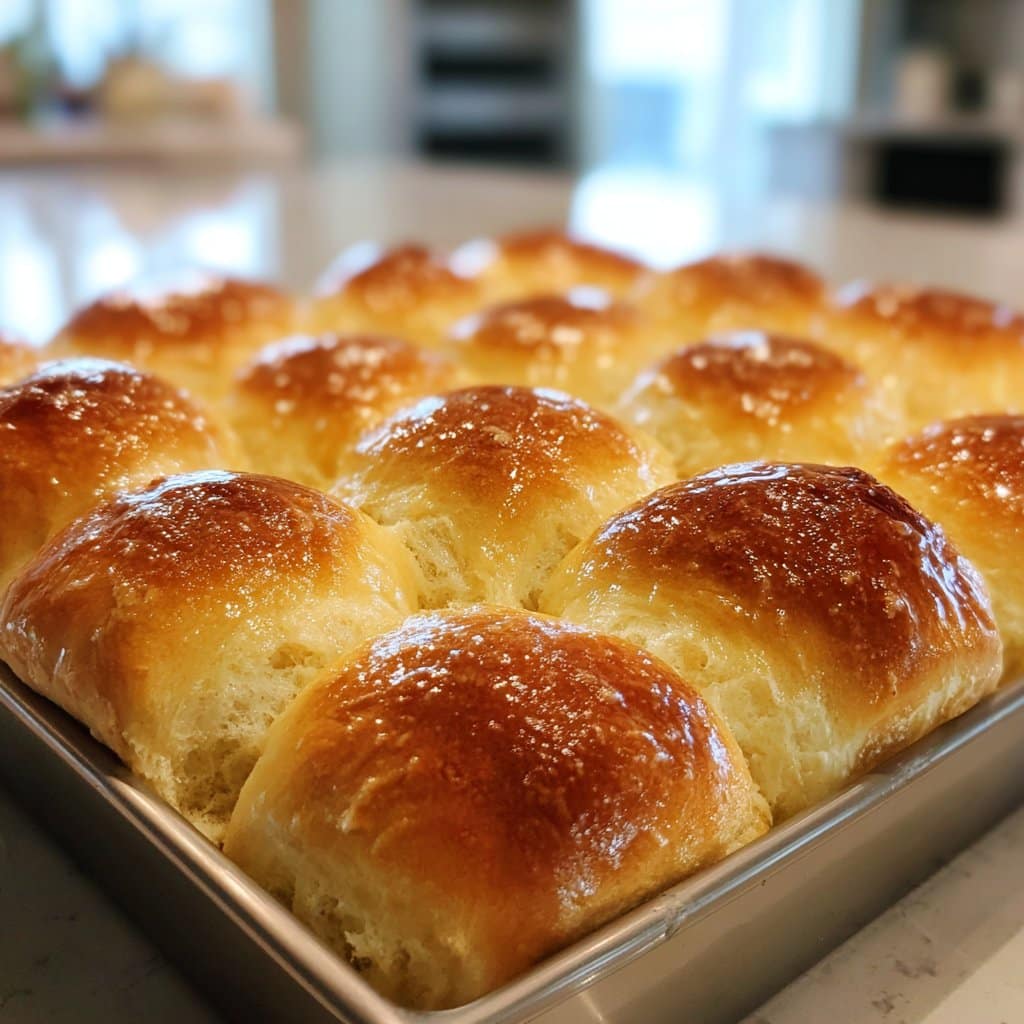
Fluffy Parker House Rolls – A Classic Thanksgiving Side
Let’s Talk About Why I Obsess Over These Rolls
If you would’ve told me years ago that Parker House rolls—those pillowy, golden bundles—would become the star of my Thanksgiving spread, I probably would’ve raised an eyebrow and kept mashing my potatoes. But here we are. There’s just something nostalgic about them; I remember the first time I tried making these, the dog barked so loud at the mixer that I nearly swapped salt for sugar (it was a close call and, not gonna lie, might have happened once). They’re the kind of rolls you grab before anything else, and honestly, I make extra purely for those late-night turkey sandwiches. Or so I tell myself.
Why You’ll Love This (or, Why My Family Keeps Asking for Them)
I make these rolls for every family gathering where carbs are welcomed, but especially Thanksgiving. My cousins basically ignore everything else (even my supposedly famous green bean casserole) and dive straight for these. They’re soft, rich, and just a smidge sweet. If you’re like me and have wrestled with bread doughs that turn out more like hockey pucks, breathe easy—this one’s forgiving. I tried all-butter once because the store was out of margarine, and, well, I never looked back (it’s just better, fight me). Also, the house smells like a cozy bakery for hours, which is a bonus if you ask me.
What You’ll Need (Ingredient List… and Confessions)
- 4 cups all-purpose flour (Sometimes I use bread flour if I’m feeling fancy, but honestly, whatever you’ve got is fine.)
- 1 packet (2 1/4 tsp) active dry yeast (Rapid rise works too, but then you have to be quick; I usually forget and end up with monster rolls.)
- 1/4 cup warm water (Not too hot—think “nice bath” not “lobster boil.”)
- 1 cup whole milk (2% is okay in a pinch. My grandmother swore by the full cream though; she said it made all the difference, and I think so too.)
- 1/4 cup sugar
- 1 teaspoon salt (Sometimes I toss in a pinch extra for good luck? No clue if that does anything.)
- 8 tablespoons (1 stick) unsalted butter, melted (divided) (I’ve used salted in a crisis and just skip the extra pinch of salt.)
- 1 large egg
- Extra butter for brushing (optional—but like, who skips this?)
How To Actually Make Them (Directions, With a Few Side Notes)
- Proof the yeast: Pour the warm water into a bowl, scatter the yeast and a pinch of sugar over and wait until it’s foamy (about 5 mins). If nothing happens, your yeast may be a dud—I’ve been there, so don’t feel bad.
- Add the good stuff: Warm the milk until it’s just hot (I nuke it for 30 seconds), then pour it into the yeast mixture. Add the sugar, salt, half the melted butter, and the egg. Whisk it up till it’s kinda smooth (don’t worry about tiny lumps—live a little).
- Add in the flour: Dump in 3 cups of flour and stir. It’ll be gloopy (great word, right?), then slowly add more flour till it just comes together. You want it soft, not dry—sticky is okay here. Sometimes I use a wooden spoon, but you can just get in there with your (clean) hands.
- Knead it: Flour your counter, then knead the dough for about 6–8 minutes. It should get smooth and elastic, but honestly, I usually quit at 6 mins because my wrists get tired, and it always turns out fine.
- First rise: Sling your dough into a greased bowl, cover with a towel (I’ve used a shower cap—don’t laugh, it works), and let it rise somewhere warm for about an hour or until doubled. Sometimes I turn my oven on low for a sec, turn it off, and put it in there.
- Shape the rolls: Here’s the fun part! Punch down the dough, divide it into 16-ish pieces. Roll into balls, then flatten each a bit and fold in half—classic Parker House style, but if you want just round buns, no one will report you to anyone. Lay them in a buttered 9×13 dish.
- Second rise: Cover and let ’em puff up for 30-45 mins. If your kitchen’s chilly, it sometimes takes longer—go make a cup of tea (or something stronger, I don’t judge).
- Bake: Brush with the rest of the melted butter. Bake at 350°F (175°C) for 17–22 minutes, until golden. This is when my kids start circling like sharks.
- Final touch: Brush again with more butter while hot. Try not to eat them all before anyone else arrives.
Some Notes and Little Truths I’ve Learned
- If your dough is really sticky, just add a bit more flour—don’t freak out. It almost always comes together in the end.
- One time I forgot the second rise and just baked them. They weren’t bad, but definitely less fluffy. Actually, I find that the second rise is really worth doing (even if you’re impatient… speaking from experience).
- If you want to freeze some, stick the unbaked shaped rolls in the freezer and bake ’em off another day. Tastes like you planned ahead, even if it was accidental. More helpful freezing tips here (King Arthur has my back).
Variations I’ve Dabbled With (One’s a Flop, But Hey…)
- Swap half the flour for whole wheat—it’s extra nutty, though a bit denser (not everyone at my table loves this but hey, I do what I can).
- Stuff them with a smidge of cheese or a dab of jam before folding. Actually, cheddar was a win, but jam leaked out everywhere, so maybe not that unless you’re cool with messy pans.
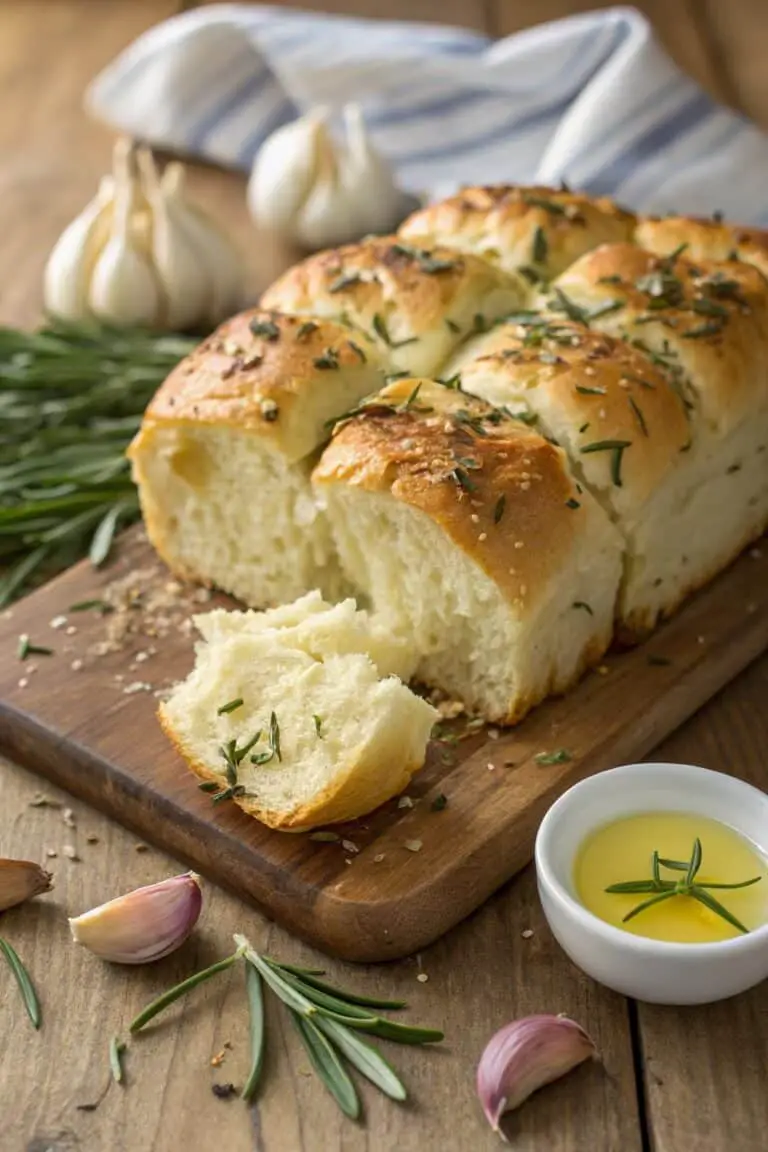
- Try brushing with garlic butter. Pretty garlicky, but no complaints here (unless you’re vampire-adjacent).
- Someone once suggested adding herbs, but I thought it fought with the turkey—on second thought, maybe rosemary is nice, but I’d skip dill for this one.
Equipment (and My DIY Take)
- Large mixing bowl (Though one Thanksgiving, I literally used a stockpot. Worked just fine.)
- Wooden spoon (Or your hands. Mind the rings.)
- 9×13 baking pan (I once crammed them into a round cake tin, and they just squished together—still tasted great!)
- Clean towel (A clean t-shirt works too, when you run out of towels… Yeah, been there.)
- Pastry brush (Or a balled-up bit of paper towel for the butter—no shame.)
How to Store and Keep ‘Em Fresh
Store cooled rolls in an airtight bag or box at room temp for up to 2 days—but honestly, in my house, there are never leftovers past the next morning, usually because someone (naming no names) eats two for breakfast. You can freeze baked rolls too, though I think they taste better fresh. If you somehow end up with stragglers, toast them up with jam the next day. For more storage ideas, Sally’s Baking Addiction has you covered.
How We Serve Them (Our Weird Little Tradition)
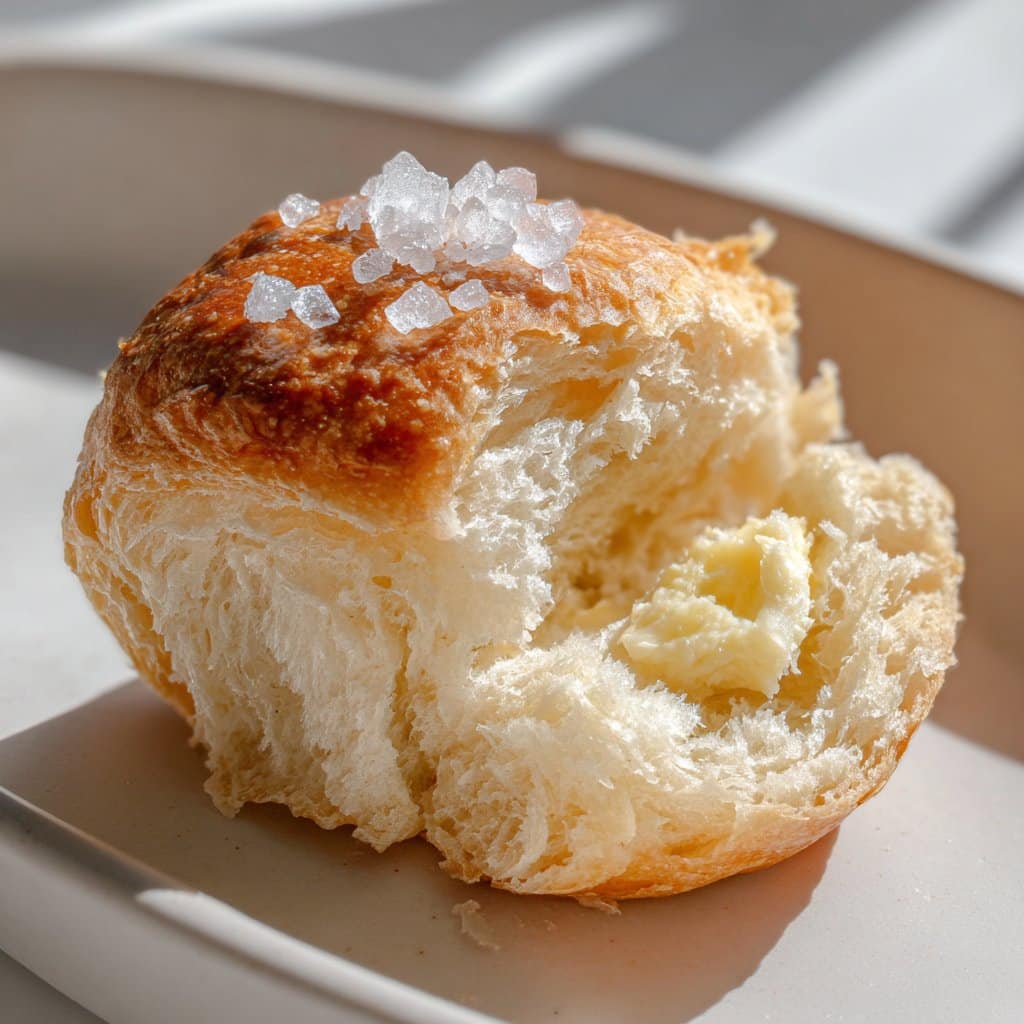
We pass the basket around the table and everyone grabs (at least) one, then we debate the best way to eat them: split and slathered with salted butter, or mopped through gravy. I’m firmly Team Gravy, but do what feels right. Some folks at our table sneak them into their dessert round. My uncle weirdly likes these with cranberry sauce—I didn’t understand it until I tried it, actually kinda tasty.
The Pro Tips I Learned the Hard Way
- I once tried rushing the first rise by cranking my oven up—major fail, the dough basically cooked before rising. Just let it be. Good bread doesn’t like to be hurried.
- If you add too much flour, the rolls can be a bit tough. Better slightly sticky than too dry, trust me (learned that form my overzealous younger self).
- I doubted the second brushing of butter… but you really notice it. Don’t skip!
- If you’re using rapid-rise yeast, just adjust the proofing time a bit—sometimes mine got more poofy than planned.
Real Questions People Have Actually Asked Me (With Real Answers)
- Can I make these ahead? Oh totally. Shape the rolls, pop ‘em in the fridge overnight, then do the second rise and bake day-of. Easy peasy.
- What if I don’t have a stand mixer? Just use your hands. I mostly do. Think of it as a minor workout before, you know… carb loading.
- Are these sweet? Kind of, but not as sweet as, say, Hawaiian rolls. Just enough that you notice. If you want sweeter, bump up the sugar a bit; no one’s stopping you.
- Can I double the recipe? You brave soul. Yes, but you’ll need more pans and some patience. Also, maybe a bigger mixing bowl.
- Why are they called Parker House? Good question! They came from the old Parker House Hotel in Boston. I love weird food trivia, don’t you? Read more here if you’re curious.
- Can I use plant-based milk and butter? I haven’t, but people tell me it works; just be sure to check labels for unsweetened, or things can get a bit funky.
So, there you go—a real deal, imperfectly perfect guide to my all-time favorite Thanksgiving side. If you don’t make them for Thanksgiving, make them for something else soon. (Or just for yourself — you deserve it.)
Ingredients
- 3 1/2 cups all-purpose flour
- 1 cup whole milk, warmed
- 1/4 cup granulated sugar
- 1 packet (2 1/4 teaspoons) active dry yeast
- 1 teaspoon salt
- 6 tablespoons unsalted butter, melted (plus more for brushing)
- 1 large egg
- Nonstick cooking spray or extra butter for greasing
Instructions
-
1In a small bowl, combine warm milk, sugar, and yeast. Stir and let sit for 5-10 minutes until frothy.
-
2In a large mixing bowl, add flour and salt. Pour in the yeast mixture, melted butter, and egg. Mix until a soft dough forms.
-
3Knead the dough on a floured surface for 8-10 minutes until smooth and elastic. Place the dough in a greased bowl, cover, and let rise in a warm place until doubled in size, about 1 hour.
-
4Punch down the dough and divide it into 12 equal pieces. Shape each piece into a rectangle, fold in half, and place seam side down on a greased baking sheet.
-
5Cover with a clean towel and let the rolls rise again for 30 minutes. Preheat oven to 350°F (175°C).
-
6Brush the tops with melted butter and bake for 18-20 minutes or until golden brown. Brush with additional butter before serving.
Approximate Information for One Serving
Nutrition Disclaimers
Number of total servings shown is approximate. Actual number of servings will depend on your preferred portion sizes.
Nutritional values shown are general guidelines and reflect information for 1 serving using the ingredients listed, not including any optional ingredients. Actual macros may vary slightly depending on specific brands and types of ingredients used.
To determine the weight of one serving, prepare the recipe as instructed. Weigh the finished recipe, then divide the weight of the finished recipe (not including the weight of the container the food is in) by the desired number of servings. Result will be the weight of one serving.
Did you make this recipe?
Please consider Pinning it!!